Knowledge Base
The AB Electronics UK Knowledge Base provides support solutions, tutorials and troubleshooting guides.

Using 1 Wire with Home Assistant and the Raspberry Pi OS
Integrating 1-Wire devices into your home automation system
This tutorial is for using 1 Wire devices with Home Assistant running in a docker container on Raspberry Pi OS. We will use the 1 Wire Pi Plus or 1 Wire Pi Zero to connect the 1 Wire devices to the Raspberry Pi with OWFS (One Wire File System).
The 1 Wire Pi Plus and 1 Wire Pi Zero are expansion boards for the Raspberry Pi and other small board computers based around a DS2482-100 I2C to 1-Wire bridge device. The DS2482-100 provides bi-directional protocol conversion between the I2C port on the Raspberry Pi and any attached 1-Wire devices.
Hass.io: At the time of writing this tutorial there is no way of installing OWFS on the Home Assistant Operating System (Hass.io). If you are using Hass.io you can install the 1 Wire Pi and OWFS on a separate Raspberry Pi running Raspberry Pi OS and connect to it from Home Assistant over a network connection.
Installing OWFS
We will begin by installing OWFS on the Raspberry Pi.
Step 1: Download the latest Raspberry Pi OS image and burn it to your SD Card following the instructions on http://elinux.org/RPi_Easy_SD_Card_Setup.
Step 2: Follow our Enabling I²C on the Raspberry Pi tutorial to set up I2C on the Raspberry Pi.
Step 3: Install OWFS
sudo apt-get update
sudo apt-get install owfs ow-shell
Step 4: Edit owfs.conf to enable the I2C 1 Wire interface.
sudo nano /etc/owfs.conf
Comment out the following line
# server: FAKE = DS18S20,DS2405
Find the following section
# USB device: DS9490
#server: usb = all
Insert the line below to enable I2C support.
server: device = /dev/i2c-1
Find the section titled
######################### OWFS ##########################
Remove the hashes from the lines.
mountpoint = /mnt/1wire
allow_other
Save your changes and exit the nano editor.
Step 5: Create a folder where the 1 Wire devices will be mounted.
sudo mkdir /mnt/1wire
Step 6: Enable the owserver service.
sudo systemctl enable owserver.service
Step 7:
Reboot your Raspberry Pi
sudo reboot
Your Raspberry Pi should now work with OWFS. 1-Wire devices can be found in the directory /mnt/1wire
Each 1-Wire device is displayed as a directory containing files representing the values available from that device.
Note:
On specific versions of owfs available on Raspberry Pi OS and Raspbian Linux, a bug causes devices in the /mnt/1wire directory to be duplicated, showing two folders for each device.
If you encounter this problem, it can be resolved by editing the configuration file for the owfs service.
Step 1: Open /lib/systemd/system/owfs.service in an editor.
sudo nano /lib/systemd/system/owfs.service
Step 2: Find the following line.
ExecStart=/usr/bin/owfs -c /etc/owfs.conf --allow_other %t/owfs
Remove "-c /etc/owfs.conf", so the line looks like this.
ExecStart=/usr/bin/owfs --allow_other %t/owfs
Step 3: Save the file and reboot your Raspberry Pi.
You should only see one device instance in the /mnt/1wire directory.
Home Assistant
With OWFS installed we can configure Home Assistant to use the 1-Wire devices.
There is a 1-Wire integration available in Home Assistant that connects to owserver using a HTTP network connection. To install the integration, use the following steps.
Step 1: Select “Settings” from the sidebar.
Step 2: Select “Devices and Services”
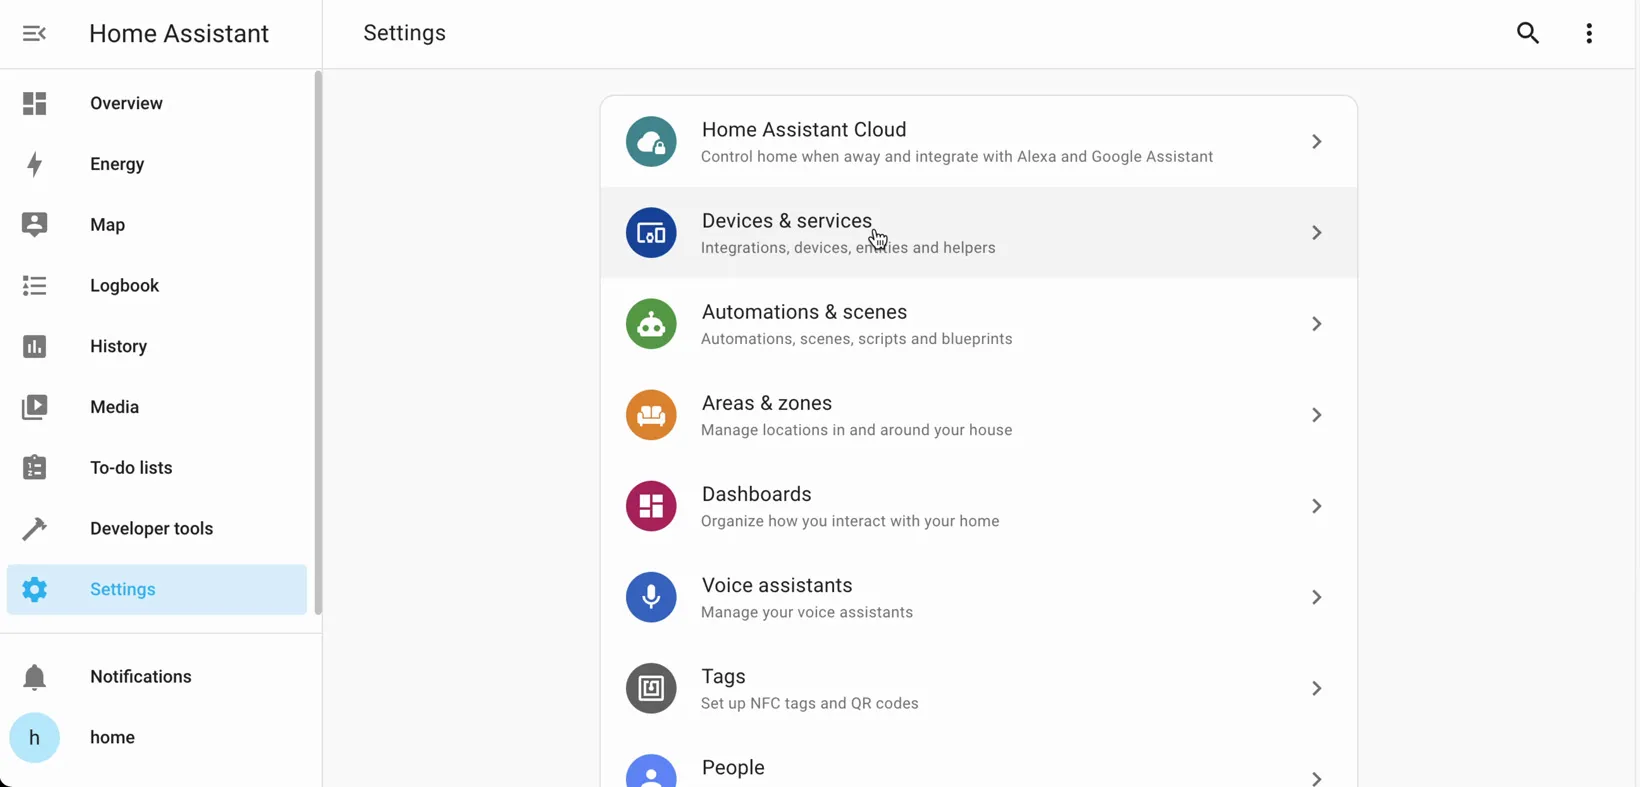
Step 3: Click the “ADD INTEGRATION” button in the bottom right corner of the window.
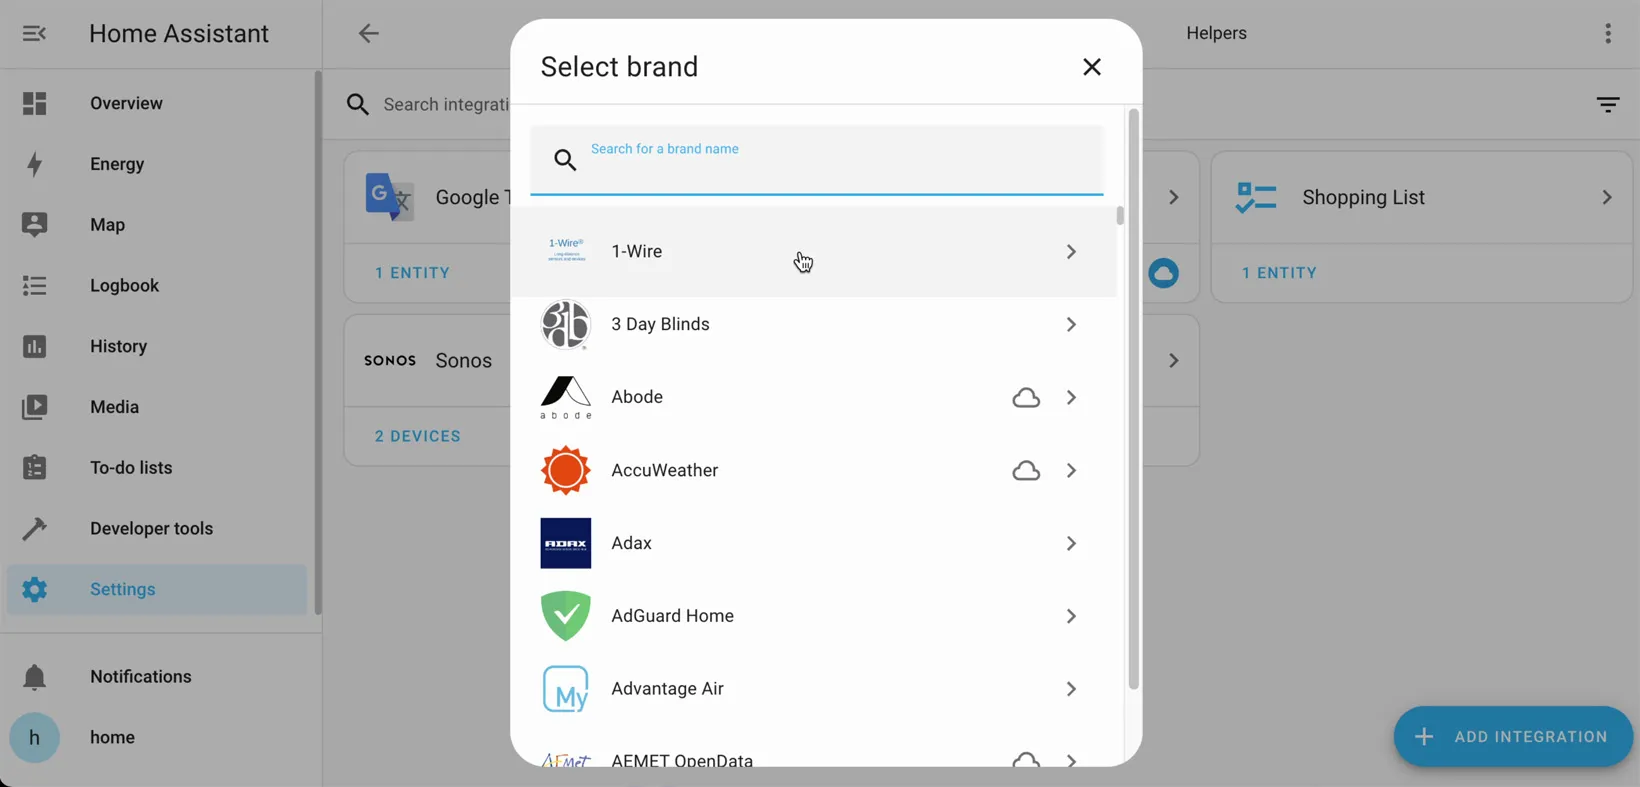
When the “Select Brand” popup appears find and select the “1-Wire” integration.
A new popup will appear with the title “Set Server Details”.

If you are running Home Assistant on the same Raspberry Pi as you installed OWFS you can leave the default values of “localhost” for the Host. If you are running Home Assistant on a different device enter the IP address for the Raspberry Pi running OWFS.
The Port value can be left as the default of 4304.
Step 4: Click “Submit” and the integration will search for available devices on the 1-Wire network.
If the search is successful a new popup will appear with a list of the found devices.

You can select an area for each device or click finish to add them to the list of available entities that can be used elsewhere within Home Assistant.
Related Expansion Boards
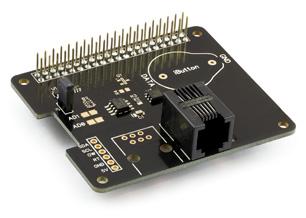
1 Wire interface for the Raspberry Pi
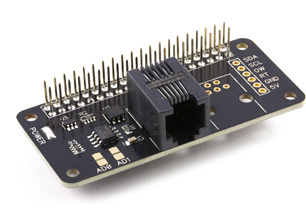
1 Wire interface for the Raspberry Pi Zero
Related Articles
Integrating 1-Wire devices into your home automation system
Using the 1 Wire File System with the 1 Wire Pi Plus and 1 Wire Pi Zero
Using the 1 Wire File System with the 1 Wire Pi Plus and 1 Wire Pi Zero
Install Home Assistant on your Raspberry Pi and enable I2C
Adding up to 128 IO channels to Home Assistant on your Raspberry Pi
Adding up to 32 analogue channels to Home Assistant on your Raspberry Pi
Adding up to 32 analogue channels to Home Assistant on your Raspberry Pi
