The AB Electronics UK Knowledge Base provides support solutions, tutorials and troubleshooting guides.

This tutorial is the second in a four-part series on the communication protocol I²C, explaining what it is, how it works and how you can use it on your Raspberry Pi.
For the other tutorials in this series, click on the links below.
- Part 1: Introducing I²C
- Part 2: Enabling I²C on the Raspberry Pi
- Part 3: I²C tools in Linux
- Part 4: Programming I²C with Python
Introduction
In this tutorial we will install and configure I²C on Raspberry Pi OS Trixie and earlier distributions from Raspberry Pi.
I²C, pronounced I-squared-C or I-2-C, is a popular serial bus many manufacturers use for low-speed serial communication.
The I²C port on the Raspberry Pi uses GPIO2 (SDA) and GPIO3 (SCL) pins, as shown below.

Enabling I²C using the Raspberry Pi OS Desktop
Step 1:
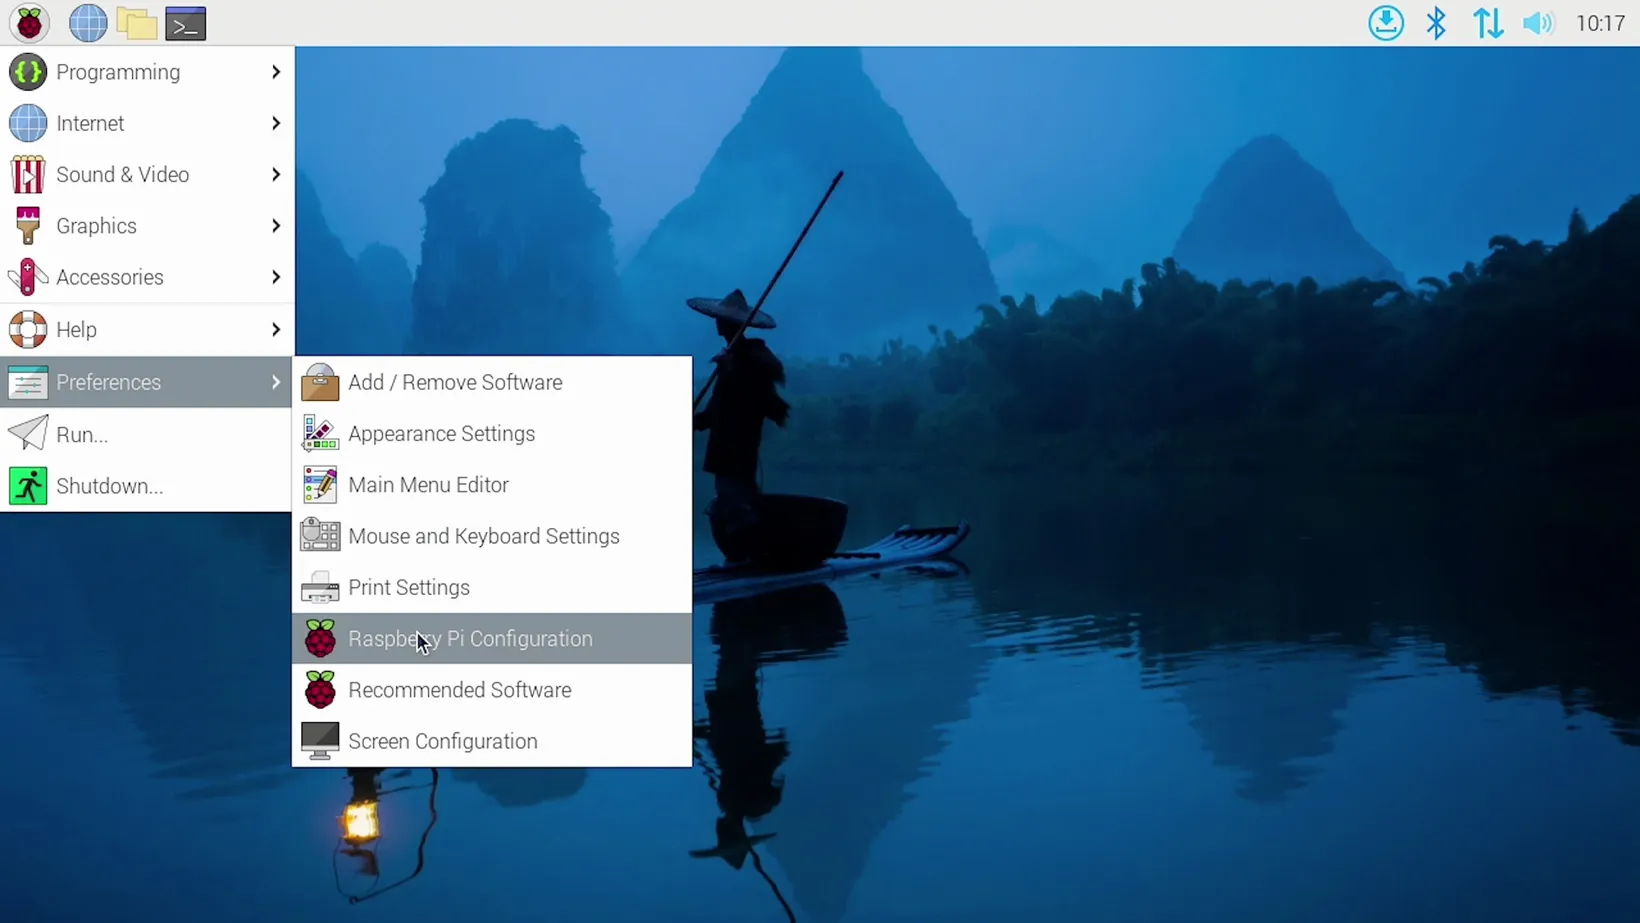
Begin by turning on your Raspberry Pi and allowing Linux to boot to the desktop. Once booted, click on the start menu in the top left corner. Click the preferences icon and select Control Centre. Note: This was called Raspberry Pi Configuration on earlier distributions.
Step 2:
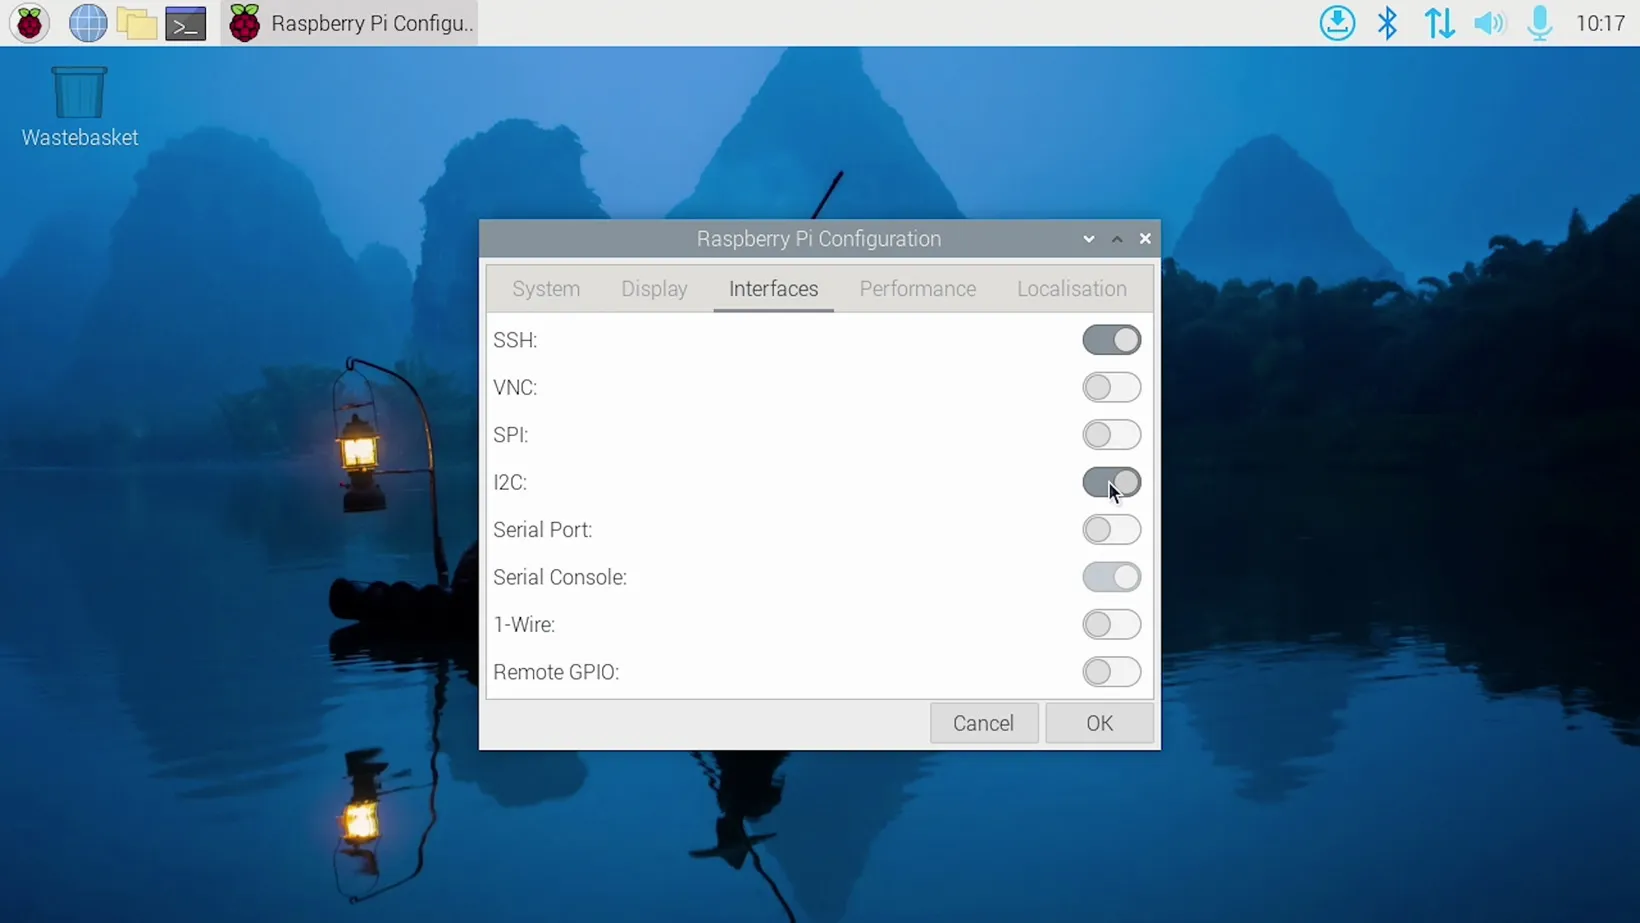
After a few seconds, the Control Centre program will open. Click on the Interfaces tab and find the I²C option. Click the Enable button next to I²C and then click the OK button.
Step 3:
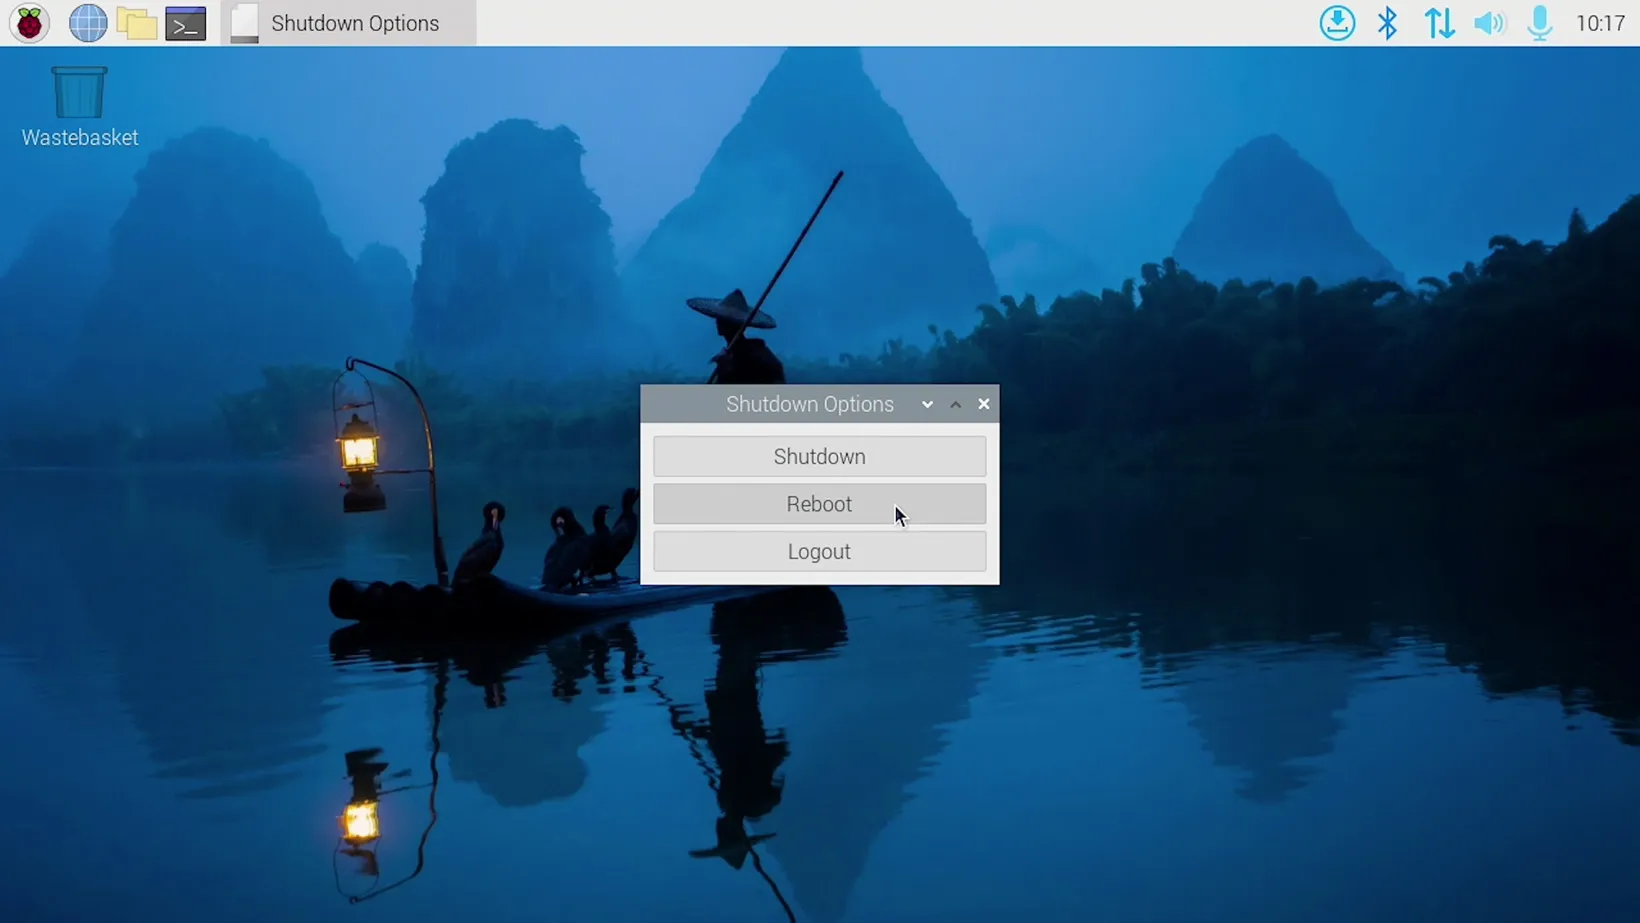
Before using the I²C bus, you need to reboot your Raspberry Pi, so click again on the start menu icon. Click shutdown at the bottom of the menu, and in the dialogue box that appears, click reboot.
Enabling I²C in the Linux Terminal
Step 1: Download the latest Raspberry Pi OS Linux image and burn it to your SD Card following the instructions on eLinux.
If you use Raspberry Pi OS Linux 3.18 or later, you must go into the Raspberry Pi config utility and enable I²C.
sudo raspi-config
Select 3 Interface Options and then I5 I2C. A prompt will appear asking Would you like the ARM I2C interface to be enabled? Select Yes, exit the utility and reboot your Raspberry Pi.
sudo reboot
When your Raspberry Pi has rebooted, you will now have the I²C bus enabled.
Installing I2C Tools and Python Libraries
If you use the Lite version of Raspberry Pi OS, you may need to install the i2ctools package and several Python libraries.
For the Buster release or earlier, you can use the following commands.
sudo apt update
sudo apt install python-smbus python3-smbus python-dev python3-dev i2c-tools
For the Trixie, Bookworm and Bullseye releases of Raspberry Pi OS, the Python 2.7 package has been removed, so you must run the following commands.
sudo apt update
sudo apt install python3-smbus python3-dev i2c-tools
You can test if i2ctools works by listing all of the I²C devices connected to your Raspberry Pi.
sudo i2cdetect -y 1
i2cdetect will display a grid of numbers with the addresses of any I²C devices shown within the grid. The following example, two I²C devices are shown on addresses 0x68 and 0x69.
     0  1  2  3  4  5  6  7  8  9  a  b  c  d  e  f
00:          -- -- -- -- -- -- -- -- -- -- -- -- --
10: -- -- -- -- -- -- -- -- -- -- -- -- -- -- -- --
20: -- -- -- -- -- -- -- -- -- -- -- -- -- -- -- --
30: -- -- -- -- -- -- -- -- -- -- -- -- -- -- -- --
40: -- -- -- -- -- -- -- -- -- -- -- -- -- -- -- --
50: -- -- -- -- -- -- -- -- -- -- -- -- -- -- -- --
60: -- -- -- -- -- -- -- -- 68 69 -- -- -- -- -- --
70: -- -- -- -- -- -- -- --
Setting the I²C Bus Speed
The I²C bus supports several speeds, typically 100KHz, 400KHz, 1MHz, 3.4MHz and 5.0MHz. You can set the bus speed by editing /boot/firmware/config.txt. Open the file with nano using the command:
sudo nano /boot/firmware/config.txt
Note: On older versions of Raspberry Pi OS the config.txt file can be found at /boot/config.txt.
Add the following text to the bottom of the file; the number is the frequency of the I²C bus in hertz:
dtparam=i2c_baudrate=400000
Save your changes, exit the nano editor and reboot
sudo reboot
Notes for the Raspberry Pi 3B, 3B+ and Zero W
The I²C controller on the Raspberry Pi 3B, 3B+ and Zero W has its clock linked to the VPU core, so as the VPU frequency changes depending on processor load, so does the clock rate of the I²C bus. This can cause problems with devices that expect a constant clock rate during communication.
TO SOLVE THIS ISSUE, the VPU core frequency must be fixed by editing /boot/config.txt. Open the file with nano using the command:
sudo nano /boot/firmware/config.txt
Add the following text to the bottom of the file.
core_freq=250
Save your changes, exit the nano editor and reboot
sudo reboot
Choosing the correct I²C bus speed
I²C devices are designed with a maximum speed for the I²C bus. This speed varies from device to device and can usually be found in the manufacturer’s datasheet. Devices will run below the maximum but not faster, so when choosing the correct bus speed for your Raspberry Pi, you will need to find the maximum speed for each device and then set the I²C bus to be the speed of the slowest device.
Other factors can also limit the speed of the I²C bus, including the number of devices connected to the bus, cable length and capacitance, so you may find that if I²C communication is not working correctly, you will have to set the clock frequency to a slower speed.
The maximum recommended speed for the development boards made by AB Electronics UK is listed in the table below.
| Development Board | Maximum Clock Frequency |
|---|---|
| 1 Wire Pi Plus | 400 kHz (400000) |
| 1 Wire Pi Zero | 400 kHz (400000) |
| ADC Pi | 1 MHz (1000000) |
| ADC Differential Pi | 1 MHz (1000000) |
| Expander Pi | 100 kHz (100000) |
| IO Pi Plus | 1 MHz (1000000) |
| IO Pi Zero | 1 MHz (1000000) |
| RTC Pi | 100 kHz (100000) |
| Servo PWM Pi | 1 MHz (1000000) |
I²C Device Addresses
Before the Raspberry Pi can communicate with an I²C device, it needs to know the address assigned to that device. I2C devices typically use a 7-bit address sent at the start of each communication from the master to the slave device. Seven bits give a total of 128 possible device addresses.
Some devices will have their address pre-set by the manufacturer, while others will have a small range of addresses the user can select. Each device on the bus must have a unique address; if two devices share the same address, a conflict can stop the devices from functioning correctly.
To find a list of the devices connected to the I²C bus on the Raspberry Pi, you can use the following command:
sudo i2cdetect -y 1
On the original Raspberry Pi with the 26-pin GPIO header, you may need to change the “-y 1” to “-y 0” for the command to work.
I2cdetect returns a grid of possible addresses with each device displayed, as shown in the screenshot below.
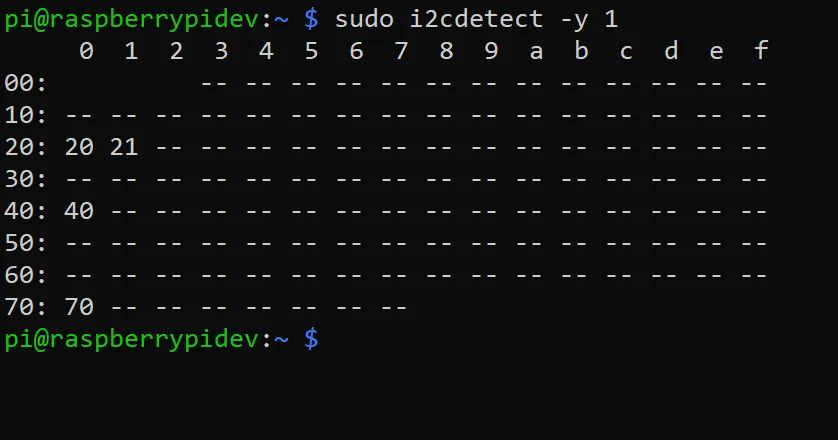
If no devices are detected, check that you have followed all the steps at the start of this tutorial for enabling the I²C bus and that the devices connected to the Raspberry Pi are powered and do not share the same I²C address.
Also useful for your Raspberry Pi project
Temperature & Sensing
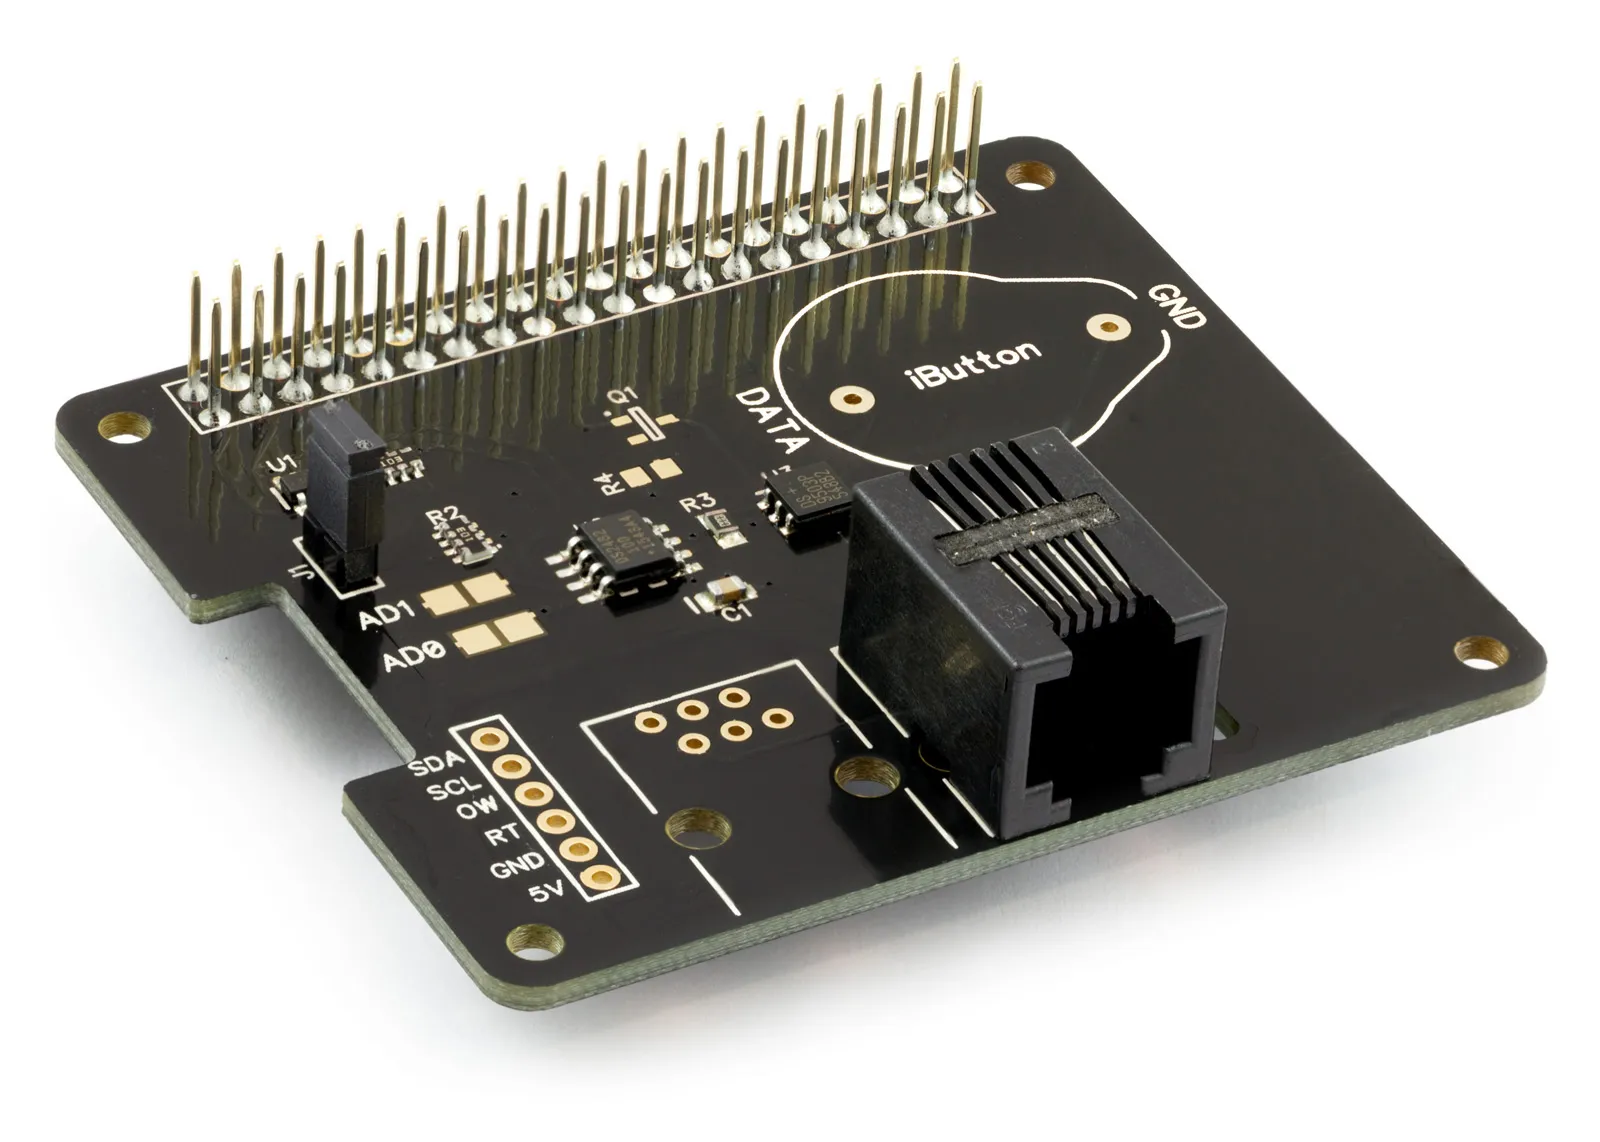
1 Wire Pi Plus
Connect dozens of 1-Wire sensors - temperature, iButtons, EEPROMs - via a single GPIO pin. Stacks directly on the 40-pin header.
Analogue I/O
ADC Pi
Read up to 8 analogue inputs - perfect for pairing with your temperature sensors or other analogue-output devices.
All-in-one
Expander Pi
Combines ADC, DAC, 32 GPIO ports and a real-time clock on one board. The most versatile board for complex Raspberry Pi projects.
Chapters
Related Articles
- Raspberry Pi GPIO Pins
- PCB Header Assembly Jig
- Samba Setup on Raspberry Pi
- Set a static IP Address on Raspberry Pi OS Trixie
- Set a static IP Address on Raspberry Pi OS Buster
- Set a static IP Address on Raspberry Pi OS Wheezy
- I2C Part 1 - Introducing I2C
- I2C Part 2 - How to Enable I2C on the Raspberry Pi
- I2C Part 3 - I2C tools in Linux
- I2C Part 4 - Programming I2C with Python
- SPI and Python on Raspberry Pi OS
- Using Pythonpath with our Python Libraries
- Connecting Development Boards to the Raspberry Pi 400
Order these Boards
1 Wire Pi Plus
1 Wire interface development board for the Raspberry Pi and Single-Board Computers
£11.99 ex VAT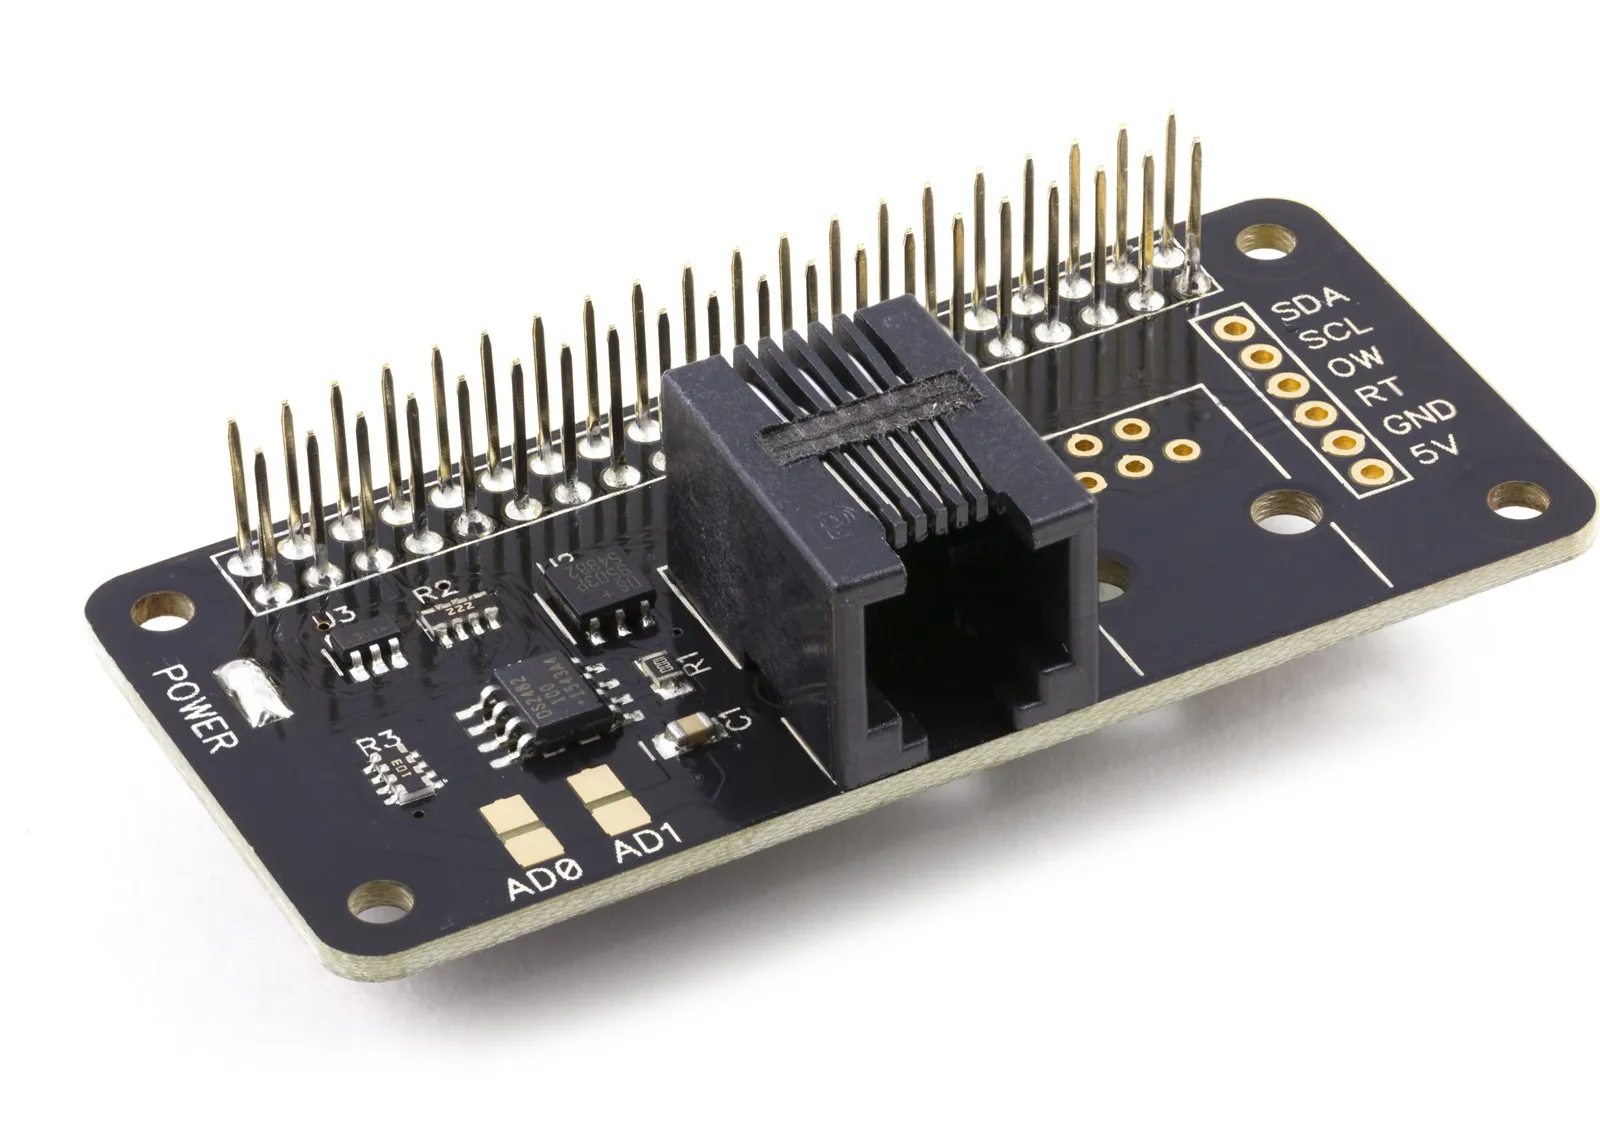
1 Wire Pi Zero
1 Wire interface development board for the Raspberry Pi Zero and Single-Board Computers
£11.49 ex VAT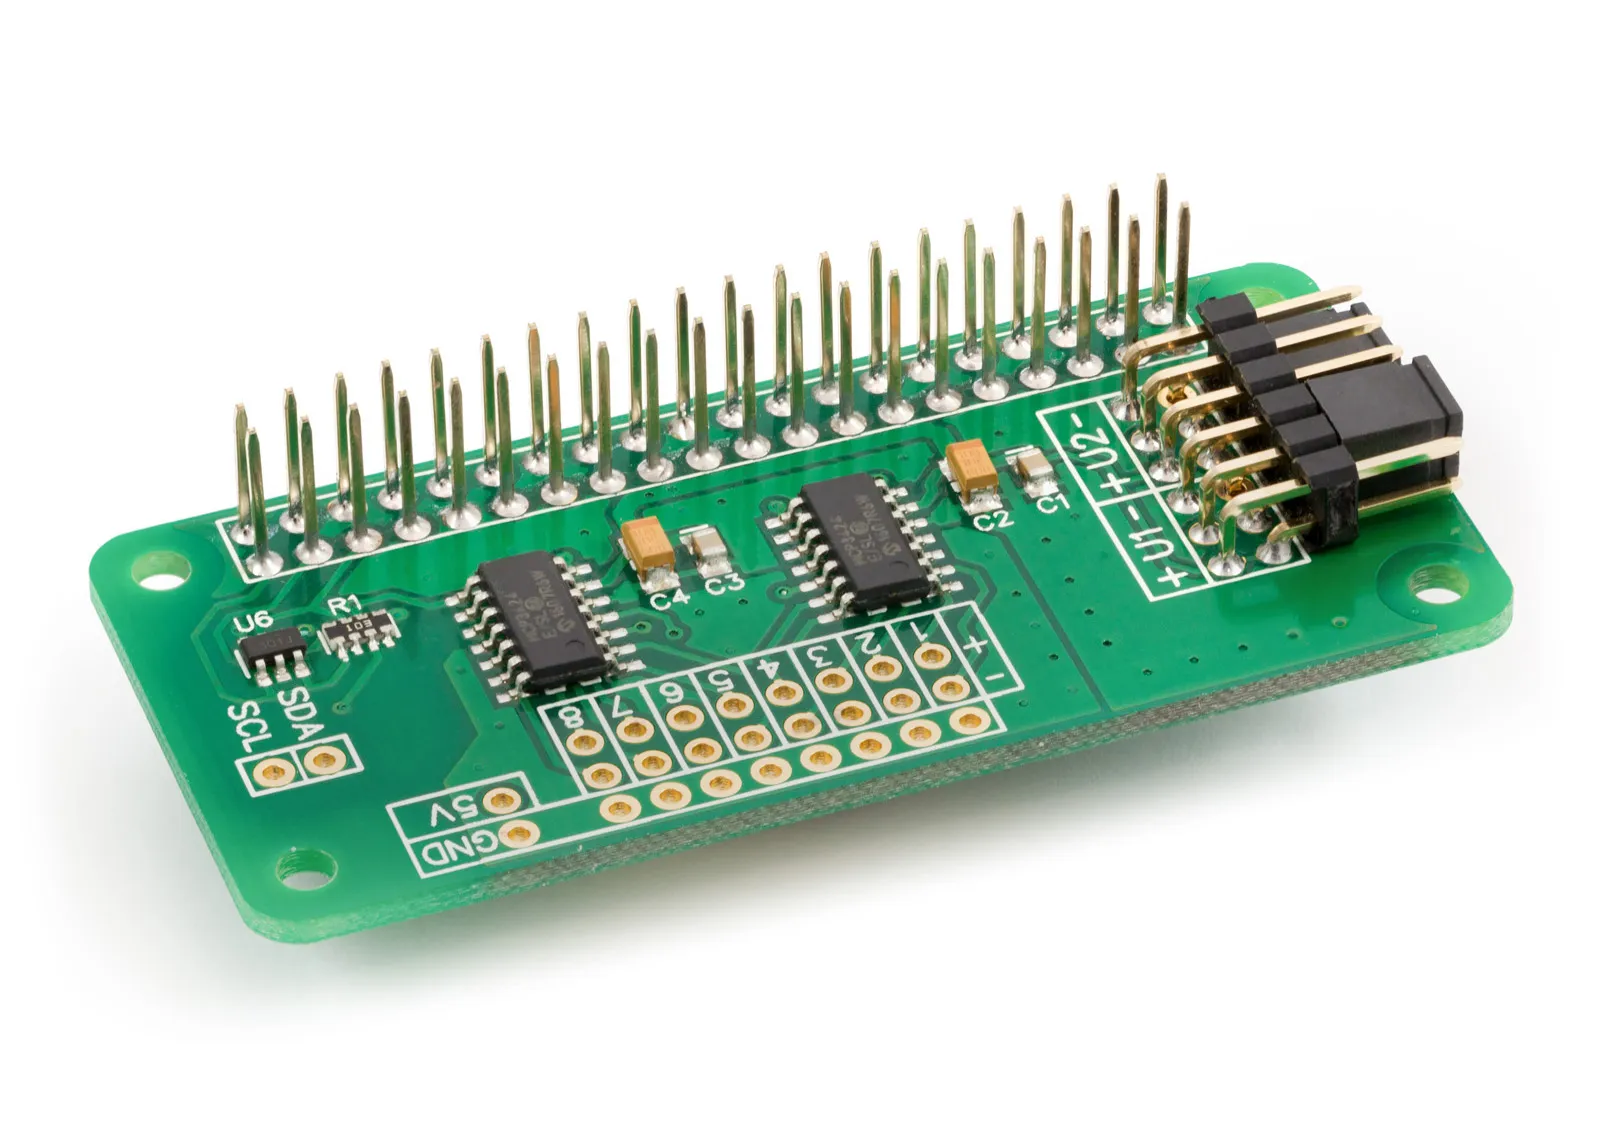
ADC Differential Pi
8 Channel 18-bit Differential Analogue to Digital converter development board for the Raspberry Pi
£16.99 ex VAT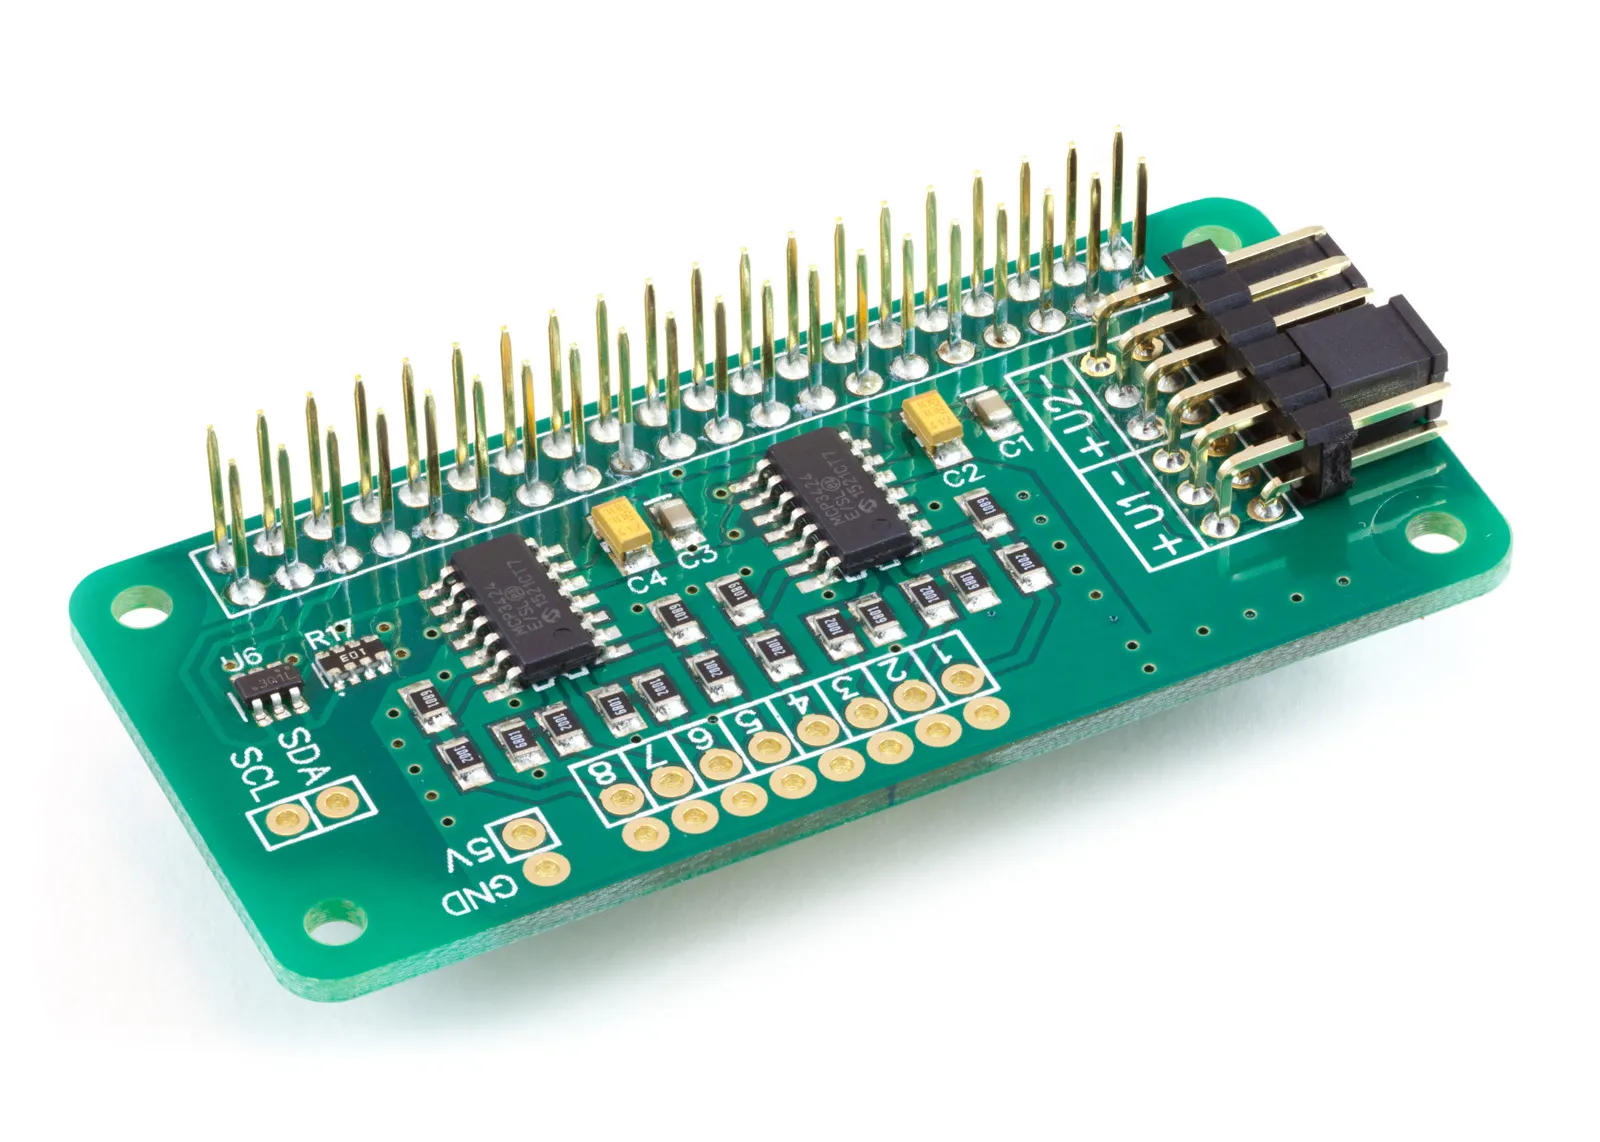
ADC Pi
8 Channel 17-bit Single-Ended Analogue to Digital Converter for the Raspberry Pi and Single-Board Computers
£17.99 ex VAT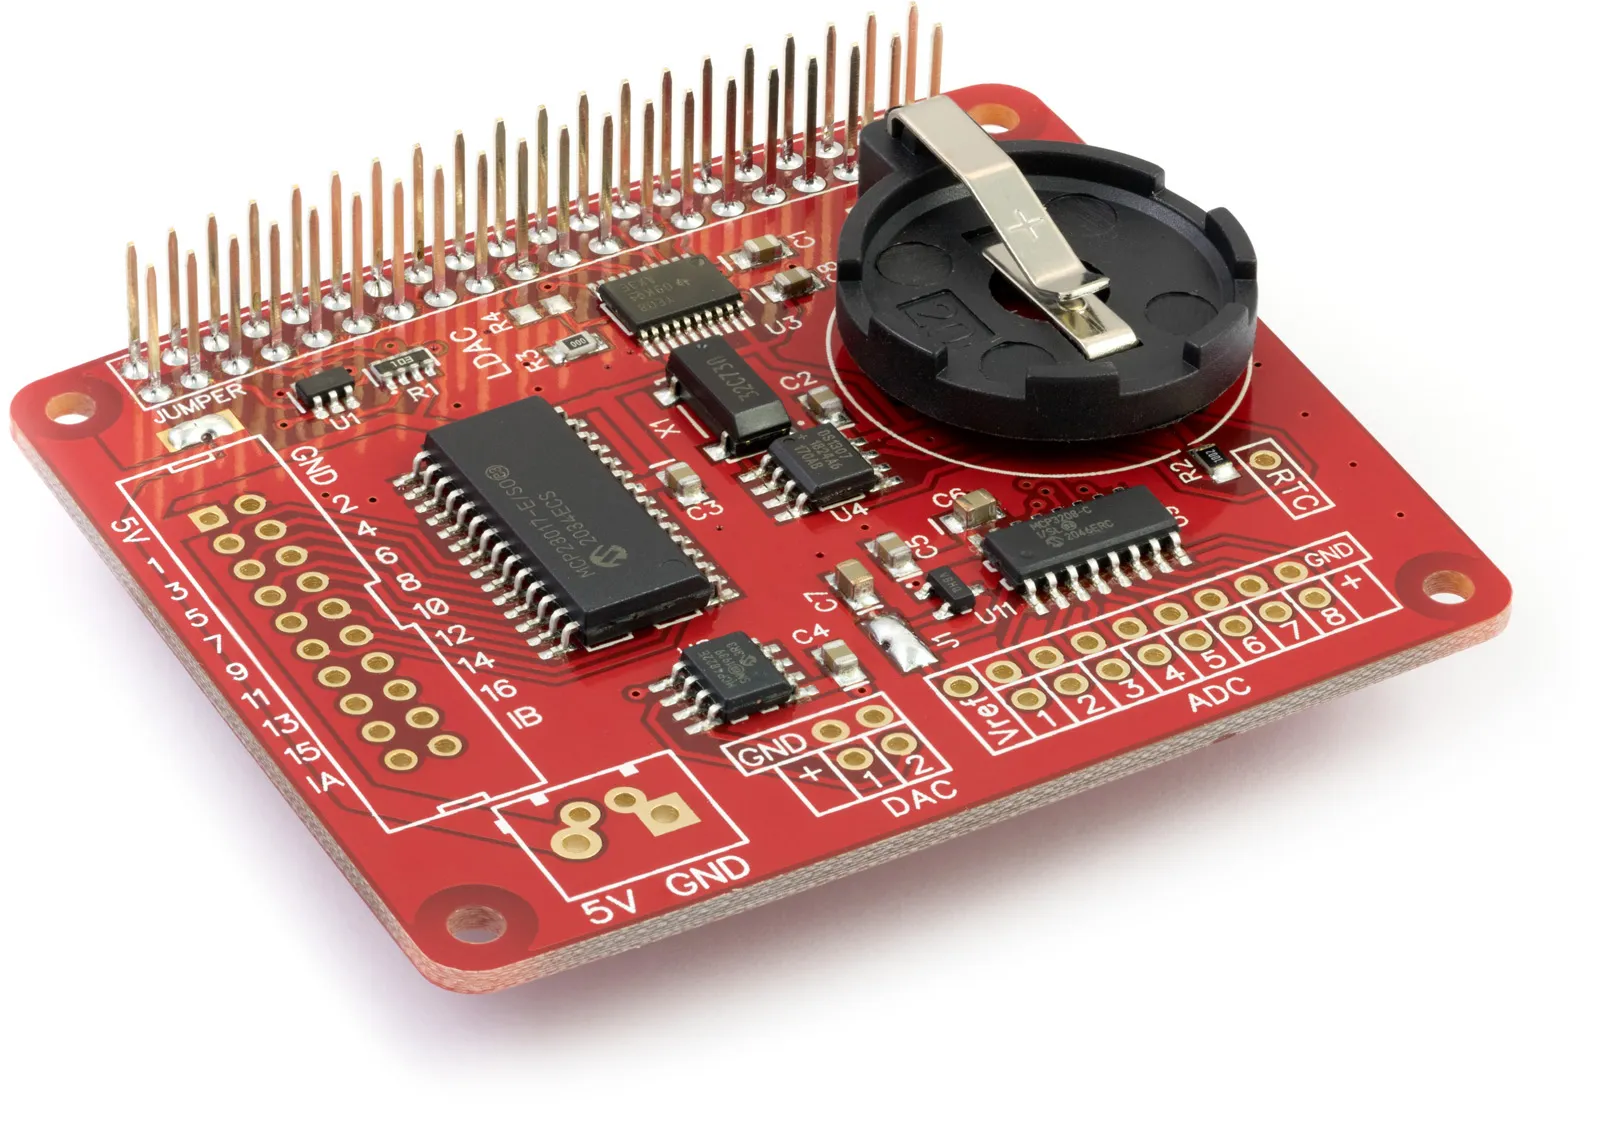
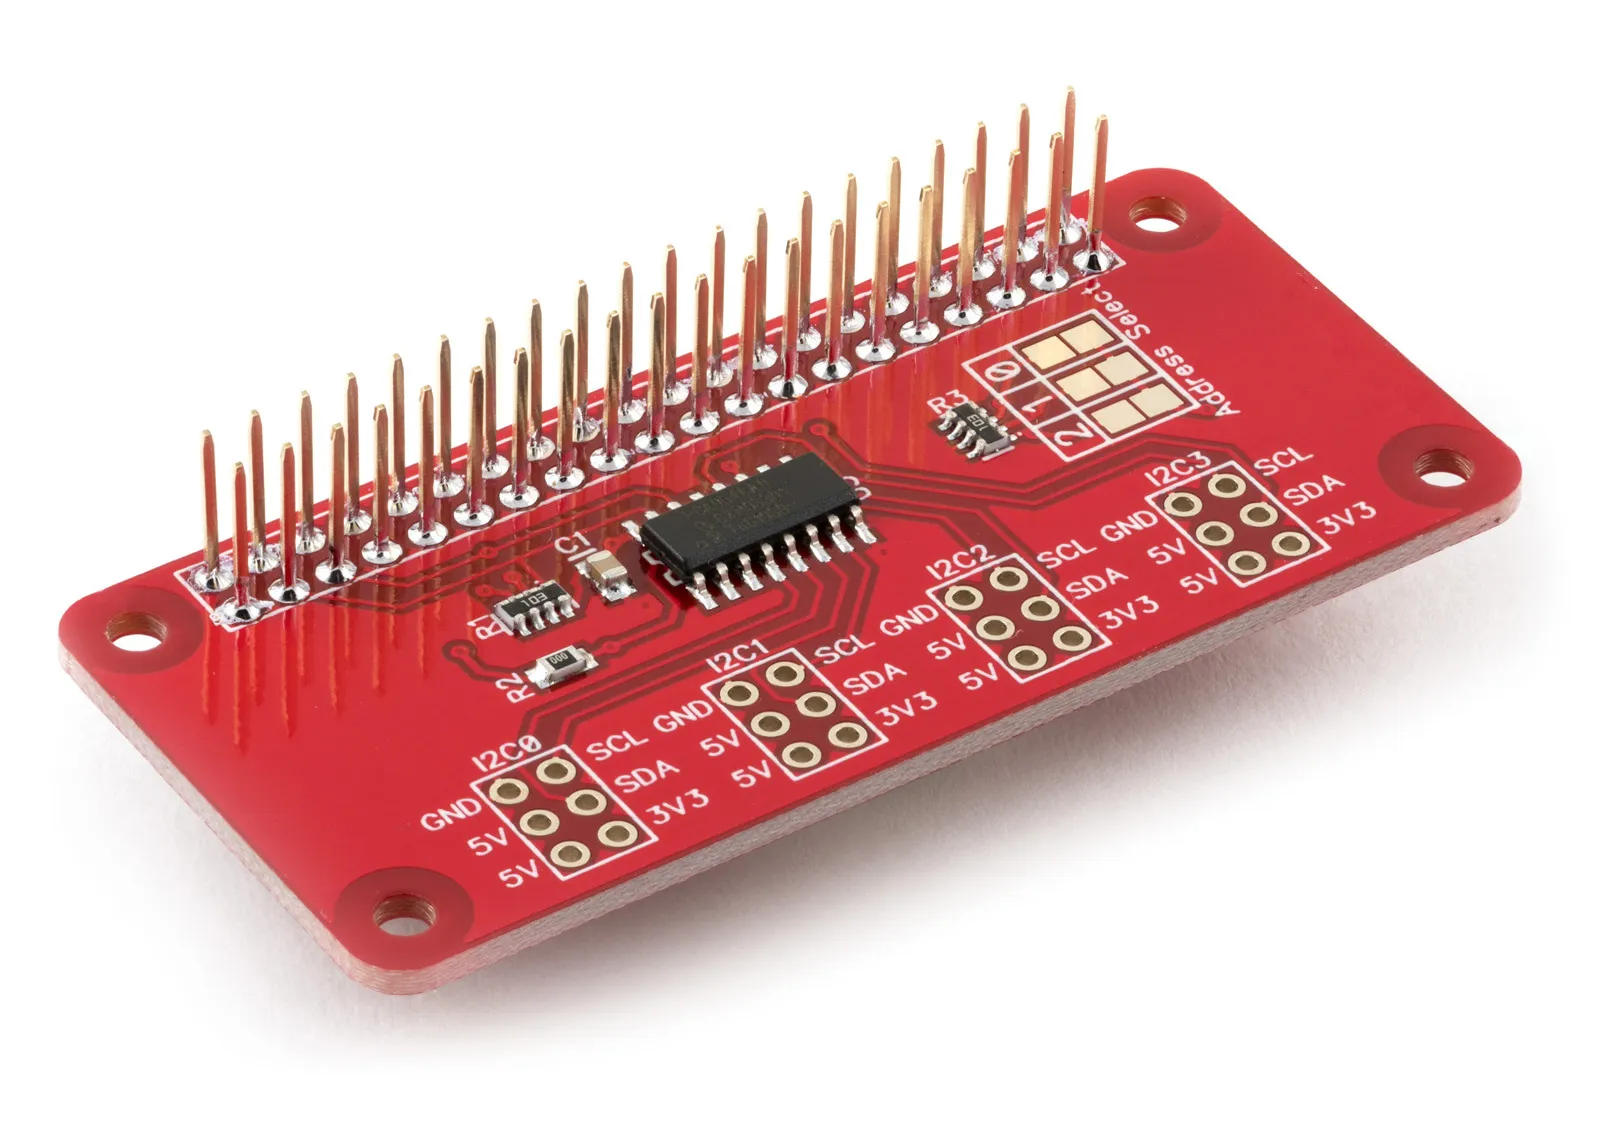
I2C Switch
4 Channel PCA9546 I2C Multiplexer for the Raspberry Pi and Single-Board Computers
£6.99 ex VAT
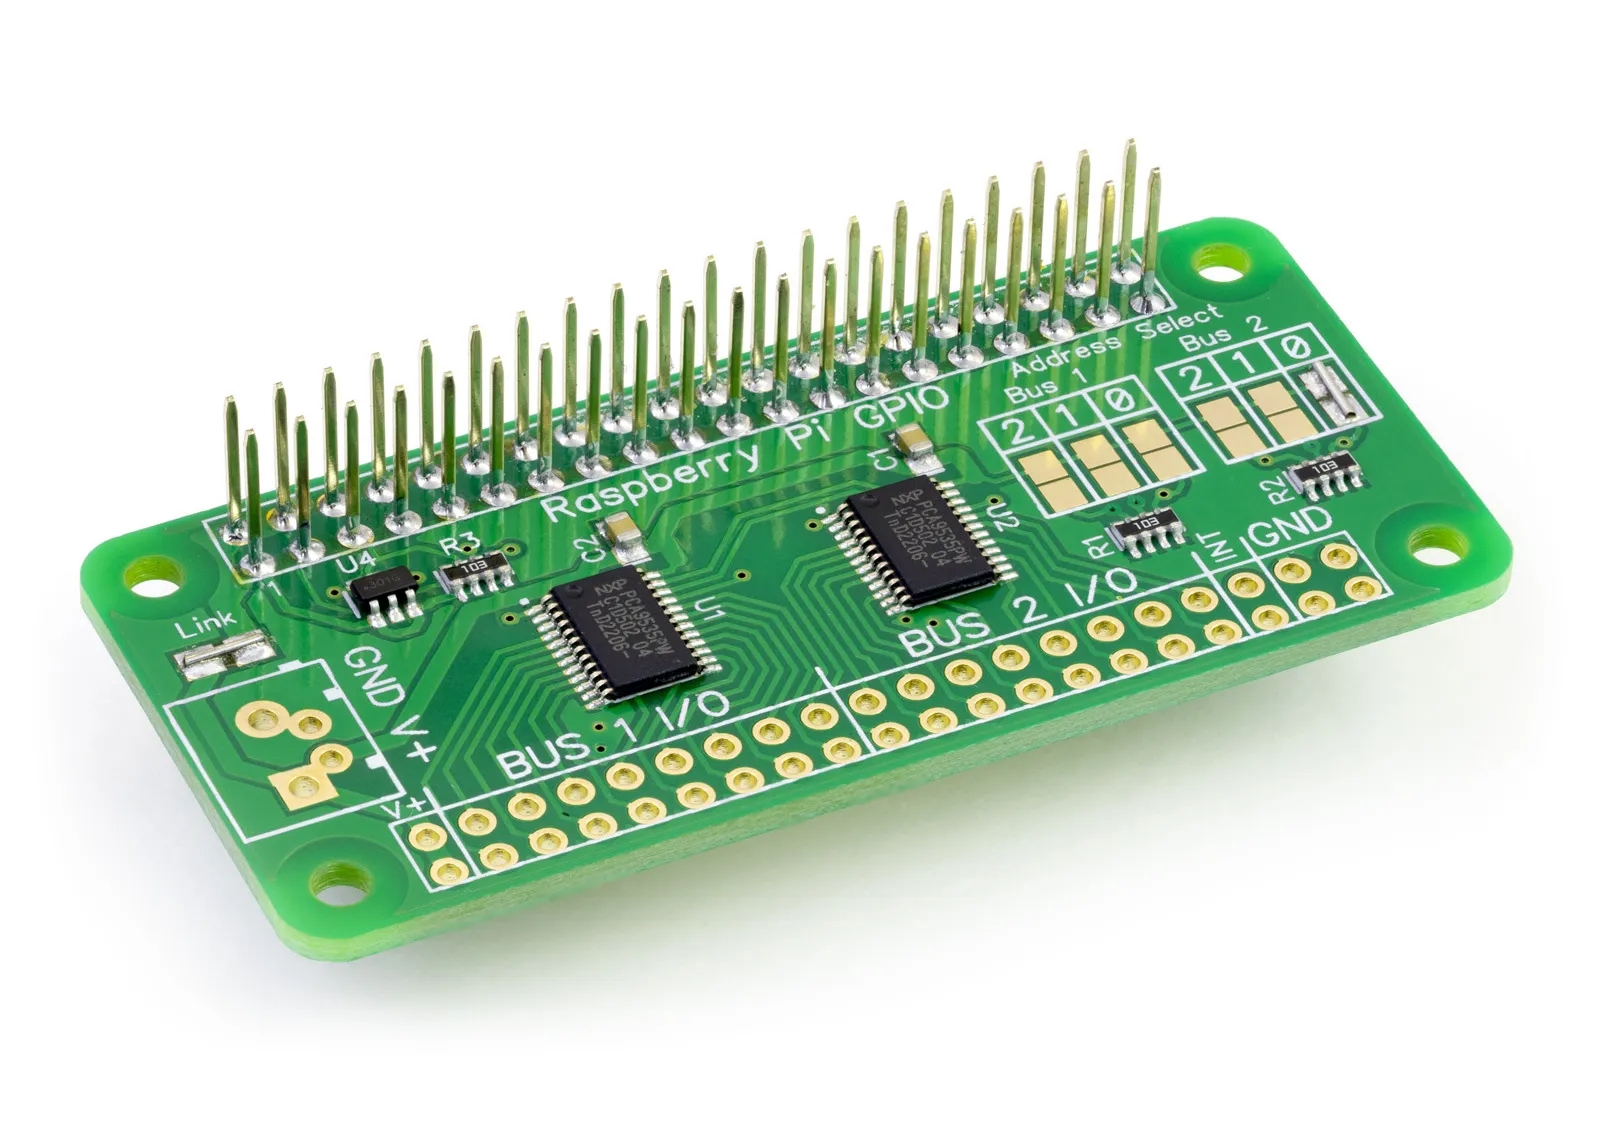
IO Zero 32
32 channel digital I/O development board for the Raspberry Pi and Single-Board Computers
£10.99 ex VAT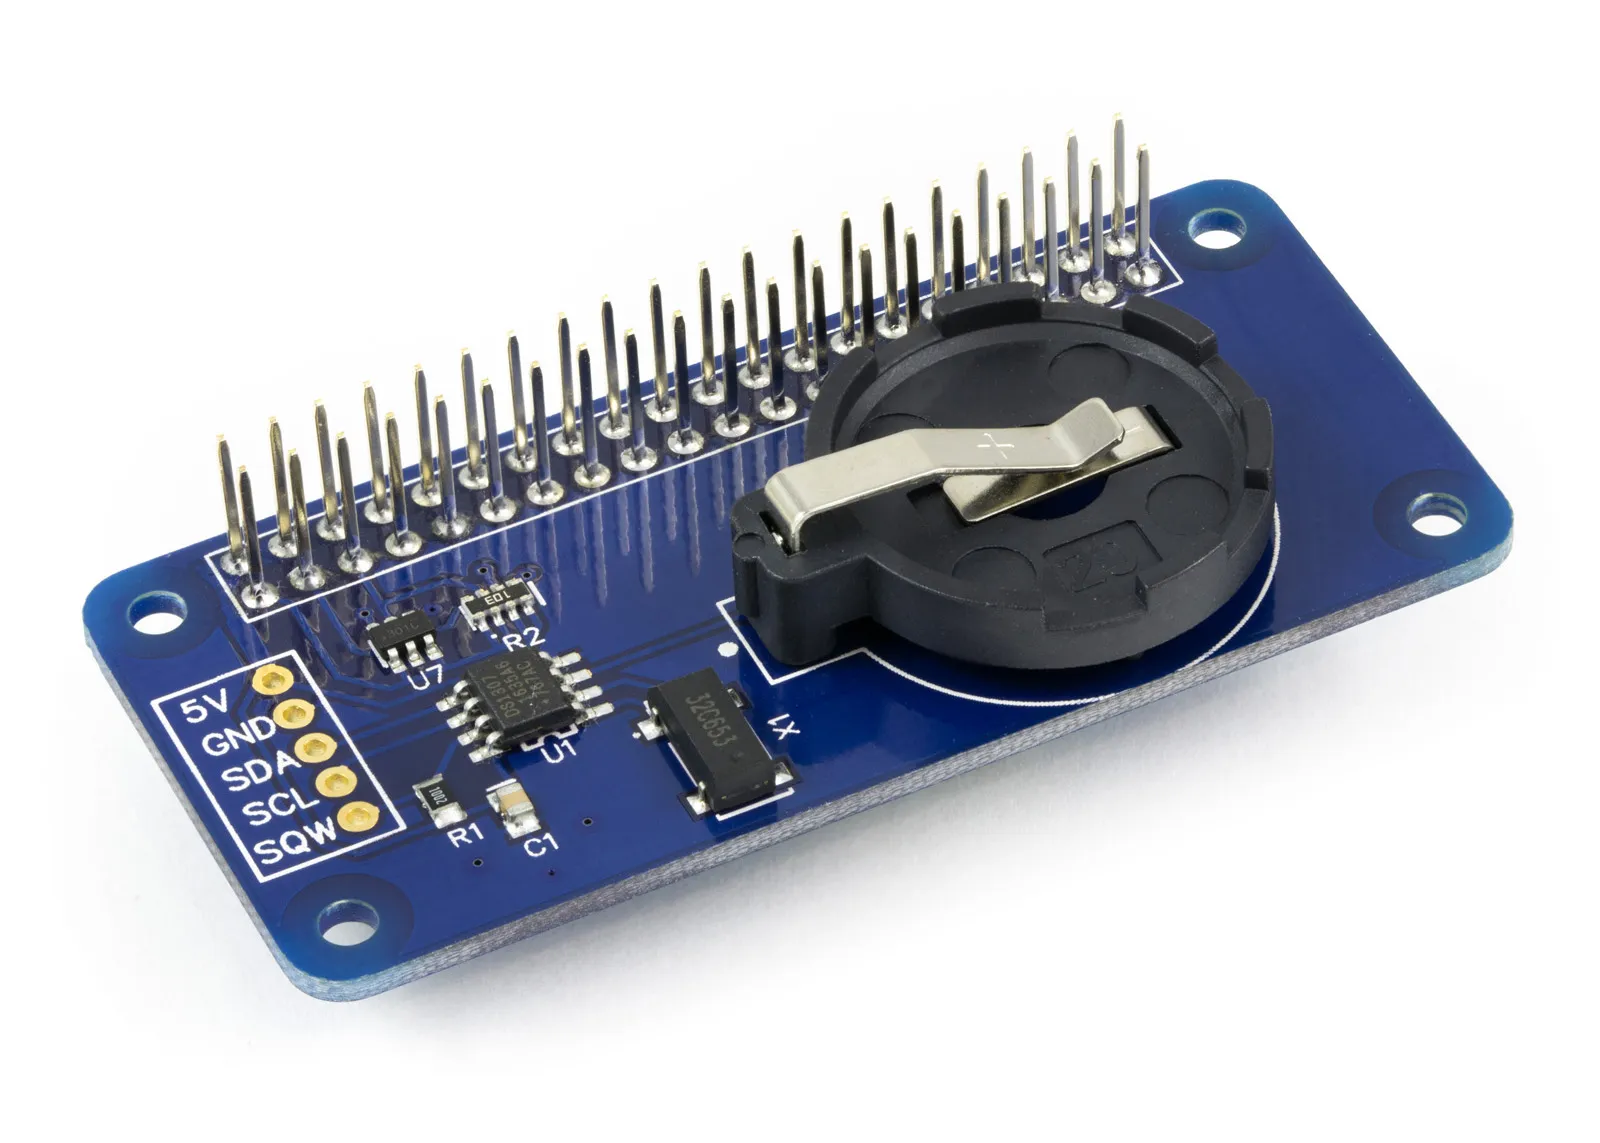
Servo PWM Pi
16 Channel 12-bit PWM and Servo Driver with I2C interface using PCA9685 for driving LEDs and RC servos
£9.49 ex VAT