The AB Electronics UK Knowledge Base provides support solutions, tutorials and troubleshooting guides.

YOU WILL NEED THIS BOARD
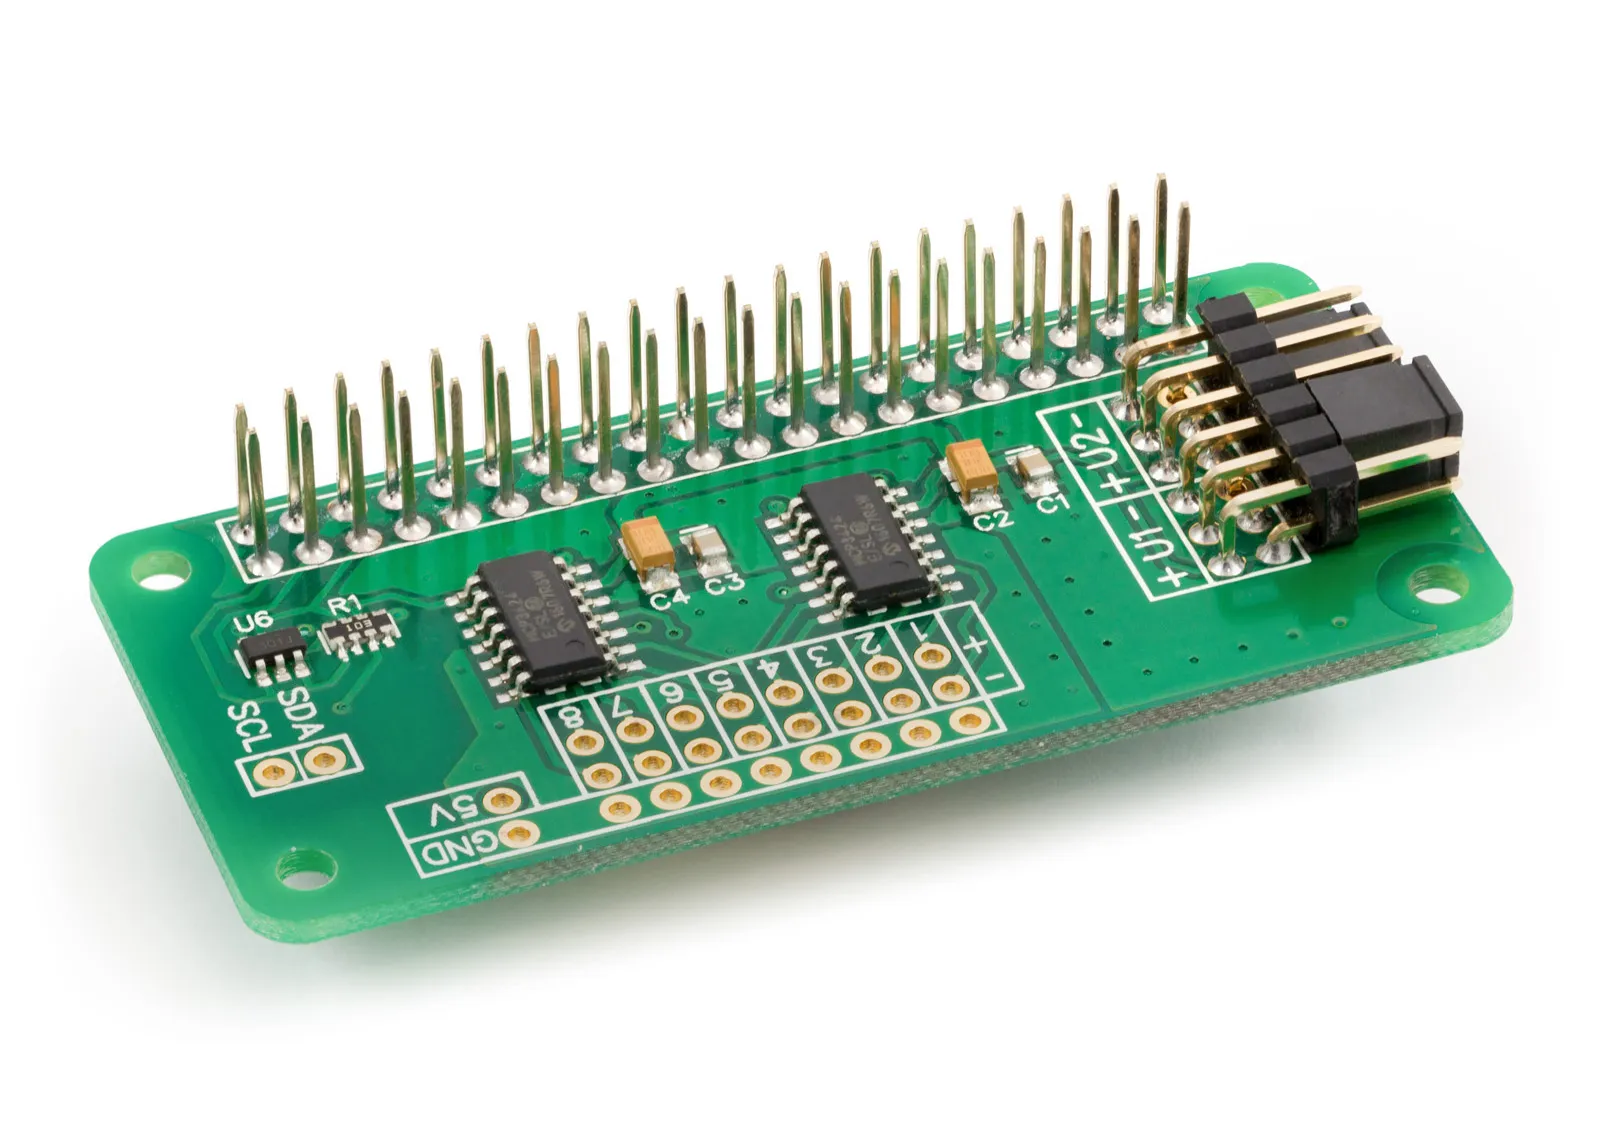
ADC Differential Pi
8 Channel 18-bit Differential Analogue to Digital converter development board for the Raspberry Pi
£16.99 ex VAT
.Net Core Library to use with the ADC Differential Pi Raspberry Pi development boards.
Downloading and Installing the .Net Core Libraries
Download the zip archive containing the code demos and libraries from GitHub.
ADC Differential Pi Methods
Connect()
Open a connection with the ADC Differential Pi.
Parameters: none
Returns: null
IsConnected()
Shows if there is a connection with the ADC Differential Pi.
Parameters: none
Returns: boolean
Dispose()
Dispose of the active I2C device
Parameters: none
Returns: null
ReadVoltage(byte channel)
Read the voltage from the selected channel
Parameters: channel as a byte - 1 to 8
Returns: number as double between -2.048 and 2.048
ReadRaw(byte channel)
Read the raw int value from the selected channel
Parameters: channel as a byte - 1 to 8
Returns: raw integer value from ADC buffer
ADC Differential Pi Parameters
byte PGA { get; set; }
Gets or sets the PGA (Programmable Gain Amplifier) gain. Set to 1, 2, 4 or 8
Parameters: gain as byte - 1, 2, 4, 8
Returns: byte - 1, 2, 4 or 8
byte BitRate { get; set; }
Gets or sets the sample resolution bit rate.
12 = 12 bit (240SPS max)
14 = 14 bit (60SPS max)
16 = 16 bit (15SPS max)
18 = 18 bit (3.75SPS max)
Returns: 12, 14, 16, 18
byte ConversionMode { get; set; }
Gets or sets the conversion mode for the ADC.
0 = One shot conversion mode, 1 = Continuous conversion mode
Returns: 0 or 1
ADC Differential Pi Usage
To use the ADC Differential Pi library in your code you must first import the library DLL:
using ABElectronicsUK;
Next, you must initialise the adc class:
ABElectronicsUK.ADCDifferentialPi adc = new ADCDifferentialPi(0x68, 0x69);
The arguments are the two I2C addresses of the ADC chips. The values shown are the default addresses of the ADC Differential Pi board.
Next, we need to connect to the device and wait for the connection before setting the bit rate and gain. The sample rate can be 12, 14, 16 or 18
adc.Connect();

while (!adc.IsConnected){}
adc.BitRate = 18;
adc.PGA = 1;
You can now read the voltage from channel 1 with:
double readvalue = 0;

readvalue = adc.ReadVoltage(1);
Also useful for your Raspberry Pi project
Temperature & Sensing
1 Wire Pi Plus
Connect dozens of 1-Wire sensors - temperature, iButtons, EEPROMs - via a single GPIO pin. Stacks directly on the 40-pin header.
Analogue I/O
ADC Pi
Read up to 8 analogue inputs - perfect for pairing with your temperature sensors or other analogue-output devices.
All-in-one
Expander Pi
Combines ADC, DAC, 32 GPIO ports and a real-time clock on one board. The most versatile board for complex Raspberry Pi projects.
Chapters
Related Articles
Order these Boards
ADC Differential Pi
8 Channel 18-bit Differential Analogue to Digital converter development board for the Raspberry Pi
£16.99 ex VAT