The AB Electronics UK Knowledge Base provides support solutions, tutorials and troubleshooting guides.

YOU WILL NEED THIS BOARD
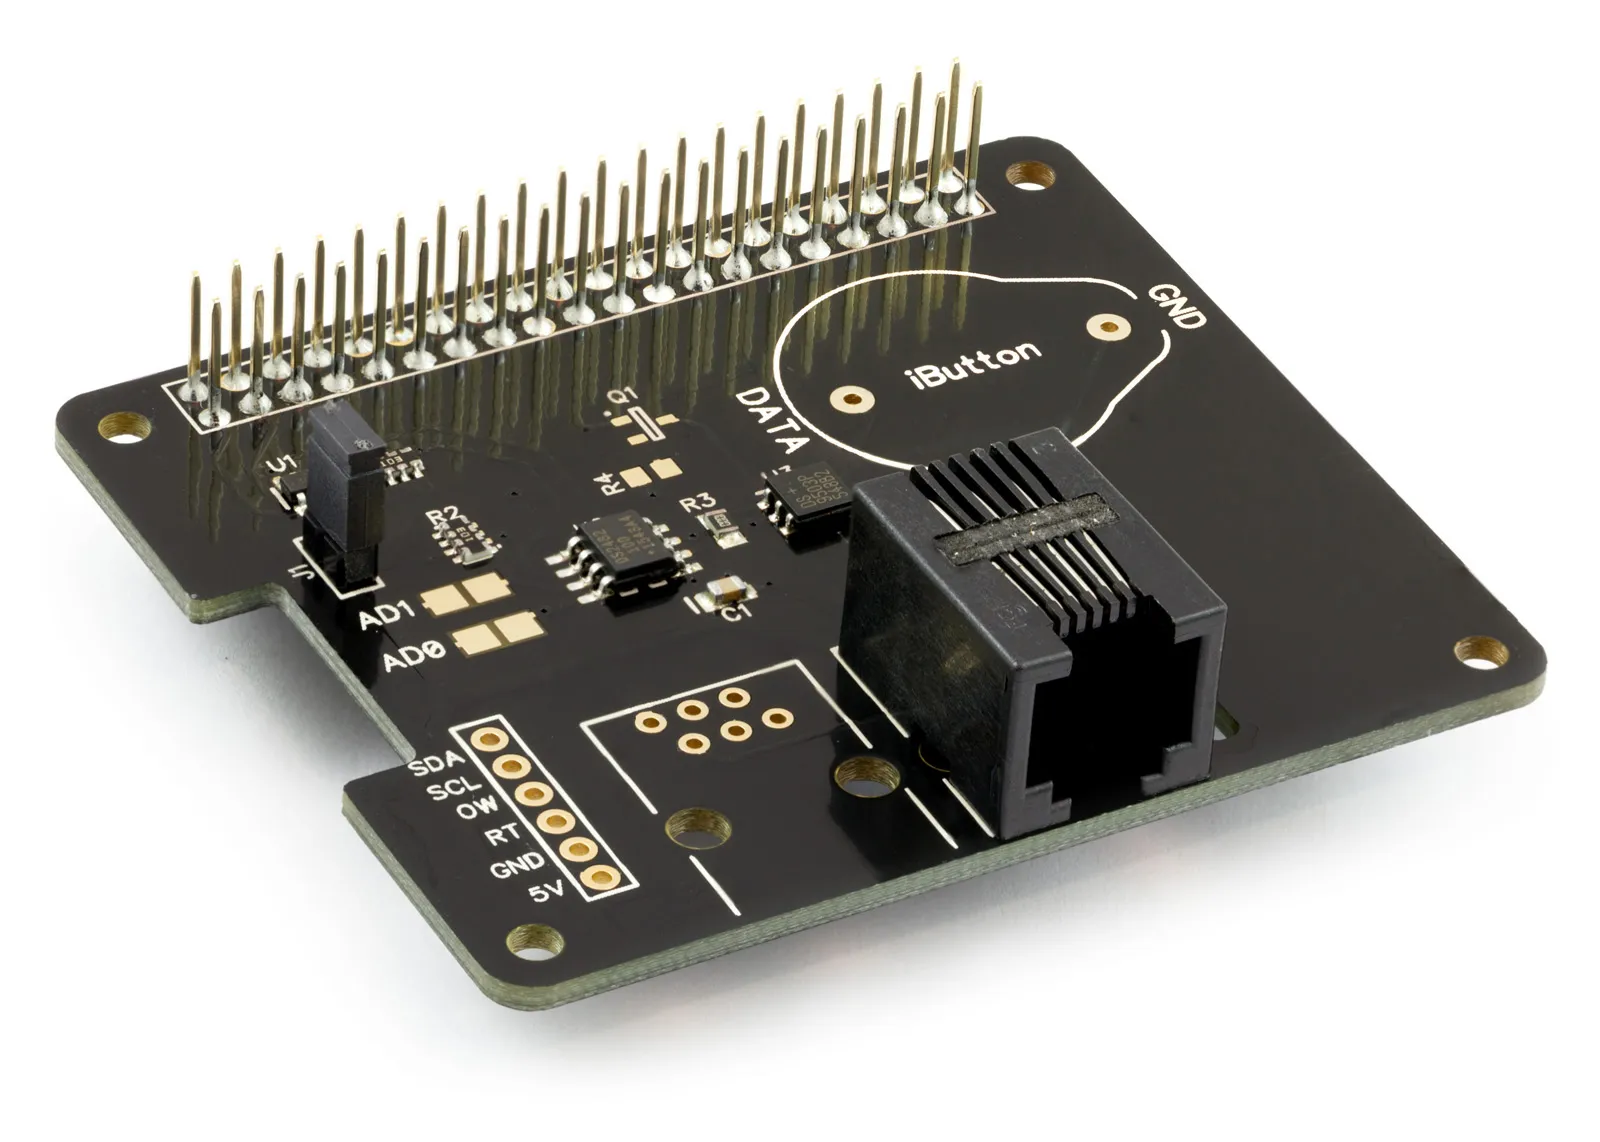
1 Wire Pi Plus
1 Wire interface development board for the Raspberry Pi and Single-Board Computers
£11.99 ex VAT
The w1 subsystem is a kernel driver and framework for Linux that manages communication between the 1-Wire master and slave devices. W1 supports a range of 1-Wire masters, including the DS2482-100 used on the 1 Wire Pi Plus and 1 Wire Pi Zero. For a full explanation of how the w1 subsystem works and its supporting devices, visit Kernel.org.
In this tutorial, you will learn how to enable the w1 subsystem, connect it to the 1 Wire Pi and search for slave devices on the 1-Wire bus.
Before using the w1 subsystem with the 1 Wire Pi, you must enable the I²C interface on your Raspberry Pi. Follow the steps in our tutorial “I2C Part 2 - Enabling I²C on the Raspberry Pi” to enable the I²C interface.
With I²C enabled, check that the 1 Wire Pi is available on the I²C bus by running the following command in a terminal.
sudo i2cdetect -y 1
The 1 Wire Pi should appear on address 0x18, as shown in the screenshot below.
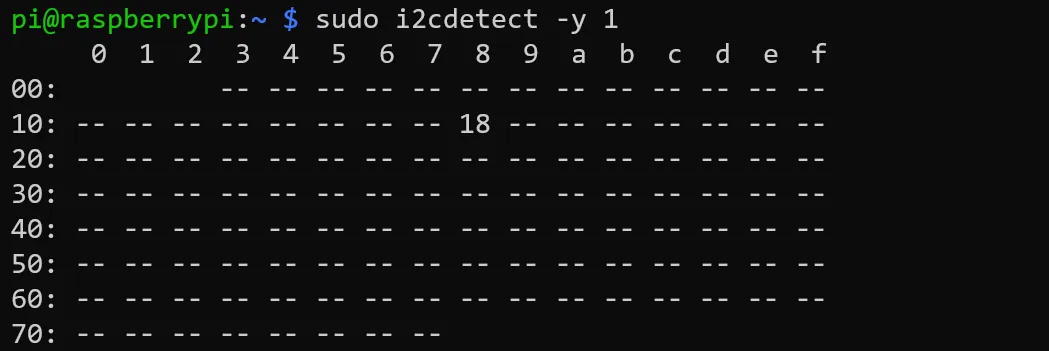
If the 1 Wire Pi does not appear on the I²C bus, go through the I²C tutorial again to make sure you did not miss any steps and check that the power jumper on the board is connected, J1 on the 1 Wire Pi Plus and POWER on the 1 Wire Pi Zero.
Enabling the ds2482 kernel driver and the w1 subsystem driver
The next step is to enable the ds2482 kernel driver and the w1 subsystem driver. Run the three commands below in a terminal window.
sudo modprobe ds2482
sudo sh -c "echo ds2482 0x18 > /sys/bus/i2c/devices/i2c-1/new_device"
sudo modprobe wire
The modprobe ds2482 command enables the kernel driver for the master controller on the 1 Wire Pi. The second command creates a new I²C device with the ds2482 driver on address 0x18. The third command enables the w1 subsystem.
Starting w1 at boot time
The above commands will enable the w1 subsystem for the current session; when you reboot the Raspberry Pi, the w1 subsystem will be disabled again. To make the w1 subsystem load at boot time, you can add the commands into the /etc/rc.local file. Open “rc.local” in the nano editor using the following command.
sudo nano /etc/rc.local
At the bottom of the file, paste the following text above the “exit 0” line.
modprobe ds2482
sh -c "echo ds2482 0x18 > /sys/bus/i2c/devices/i2c-1/new_device "
modprobe wire
Save the file and reboot your Raspberry Pi.
sudo reboot
The w1 subsystem should now start when the Raspberry Pi boots.
Using 1-Wire slave devices
1-Wire devices detected by the w1 subsystem will be available in the /sys/bus/w1/devices/ directory. You can list the available devices using the following command.
ls /sys/bus/w1/devices/
Each device will be displayed as a directory name based on the device’s unique identity number. For example, a 1-Wire bus containing a DS18B20 temperature sensor and a DS1920 iButton temperature sensor may have the following directory names.

The DS18B20 has a name beginning with 28- so we can quickly identify the device type based on the name.
Listing the contents of the 28-000003c44408 directory can be done using the following commands.
cd /sys/bus/w1/devices/28-000003c44408
ls
A list of files and directories will be displayed.

Each parameter available in the 1-Wire device is represented as a file. For example, to get the temperature from the DS18B20, we need to read the contents of the “temperature” file. We can do this using the cat command.
cat temperature
The cat command will return an integer number, for example, 25625. To get the temperature, you divide the number by 1000.
25625 / 1000 = 25.625
The temperature is 25.625°C
The resolution file containing 12 indicates that the device is currently set to 12-bit resolution. The DS18B20 can work in 9-bit, 10-bit, 11-bit and 12-bit modes. The smaller bit sizes have a faster conversion time.
If we want to change the resolution to the 9-bit mode, we can write the number 9 to the resolution file using the echo command.
sudo sh -c "echo 9 > /sys/bus/w1/devices/28-000003c44408/resolution"
Reading the contents of the resolution file using the cat command will show that it has been updated to 9.
cat resolution

If we reread the temperature file, we will find that the value shows 25000. A 9-bit value has a lower resolution than a 12-bit value, so the temperature will be less accurate, but the time taken to read each temperature has been reduced from 750ms to 95ms. To verify this, you can read the conv_time file containing the conversion time in milliseconds.
You can use the same method of reading from and writing to files in other 1-Wire devices.
Also useful for your Raspberry Pi project
Temperature & Sensing
1 Wire Pi Plus
Connect dozens of 1-Wire sensors - temperature, iButtons, EEPROMs - via a single GPIO pin. Stacks directly on the 40-pin header.
Analogue I/O
ADC Pi
Read up to 8 analogue inputs - perfect for pairing with your temperature sensors or other analogue-output devices.
All-in-one
Expander Pi
Combines ADC, DAC, 32 GPIO ports and a real-time clock on one board. The most versatile board for complex Raspberry Pi projects.
Chapters
Related Articles
Order these Boards
1 Wire Pi Plus
1 Wire interface development board for the Raspberry Pi and Single-Board Computers
£11.99 ex VAT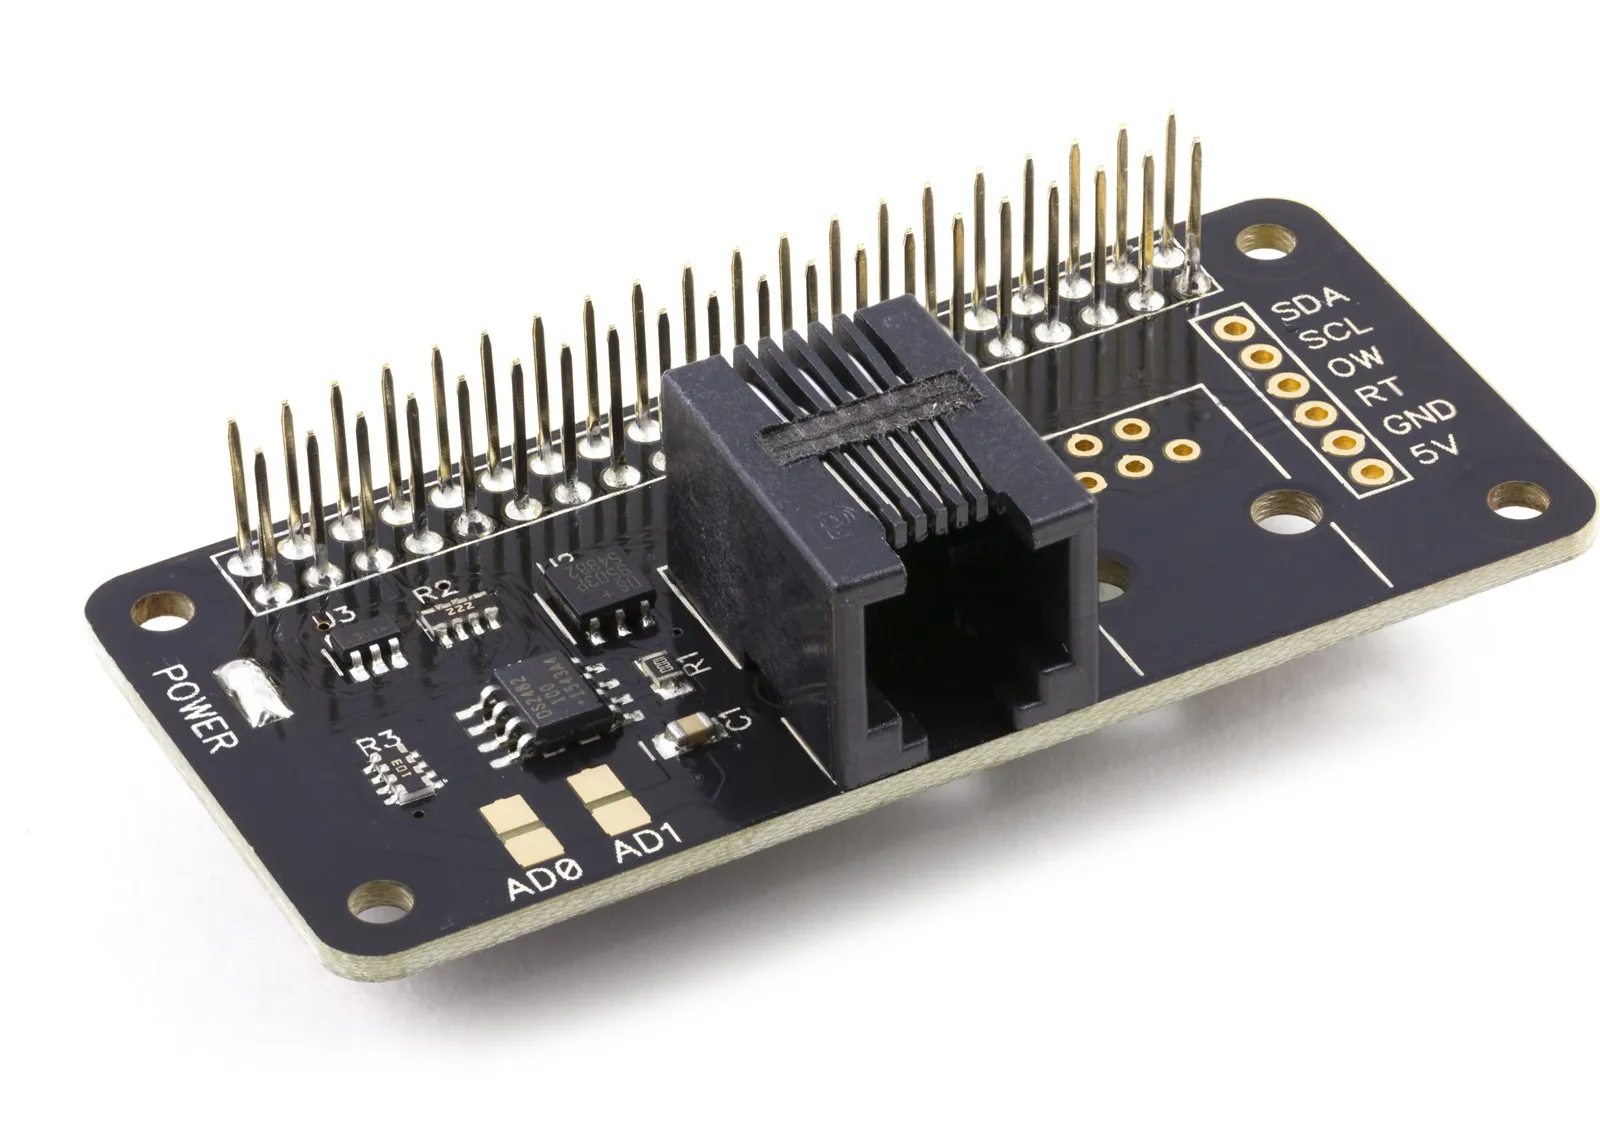
1 Wire Pi Zero
1 Wire interface development board for the Raspberry Pi Zero and Single-Board Computers
£11.49 ex VAT