The AB Electronics UK Knowledge Base provides support solutions, tutorials and troubleshooting guides.

The Asus Tinker Board contains two SPI buses on the 40-pin GPIO header named SPI0 and SPI2, as shown in the image below.

SPI0 uses the following pins:
11: SPI0CLK (Clock Output)
13: SPI0_TXD (Transmit)
15: SPI0_RXD (Receive)
29: SPI0CSN0 (Cable Select 0)
31: SPI0CSN1 (Cable Select 1)
SPI2 uses the following pins:
19: SPI2_TXD (Transmit)
21: SPI2_RXD (Receive)
23: SPI2CLK (Clock Output)
24: SPI2CSN0 (Cable Select 0)
26: SPI2CSN1 (Cable Select 1)
Note: On the Raspberry Pi, the SPI bus on pins 19 to 26 is called SPI0; on the Asus Tinker Board, it is called SPI2. To use any software designed for the Raspberry Pi, you may need to change the SPI address to 2 to use it on the Tinker Board.
This page details how to set up SPI support for the SPI2 bus, which is used by most Raspberry Pi compatible hats and development boards, including those from AB Electronics UK.
Step 1: Download the latest TinkerOS Debian image for your Tinker Board and burn it to your SD Card following the instructions on eLinux.
Step 2: Next, you need to update your Tinker Board to ensure all the latest packages are installed:
sudo apt-get update
sudo apt-get upgrade
Step 3: Once you have updated your Tinker Board, run the following command to install the Python smbus and dev packages:
sudo apt-get install python3-smbus python3-dev
Step 4: Edit the /boot/config.txt file using nano or your preferred text editor:
sudo nano /boot/config.txt
Uncomment the line "intf:spi2=on" shown in the screenshot below, and save the file. To use the SPI0 bus, uncomment the "intf:spi0=on" line.

Step 5: Next, reboot the Tinker Board:
sudo reboot
When your Tinker Board has rebooted, you will now have SPI support.
Installing py-spidev
To use the AB Electronics UK python library with the Asus Tinker Board, you will need to install the py-spidev package.
You can download the latest py-spidev and the setup python script from GitHub using the git command.
git clone https://github.com/doceme/py-spidev.git
Once downloaded, install py-spidev by running setup.py
cd py-spidev
sudo python3 setup.py install
py-spidev should now be available to use on your Tinker Board.
Also useful for your Raspberry Pi project
Temperature & Sensing
1 Wire Pi Plus
Connect dozens of 1-Wire sensors - temperature, iButtons, EEPROMs - via a single GPIO pin. Stacks directly on the 40-pin header.
Analogue I/O
ADC Pi
Read up to 8 analogue inputs - perfect for pairing with your temperature sensors or other analogue-output devices.
All-in-one
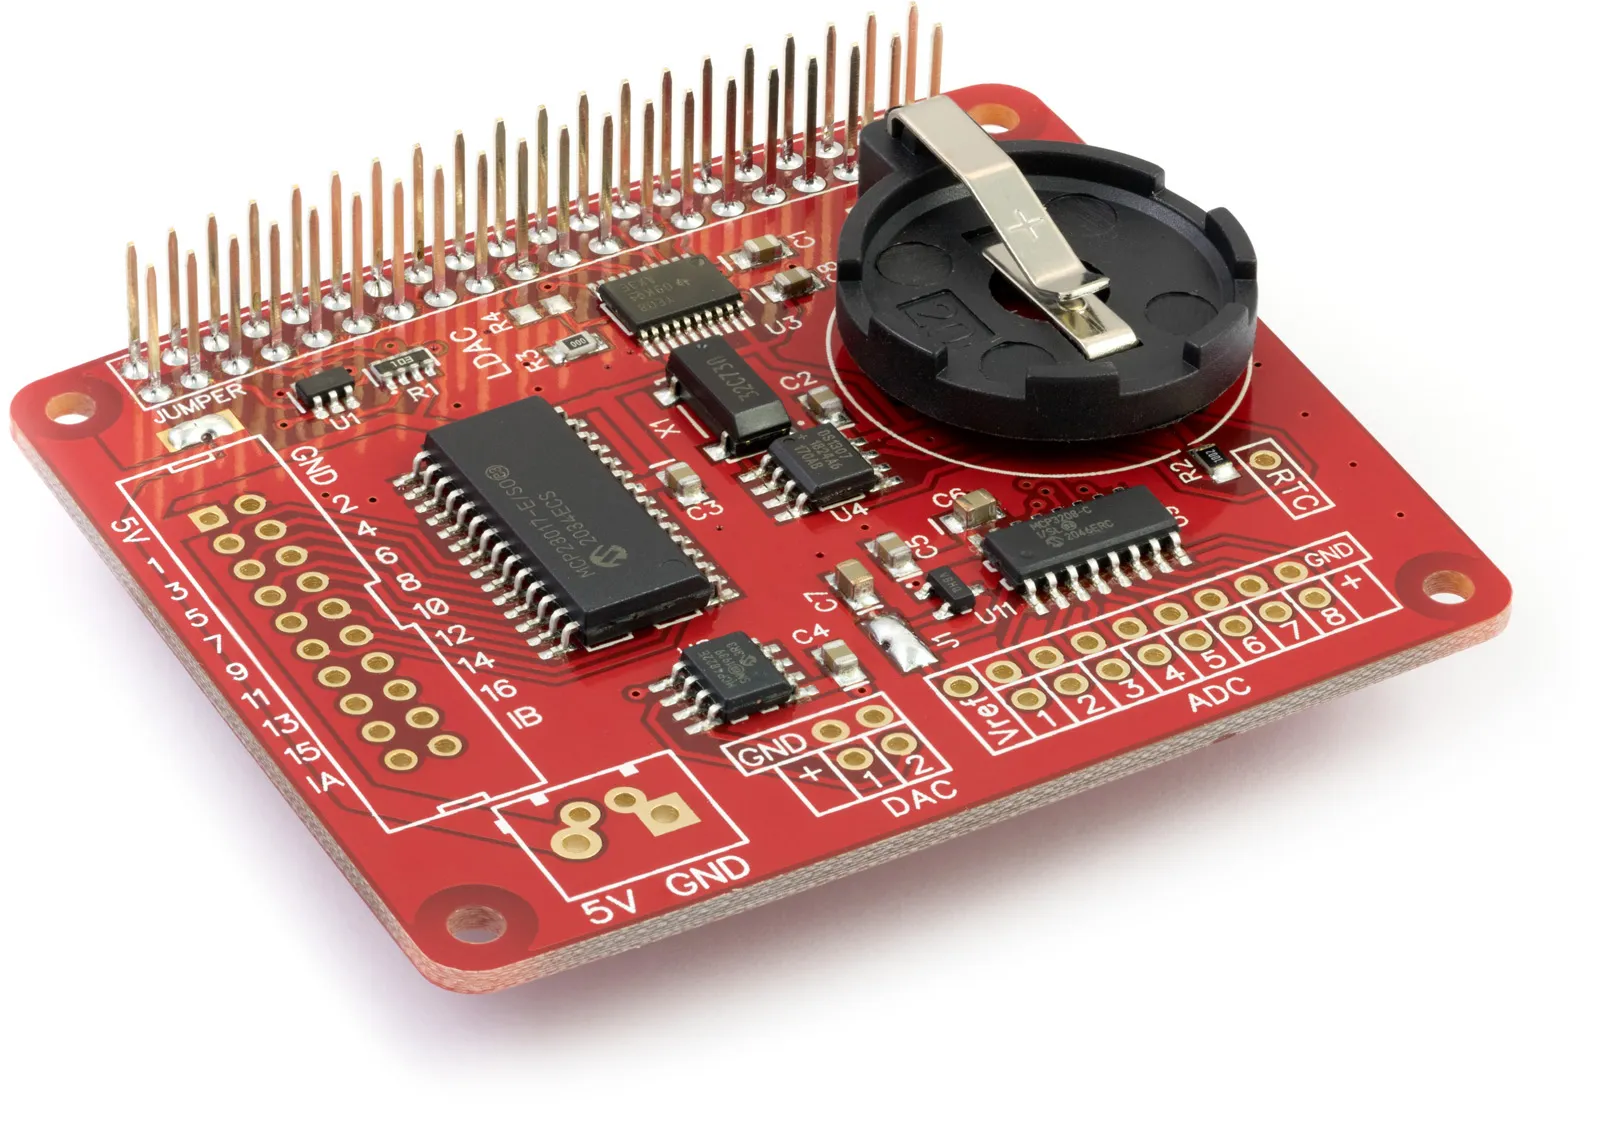
Expander Pi
Combines ADC, DAC, 32 GPIO ports and a real-time clock on one board. The most versatile board for complex Raspberry Pi projects.
Related Articles
Order these Boards
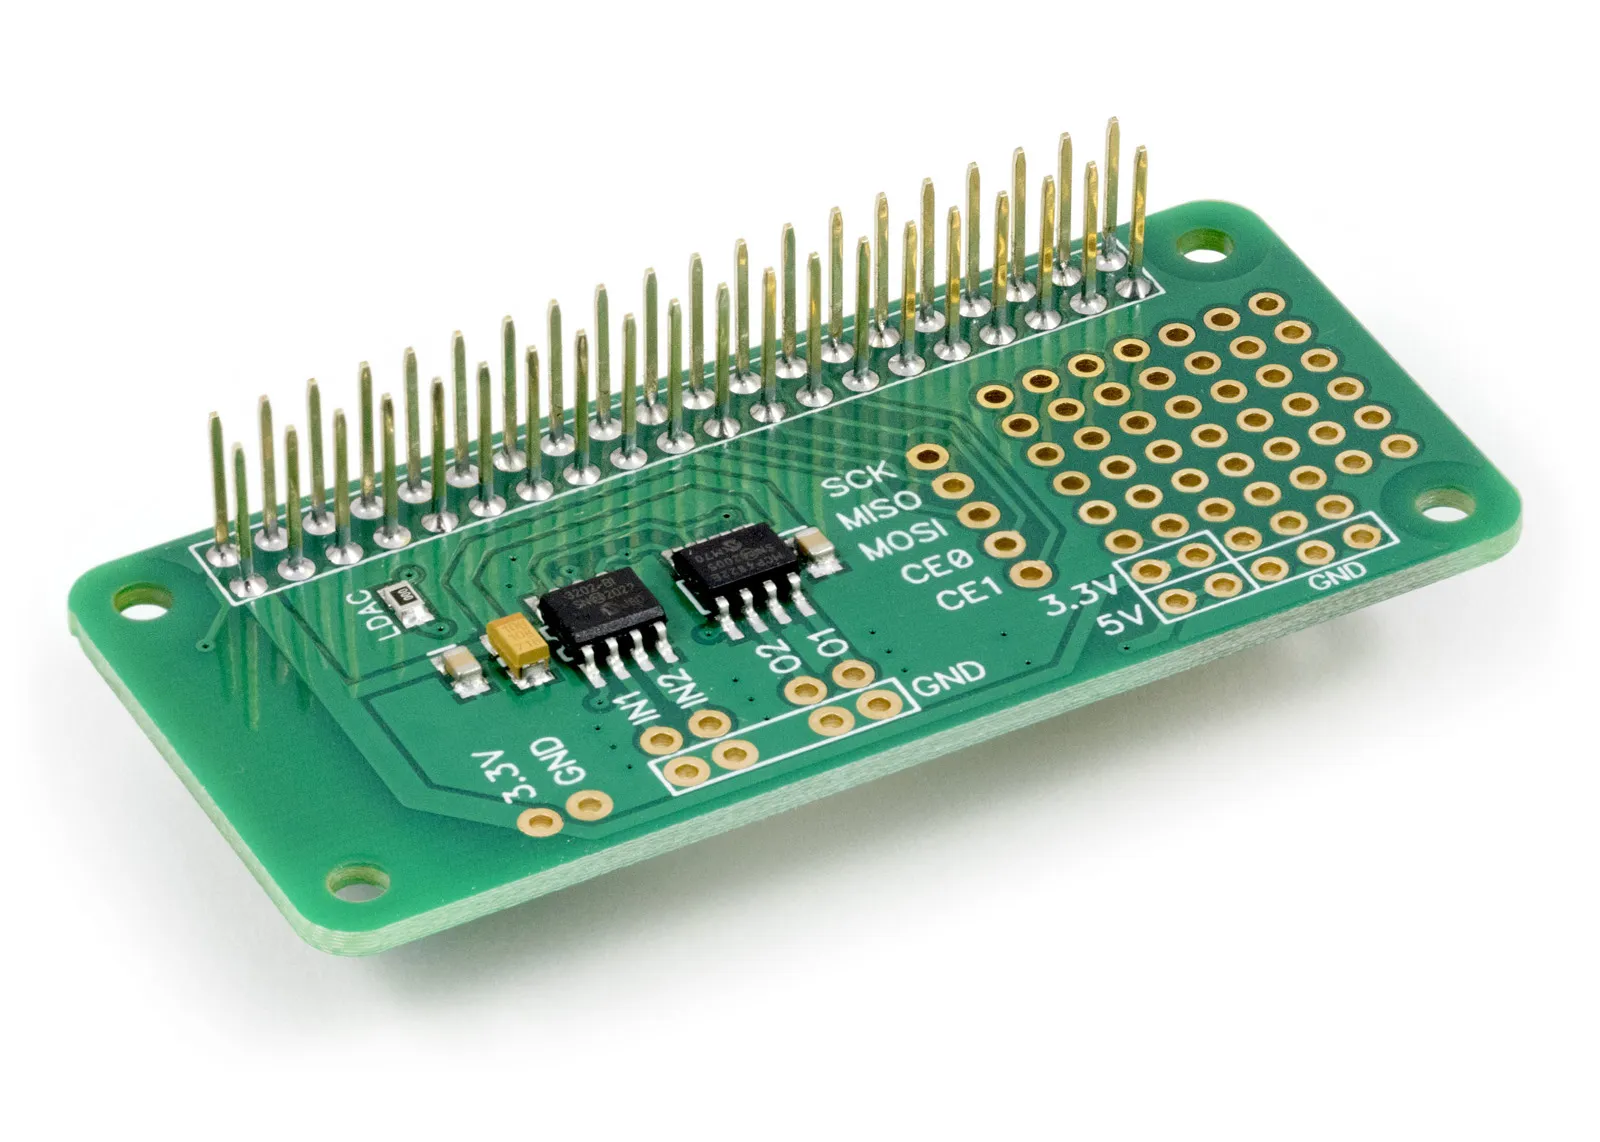
ADC-DAC Pi Zero
2 Channel ADC and 2 Channel DAC development board for the Raspberry Pi
£12.49 ex VAT