The AB Electronics UK Knowledge Base provides support solutions, tutorials and troubleshooting guides.

This page details how to set up a static network IP address on the Ethernet connection on the Raspberry Pi OS Wheezy image, released September 2013, from https://www.raspberrypi.com/software/operating-systems/.
We will give the Raspberry Pi a static IP address of 10.0.0.220. The router/gateway address will be set at 10.0.0.1, and the DNS server will also be set to 10.0.0.1
Step 1: Find the name of the network device using the command ifconfig
ifconfig
A list of the available network devices will be shown. The ethernet port is typically called eth0.
Step 2: Now we need to create a file in /etc/network/interfaces.d/ called eth0
sudo nano /etc/network/interfaces.d/eth0
Step 3: Add the following text into nano. Change the address, network, netmask and gateway to match your network. If necessary, change eth0 to the name of your network interface.
allow-hotplug eth0
iface eth0 inet static
address 10.0.0.220
network 10.0.0.0
netmask 255.255.255.0
gateway 10.0.0.1
Step 4: Reboot to apply the changes:
sudo reboot
Your Raspberry Pi will restart and be accessible on the new IP address
Also useful for your Raspberry Pi project
Temperature & Sensing
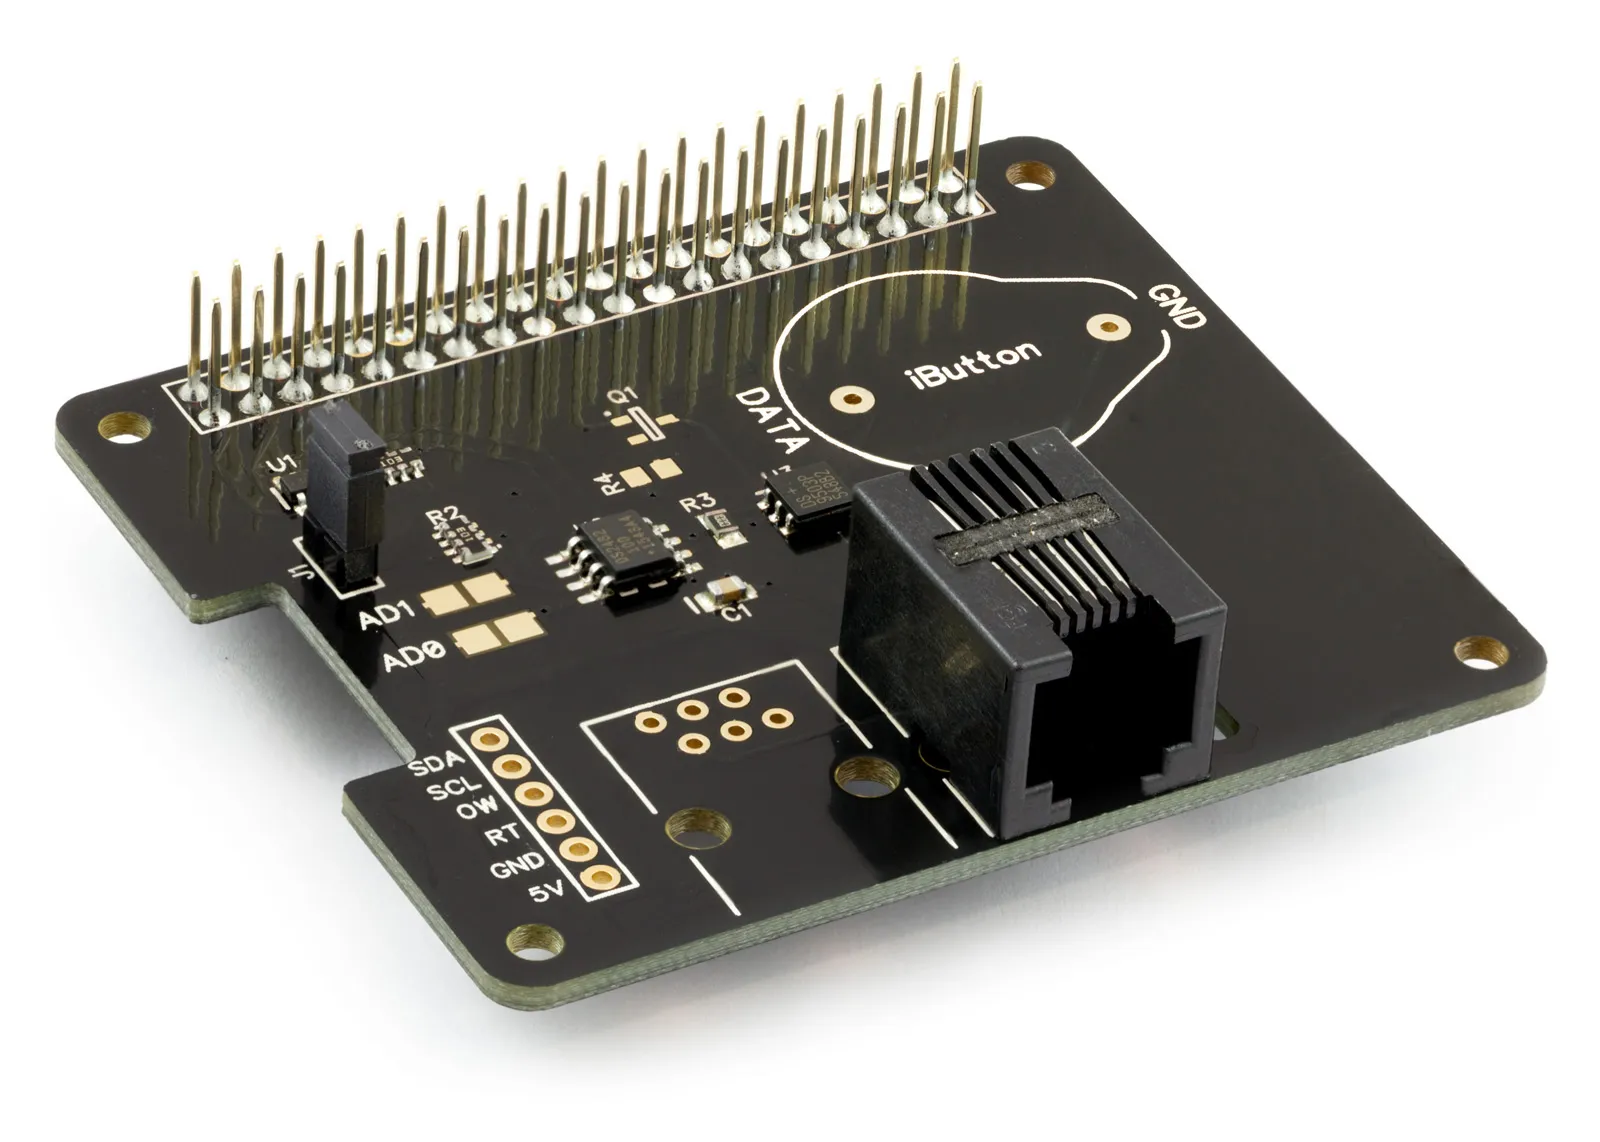
1 Wire Pi Plus
Connect dozens of 1-Wire sensors - temperature, iButtons, EEPROMs - via a single GPIO pin. Stacks directly on the 40-pin header.
Analogue I/O
ADC Pi
Read up to 8 analogue inputs - perfect for pairing with your temperature sensors or other analogue-output devices.
All-in-one
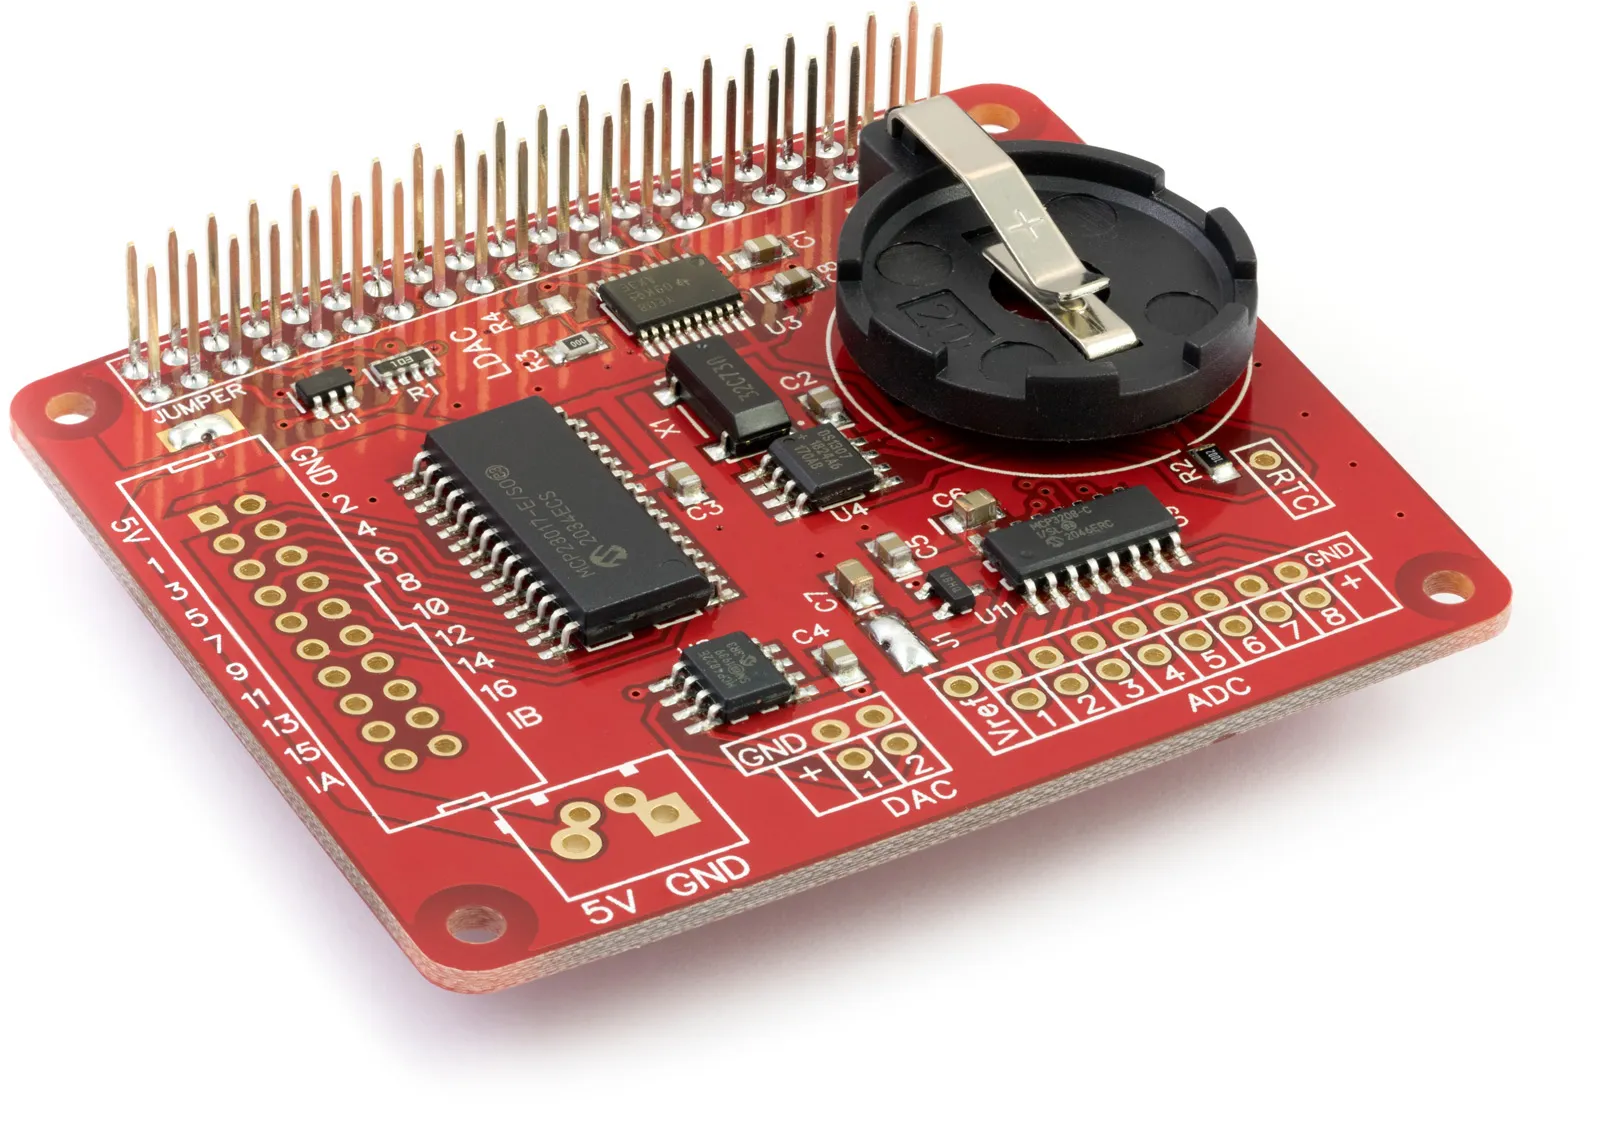
Expander Pi
Combines ADC, DAC, 32 GPIO ports and a real-time clock on one board. The most versatile board for complex Raspberry Pi projects.
Related Articles
- Raspberry Pi GPIO Pins
- PCB Header Assembly Jig
- Samba Setup on Raspberry Pi
- Set a static IP Address on Raspberry Pi OS Trixie
- Set a static IP Address on Raspberry Pi OS Buster
- Set a static IP Address on Raspberry Pi OS Wheezy
- I2C Part 1 - Introducing I2C
- I2C Part 2 - How to Enable I2C on the Raspberry Pi
- I2C Part 3 - I2C tools in Linux
- I2C Part 4 - Programming I2C with Python
- SPI and Python on Raspberry Pi OS
- Using Pythonpath with our Python Libraries
- Connecting Development Boards to the Raspberry Pi 400
Order these Boards
1 Wire Pi Plus
1 Wire interface development board for the Raspberry Pi and Single-Board Computers
£11.99 ex VAT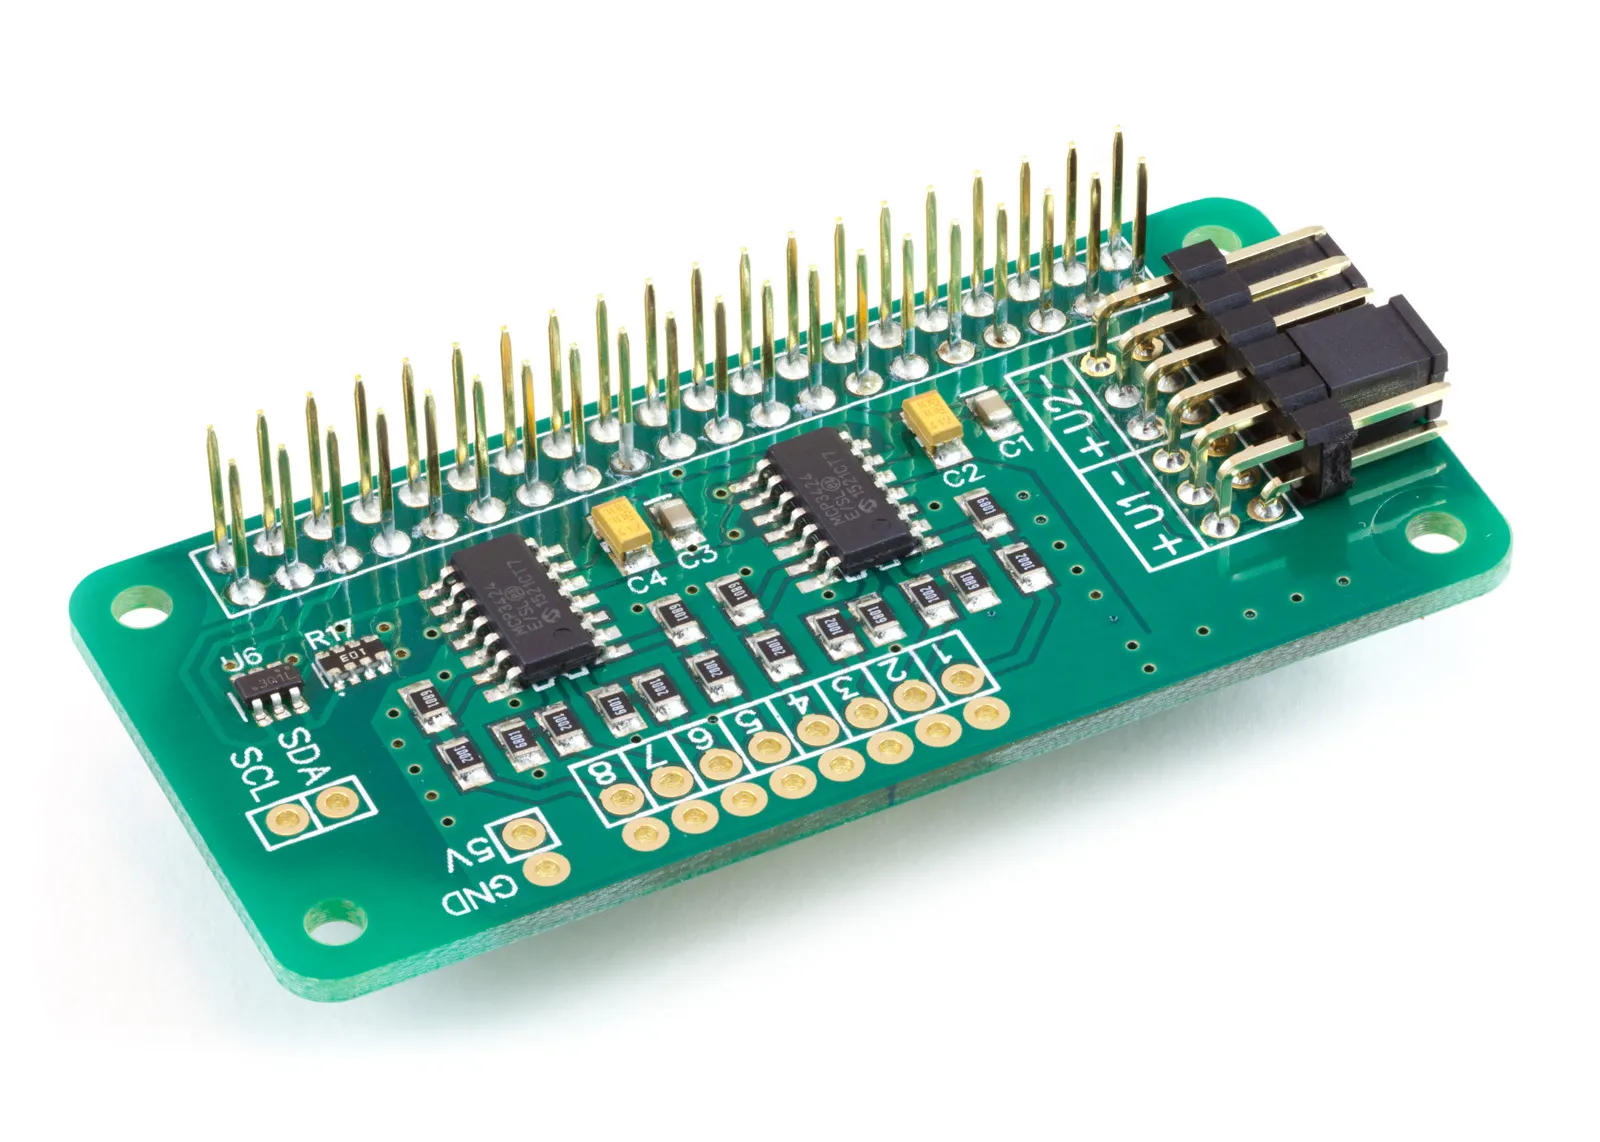
ADC Pi
8 Channel 17-bit Single-Ended Analogue to Digital Converter for the Raspberry Pi and Single-Board Computers
£17.99 ex VAT

Serial Pi Plus
RS232 Serial Port development board for the Raspberry Pi and Single-Board Computers
£10.99 ex VAT