The AB Electronics UK Knowledge Base provides support solutions, tutorials and troubleshooting guides.

YOU WILL NEED THIS BOARD
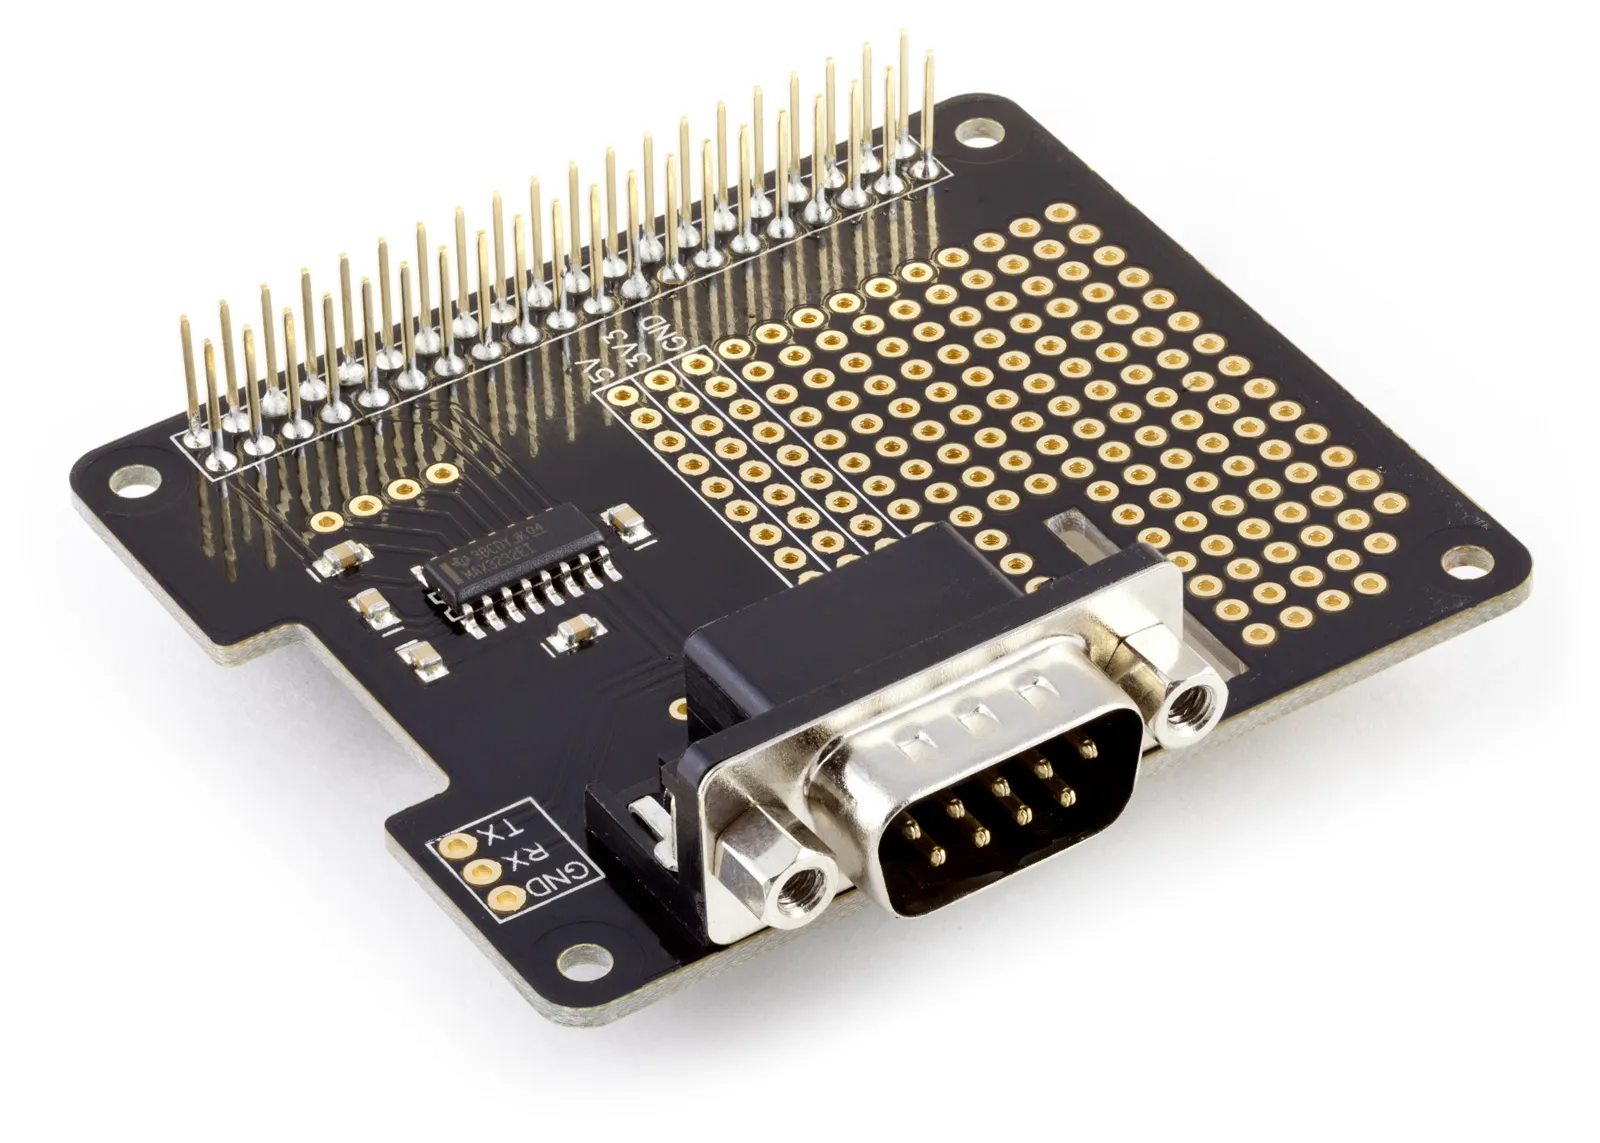
Serial Pi Plus
RS232 Serial Port development board for the Raspberry Pi and Single-Board Computers
£10.99 ex VAT
You can test if the UART port on your Raspberry Pi works by performing a loopback.
Connect the RX and TX pins on the Serial Pi Plus or Serial Pi Zero, as shown in the image below.

If you are using the UART port without any development boards attached, you can connect the UART RX (pin 8) and TX (pin 10) pins on the 40-pin GPIO header. Connecting the RX and TX together will send any data transmitted from the Raspberry Pi through the TX pin back to the receive buffer through the RX pin.
We will use the minicom terminal program to perform the test. If you do not have minicom installed, install it using apt.
sudo apt install minicom
Launch minicom with the following command.
minicom -b 115200 -D /dev/ttyS0
The -b parameter sets the baud rate at 115200, and the -D parameter specifies the target UART port as ttyS0.
Note: If you have changed the Raspberry Pi to use the PL011 UART driver you will need to use the /dev/ttyAMA0 device.
When minicom starts, try typing some characters on your keyboard. If the UART port works, anything you type will be echoed or looped back into the receive buffer and appear on the minicom display. If you only get a blank screen as you type, there is a problem with the UART connection. In this case, try going through the serial port setup tutorial steps to check that the Raspberry Pi is configured correctly.
You can exit minicom using the keyboard keys CTRL-A q ENTER.
Also useful for your Raspberry Pi project
Temperature & Sensing
1 Wire Pi Plus
Connect dozens of 1-Wire sensors - temperature, iButtons, EEPROMs - via a single GPIO pin. Stacks directly on the 40-pin header.
Analogue I/O
ADC Pi
Read up to 8 analogue inputs - perfect for pairing with your temperature sensors or other analogue-output devices.
All-in-one
Expander Pi
Combines ADC, DAC, 32 GPIO ports and a real-time clock on one board. The most versatile board for complex Raspberry Pi projects.
Related Articles
Order these Boards
Serial Pi Plus
RS232 Serial Port development board for the Raspberry Pi and Single-Board Computers
£10.99 ex VAT
Serial Pi Zero
RS232 serial interface for the Raspberry Pi Zero and Single-Board Computers
£9.49 ex VAT