The AB Electronics UK Knowledge Base provides support solutions, tutorials and troubleshooting guides.

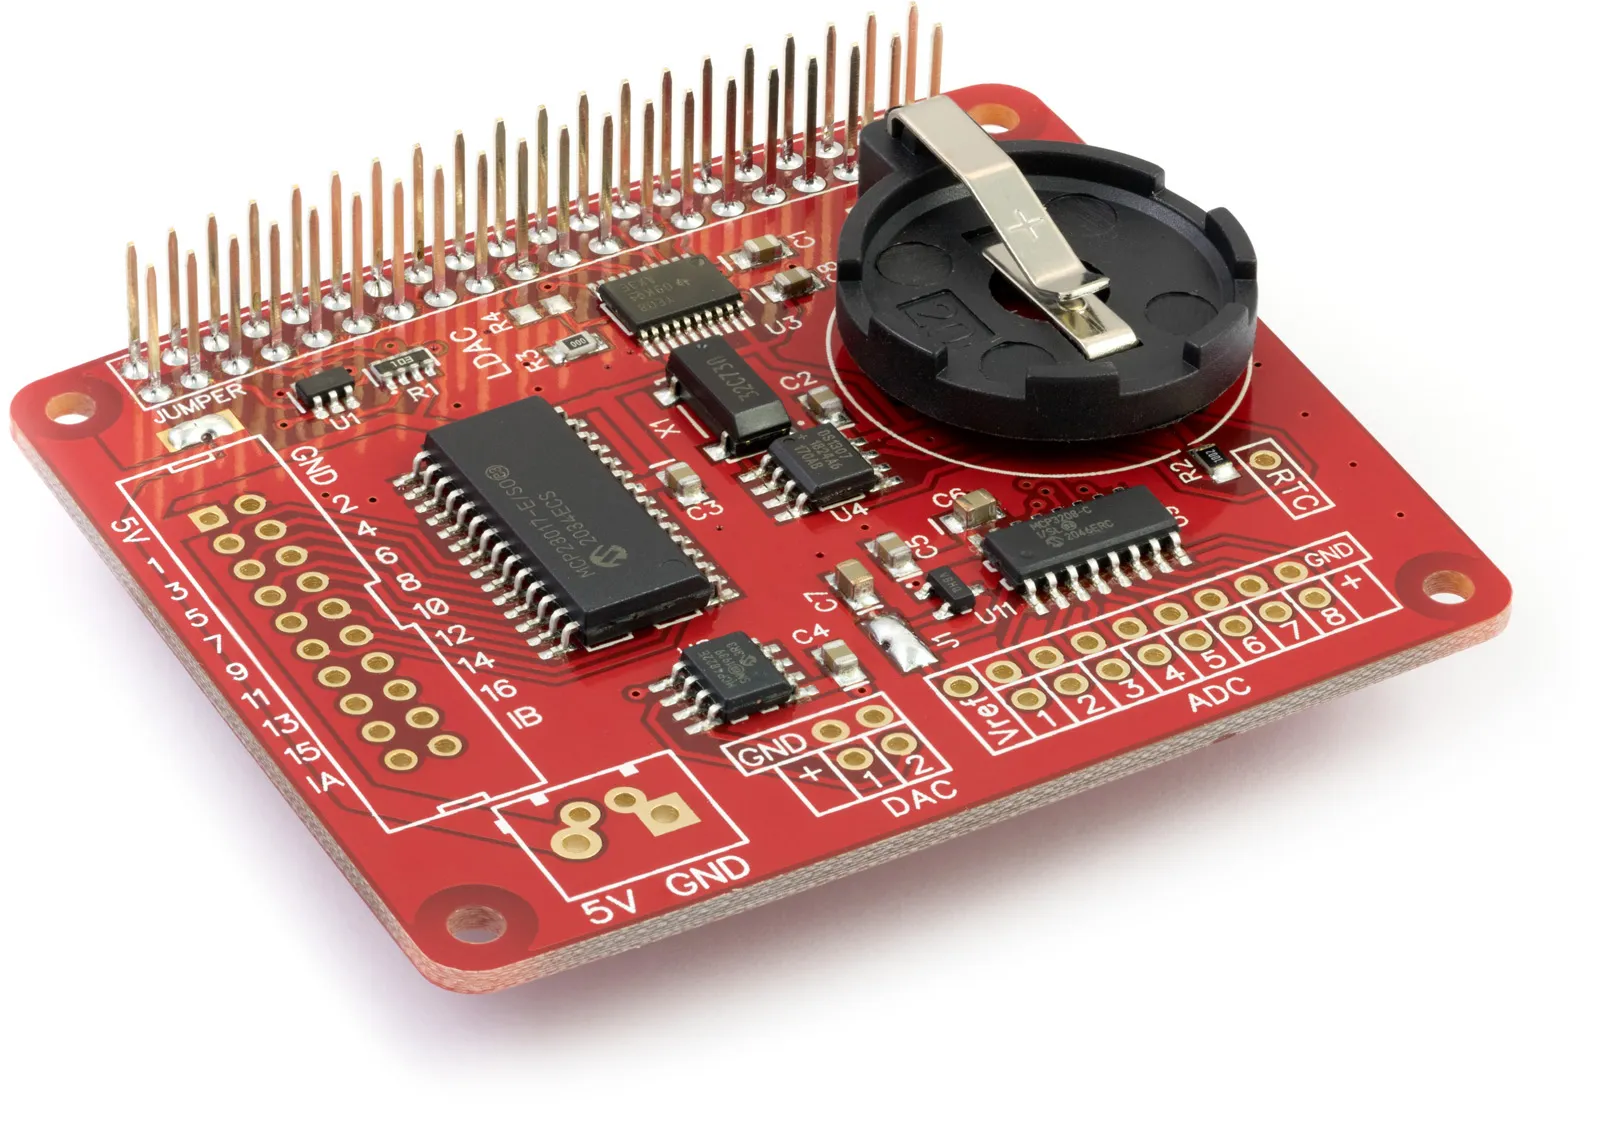
This tutorial will set up SPI Python support on Raspberry Pi OS. SPI is used on our ADC-DAC Pi Zero 2 Channel ADC and 2 Channel DAC development board for the Raspberry Pi and our Expander Pi
Analogue, Digital and RTC development interface.
SPI can be used with Python. You can download Raspberry Pi OS from Raspberry Pi
Enabling the SPI bus
The SPI bus is disabled by default on Raspberry Pi OS. If you use Raspberry Pi OS (Raspian Linux) 3.18 or later, you must go into the Raspberry Pi config utility and enable the SPI kernel module.
sudo raspi-config
Select 3 Interface Options and then I4 SPI - Enable/disable automatic loading of SPI kernel module. A prompt will appear asking Would you like the SPI interface to be enabled? Select Yes, select OK on the following prompt, and then select Finish to exit the utility; then you need to reboot your Raspberry Pi.
sudo reboot
Previous Raspbian Linux Versions
For previous releases before Raspbian Linux 3.18, you need to complete the following steps:
In a terminal window, enter the following command to open raspi-blacklist.conf within the nano text editor.
sudo nano /etc/modprobe.d/raspi-blacklist.conf
Comment out the line blacklist spi-bcm2708 by adding a # to the beginning of the line so it looks like this.
#blacklist spi-bcm2708
Save the file by pressing Ctrl-X and press Y to confirm.
For recent versions of the Raspberry Pi (3.18 kernel or later), you will need to update the /boot/config.txt file. Open the file with nano using the command:
sudo nano /boot/config.txt
Add the following text to the bottom of the file if it does not already exist:
dtparam=spi=on
Save the file by pressing Ctrl-X and press Y to confirm.
Reboot the Raspberry Pi.
sudo reboot
Installing the spidev Python module using apt-get
Now that the SPI port is enabled, we can install the spidev python module. The spidev module can be installed using apt-get or with pip.
To install with apt-get first update the apt repository list.
sudo apt-get update
Once updated, install python3-spidev.
For Python 3, use:
sudo apt-get install python3-spidev
spidev should now be available to use on your Raspberry Pi.
Installing the spidev Python module using pip
If you prefer to install your python packages using pip you can use the following command.
pip3 install spidev
spidev should now be available to use on your Raspberry Pi.
Also useful for your Raspberry Pi project
Temperature & Sensing
1 Wire Pi Plus
Connect dozens of 1-Wire sensors - temperature, iButtons, EEPROMs - via a single GPIO pin. Stacks directly on the 40-pin header.
Analogue I/O
ADC Pi
Read up to 8 analogue inputs - perfect for pairing with your temperature sensors or other analogue-output devices.
All-in-one
Expander Pi
Combines ADC, DAC, 32 GPIO ports and a real-time clock on one board. The most versatile board for complex Raspberry Pi projects.
Chapters
Related Articles
- Raspberry Pi GPIO Pins
- PCB Header Assembly Jig
- Samba Setup on Raspberry Pi
- Set a static IP Address on Raspberry Pi OS Trixie
- Set a static IP Address on Raspberry Pi OS Buster
- Set a static IP Address on Raspberry Pi OS Wheezy
- I2C Part 1 - Introducing I2C
- I2C Part 2 - How to Enable I2C on the Raspberry Pi
- I2C Part 3 - I2C tools in Linux
- I2C Part 4 - Programming I2C with Python
- SPI and Python on Raspberry Pi OS
- Using Pythonpath with our Python Libraries
- Connecting Development Boards to the Raspberry Pi 400
Order these Boards
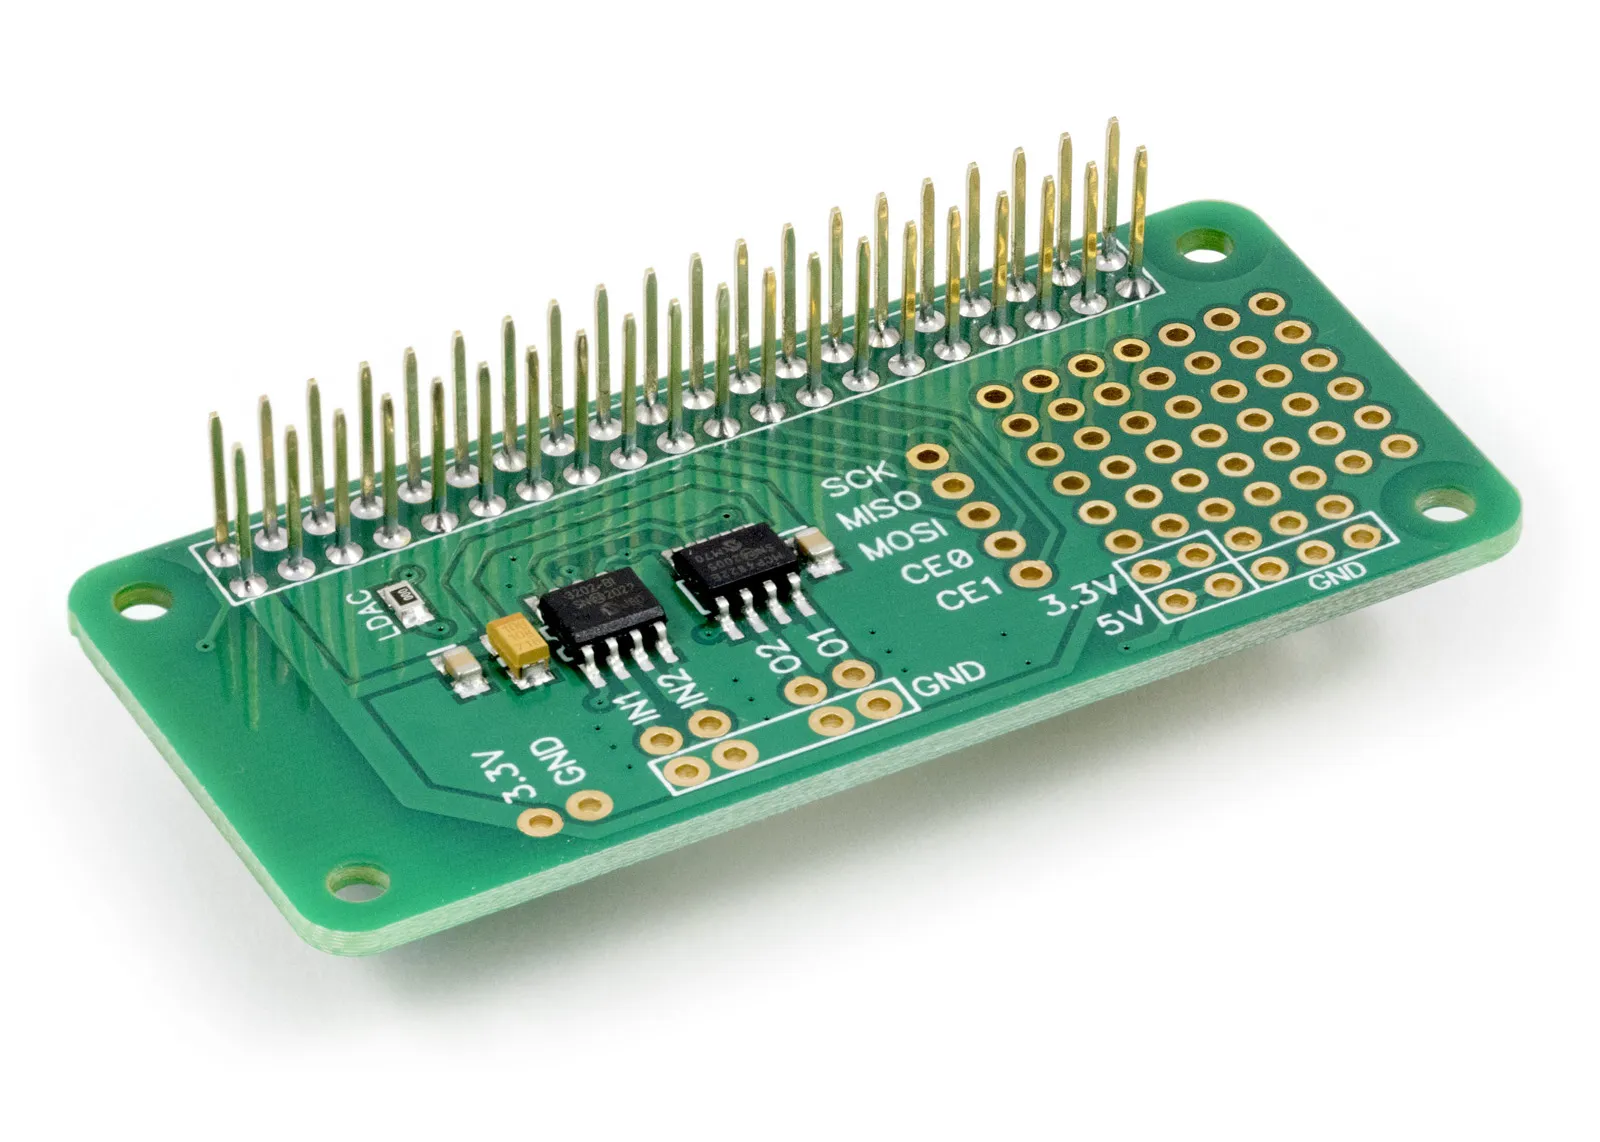
ADC-DAC Pi Zero
2 Channel ADC and 2 Channel DAC development board for the Raspberry Pi
£12.49 ex VAT