The AB Electronics UK Knowledge Base provides support solutions, tutorials and troubleshooting guides.

YOU WILL NEED THIS BOARD
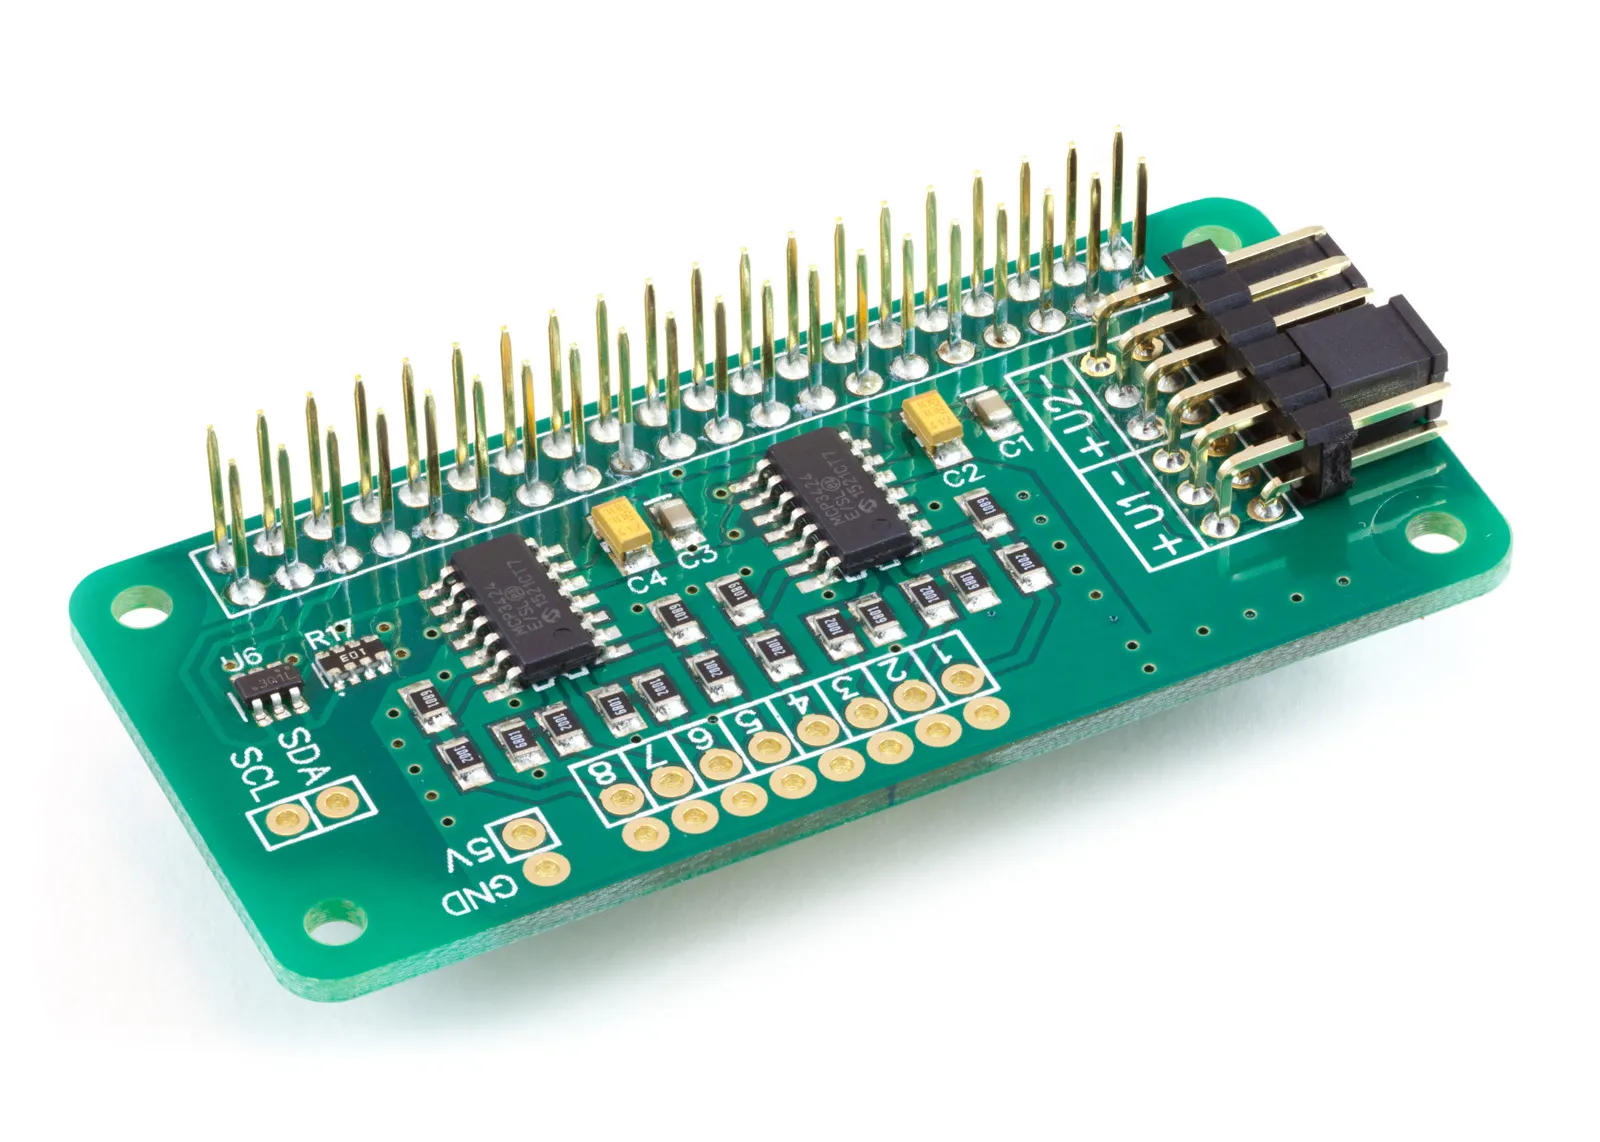
ADC Pi
8 Channel 17-bit Single-Ended Analogue to Digital Converter for the Raspberry Pi and Single-Board Computers
£17.99 ex VAT
This tutorial will use the ADC Pi with an Analog Devices TMP36 temperature sensor to make a digital thermometer. You will need your Raspberry Pi, an ADC Pi and a TMP36 Voltage Output Temperature Sensor.
We will use the AB Electronics Python library to talk to the ADC Pi. To download the library, visit our Python Library and Demos knowledge base article.
You must enable I2C on your Raspberry Pi; see our other tutorial on I2C: Enabling I2C on the Raspberry Pi.
The AB Electronics Python library uses another library called python3-smbus; you can install it using apt-get with the following commands.
sudo apt-get update
sudo apt-get install python3-smbus
With the libraries installed and the Raspberry Pi configured to use I2C we can begin building our project.
Parts Used:
Analog Devices TMP36 Voltage Output Temperature Sensor
Connecting the Sensor to the ADC Pi
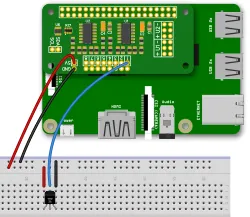 If you haven't done so, install your ADC Pi onto the Raspberry Pi by connecting it to the GPIO header. Make sure your Raspberry Pi is turned off when you do this to minimise the risk of damaging the Raspberry Pi or the ADC Pi.
Next, the TMP 36 sensor is connected to the ADC Pi. Pin 1 connects to +5V, Pin 2 connects to input 1 on the ADC Pi, and Pin 3 connects to GND.
We will create a new Python program file for this tutorial called demo-tmp36.py. You can use your favourite text editor to write the program. You can find a complete example of demo-tmp36.py in the ABElectronics_Python_Libraries/ADCPI/demos folder. Please note the version in the demos folder contains some extra code to check if the ADCPi library has been installed.
At the top of your program, you must import the ADCPI library and time library.
#!/usr/bin/env python
from ADCPi import ADCPi
import time
The ADCPI library is used for all communication with your ADC Pi Plus; it gives you control over almost everything that can be done with the MCP3424 controller.
Next, we need to create an instance of the ADCPI class and call it adc.
adc = ADCPi(0x68, 0x69, 18)
0x68 and 0x69 are the I2C addresses for the ADC chips; if you have changed the address selection jumpers on your ADC Pi Plus, you must change these numbers to match the new addresses.
We will need a loop so that the same commands can run repeatedly. This can be done with a simple while loop.
while True:
As True is always true, the while loop will continue until you exit the program with a Ctrl-C.
Next, we create a variable called temperature, read the value from channel 1 of the ADC and use the following formula to convert the voltage into a temperature: (voltage / 0.01) - 50
temperature = (adc.read_voltage(1)/0.01)-50
With the temperature calculated, we can now print it to the console.
print("Temperature on channel 1: %0.02f°C" % temperature)
Using the time.sleep method, we add a 0.5-second delay before repeating the read.
time.sleep(0.5)
time.sleep takes one variable, a number representing the number of seconds to wait. 1 will make the program sleep for 1 second while 0.1 would wait for 100ms.
That is everything we need to make read from the TMP36 sensor using your ADC Pi or ADC Pi Plus; your program should now look like this.
#!/usr/bin/env python
from ADCPi import ADCPi
import time

adc = ADCPi(0x68, 0x69, 18)

while True:

    temperature = (adc.read_voltage(1)/0.01)-50

    print("Temperature on channel 1: %0.02f°C" % temperature)

    time.sleep(0.5)
Save your program as "demo_tmp36.py" and run it in a command terminal using the following.
python3 demo_tmp36.py
You will now have a temperature reading from your sensor on the console, which updates twice a second.
(images created with Fritzing)
Also useful for your Raspberry Pi project
Temperature & Sensing
1 Wire Pi Plus
Connect dozens of 1-Wire sensors - temperature, iButtons, EEPROMs - via a single GPIO pin. Stacks directly on the 40-pin header.
Analogue I/O
ADC Pi
Read up to 8 analogue inputs - perfect for pairing with your temperature sensors or other analogue-output devices.
All-in-one
Expander Pi
Combines ADC, DAC, 32 GPIO ports and a real-time clock on one board. The most versatile board for complex Raspberry Pi projects.
Related Articles
- Getting Started with the ADC Pi
- Using the ADC Pi with Arduino
- ADC Pi Data Logger
- ADC Pi with ACS712
- ADC Pi with HIH-4000
- ADC Pi with TMP36
- Using 4-20mA sensors with the ADC Pi
- ADC Sample Rate Comparison
- ADC Pi with Raspberry Pi Pico
- ADC Pi with Capacitive Soil Sensor
- ADC Pi FAQ
- ADC Pi - Plotting Voltages in a GUI
Order these Boards
ADC Pi
8 Channel 17-bit Single-Ended Analogue to Digital Converter for the Raspberry Pi and Single-Board Computers
£17.99 ex VAT