The AB Electronics UK Knowledge Base provides support solutions, tutorials and troubleshooting guides.

This page details how to set up a static network IP address on the Ethernet connection on the Raspberry Pi OS Buster image from https://www.raspberrypi.org/software/operating-systems/.
For this demo, we will give the Raspberry Pi a static IP address of 10.0.0.220 and a subnet of 24. The router/gateway address will be set at 10.0.0.1, and the DNS server will also be set as 10.0.0.1
You can find the default gateway for your network with the following command.
netstat -nr
Step 1: Download the latest Raspberry Pi OS image and burn it to your SD Card following the instructions on http://elinux.org/RPi_Easy_SD_Card_Setup.
Step 2: Connect your network cable, boot the Raspberry Pi, and log in via the GUI or terminal.
Step 3: Now we need to edit /etc/dhcpcd.conf
sudo nano /etc/dhcpcd.conf
Step 4: Add the following at the end of the file and save your changes. Change the IP address, routers and domain name server to match your network.
interface eth0
static ip_address=10.0.0.220/24
static routers=10.0.0.1
static domain_name_servers=10.0.0.1
Step 5: Reboot to apply the changes:
sudo reboot
Your Raspberry Pi will restart and be accessible on the new IP address
Also useful for your Raspberry Pi project
Temperature & Sensing
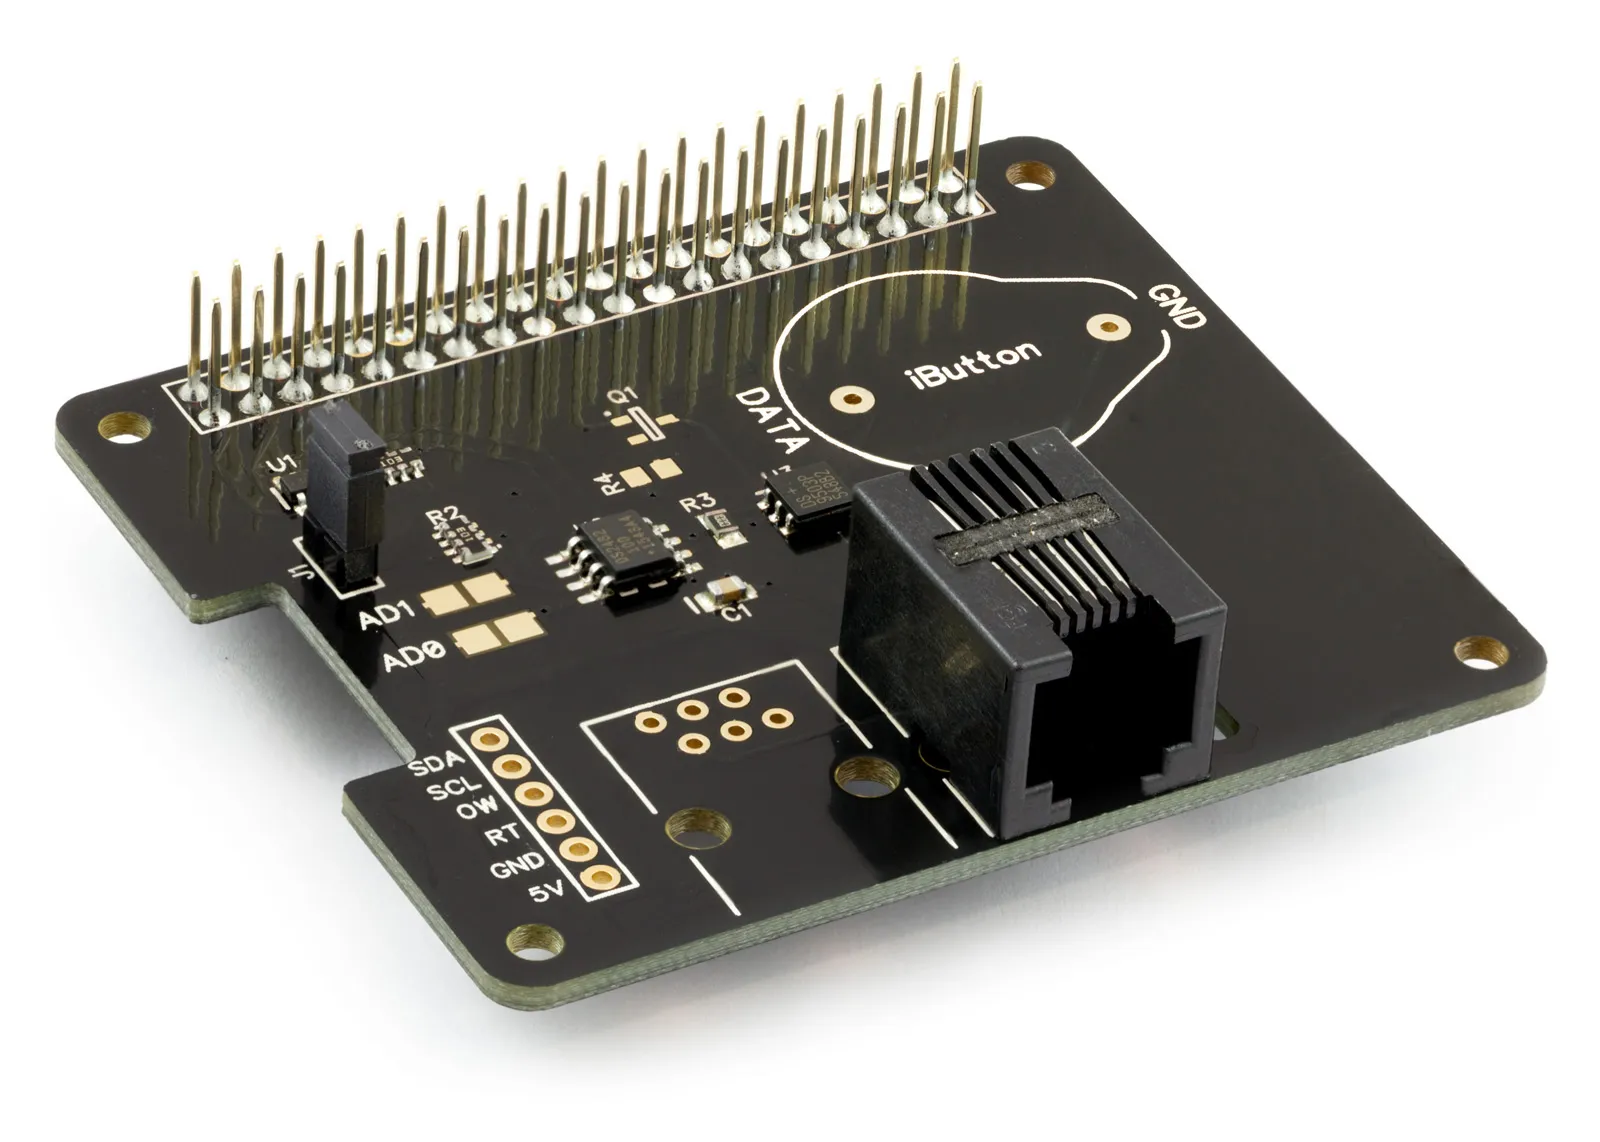
1 Wire Pi Plus
Connect dozens of 1-Wire sensors - temperature, iButtons, EEPROMs - via a single GPIO pin. Stacks directly on the 40-pin header.
Analogue I/O
ADC Pi
Read up to 8 analogue inputs - perfect for pairing with your temperature sensors or other analogue-output devices.
All-in-one
Expander Pi
Combines ADC, DAC, 32 GPIO ports and a real-time clock on one board. The most versatile board for complex Raspberry Pi projects.
Related Articles
- Raspberry Pi GPIO Pins
- PCB Header Assembly Jig
- Samba Setup on Raspberry Pi
- Set a static IP Address on Raspberry Pi OS Trixie
- Set a static IP Address on Raspberry Pi OS Buster
- Set a static IP Address on Raspberry Pi OS Wheezy
- I2C Part 1 - Introducing I2C
- I2C Part 2 - How to Enable I2C on the Raspberry Pi
- I2C Part 3 - I2C tools in Linux
- I2C Part 4 - Programming I2C with Python
- SPI and Python on Raspberry Pi OS
- Using Pythonpath with our Python Libraries
- Connecting Development Boards to the Raspberry Pi 400
Order these Boards
1 Wire Pi Plus
1 Wire interface development board for the Raspberry Pi and Single-Board Computers
£11.99 ex VAT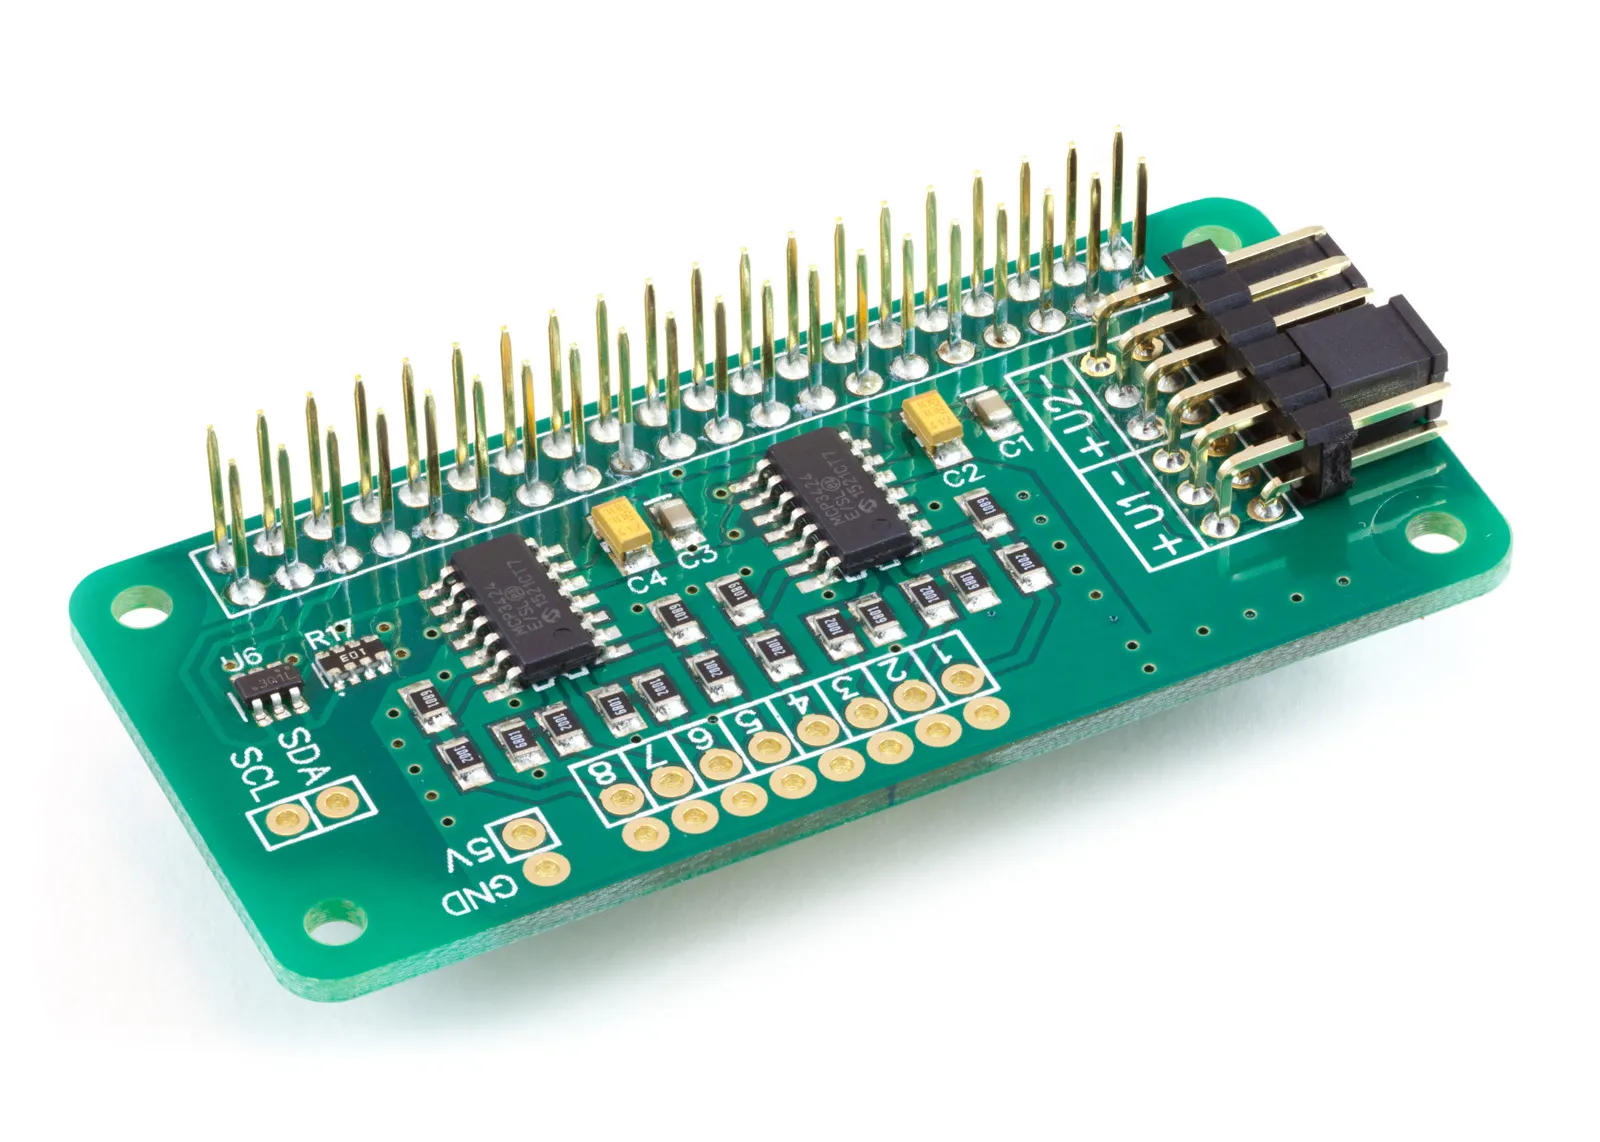
ADC Pi
8 Channel 17-bit Single-Ended Analogue to Digital Converter for the Raspberry Pi and Single-Board Computers
£17.99 ex VAT

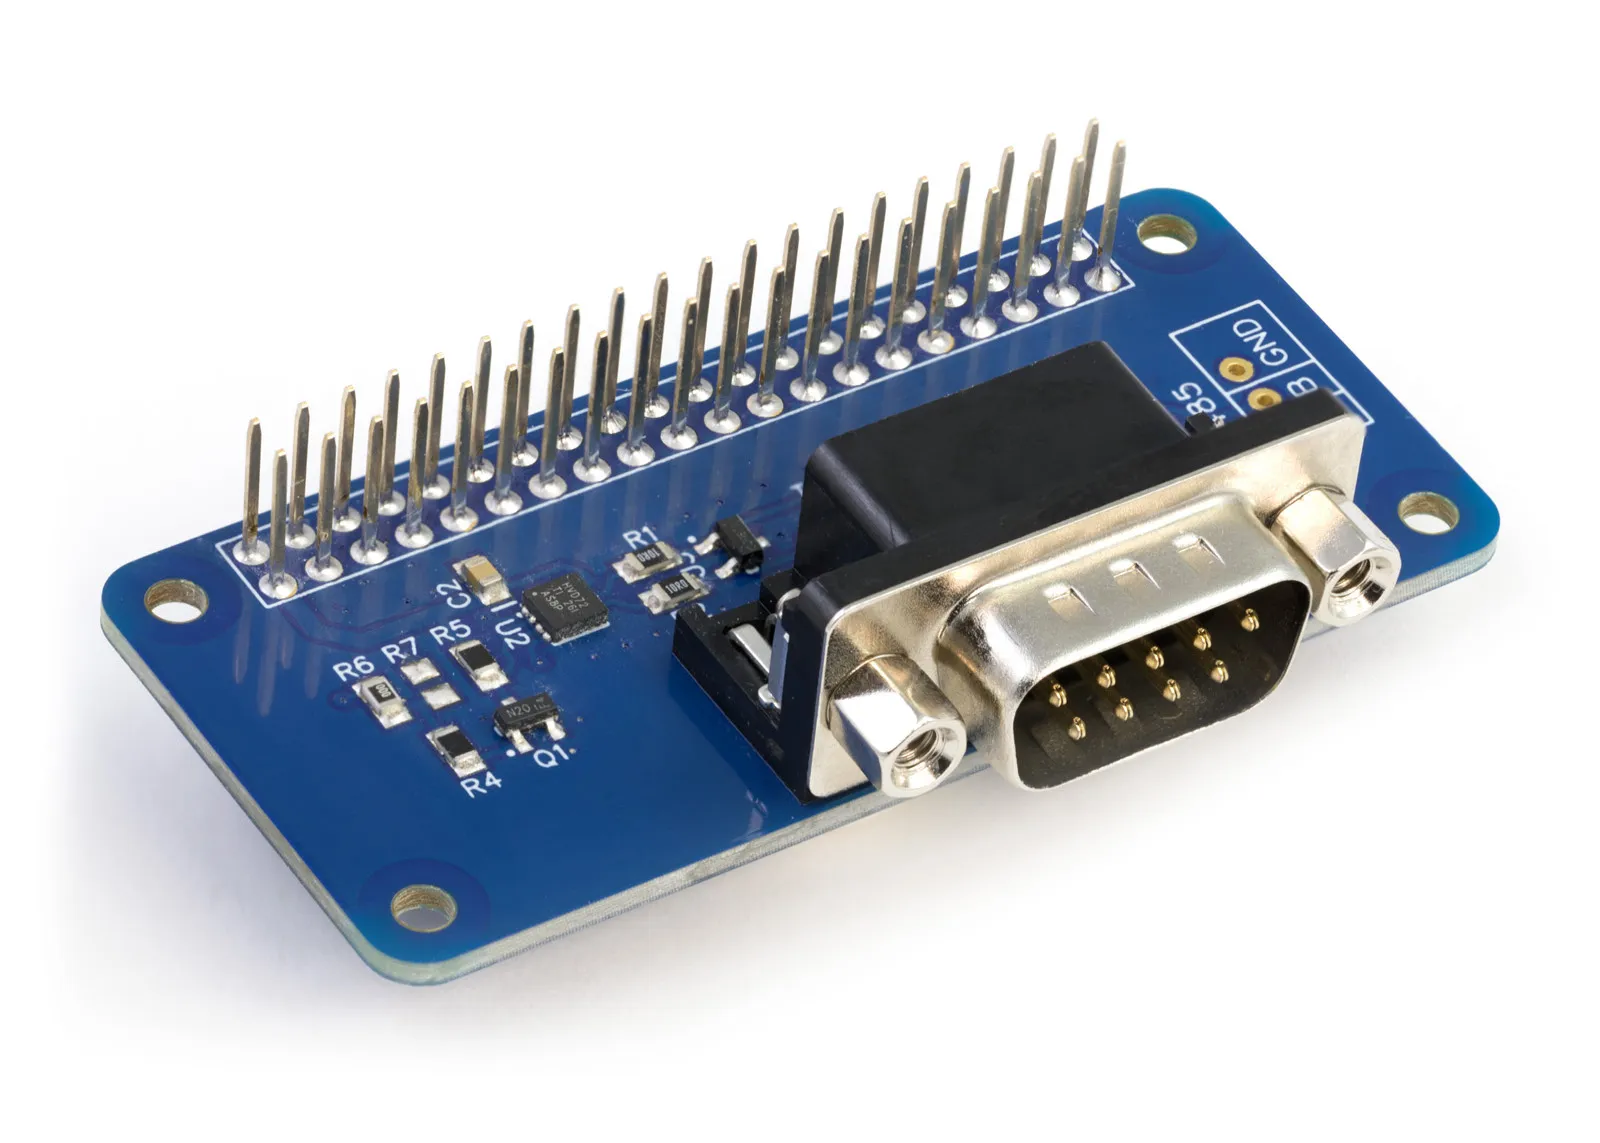
RS485 Pi
RS485 serial interface development board for the Raspberry Pi and Single-Board Computers
£11.99 ex VAT
Serial Pi Plus
RS232 Serial Port development board for the Raspberry Pi and Single-Board Computers
£10.99 ex VAT