The AB Electronics UK Knowledge Base provides support solutions, tutorials and troubleshooting guides.

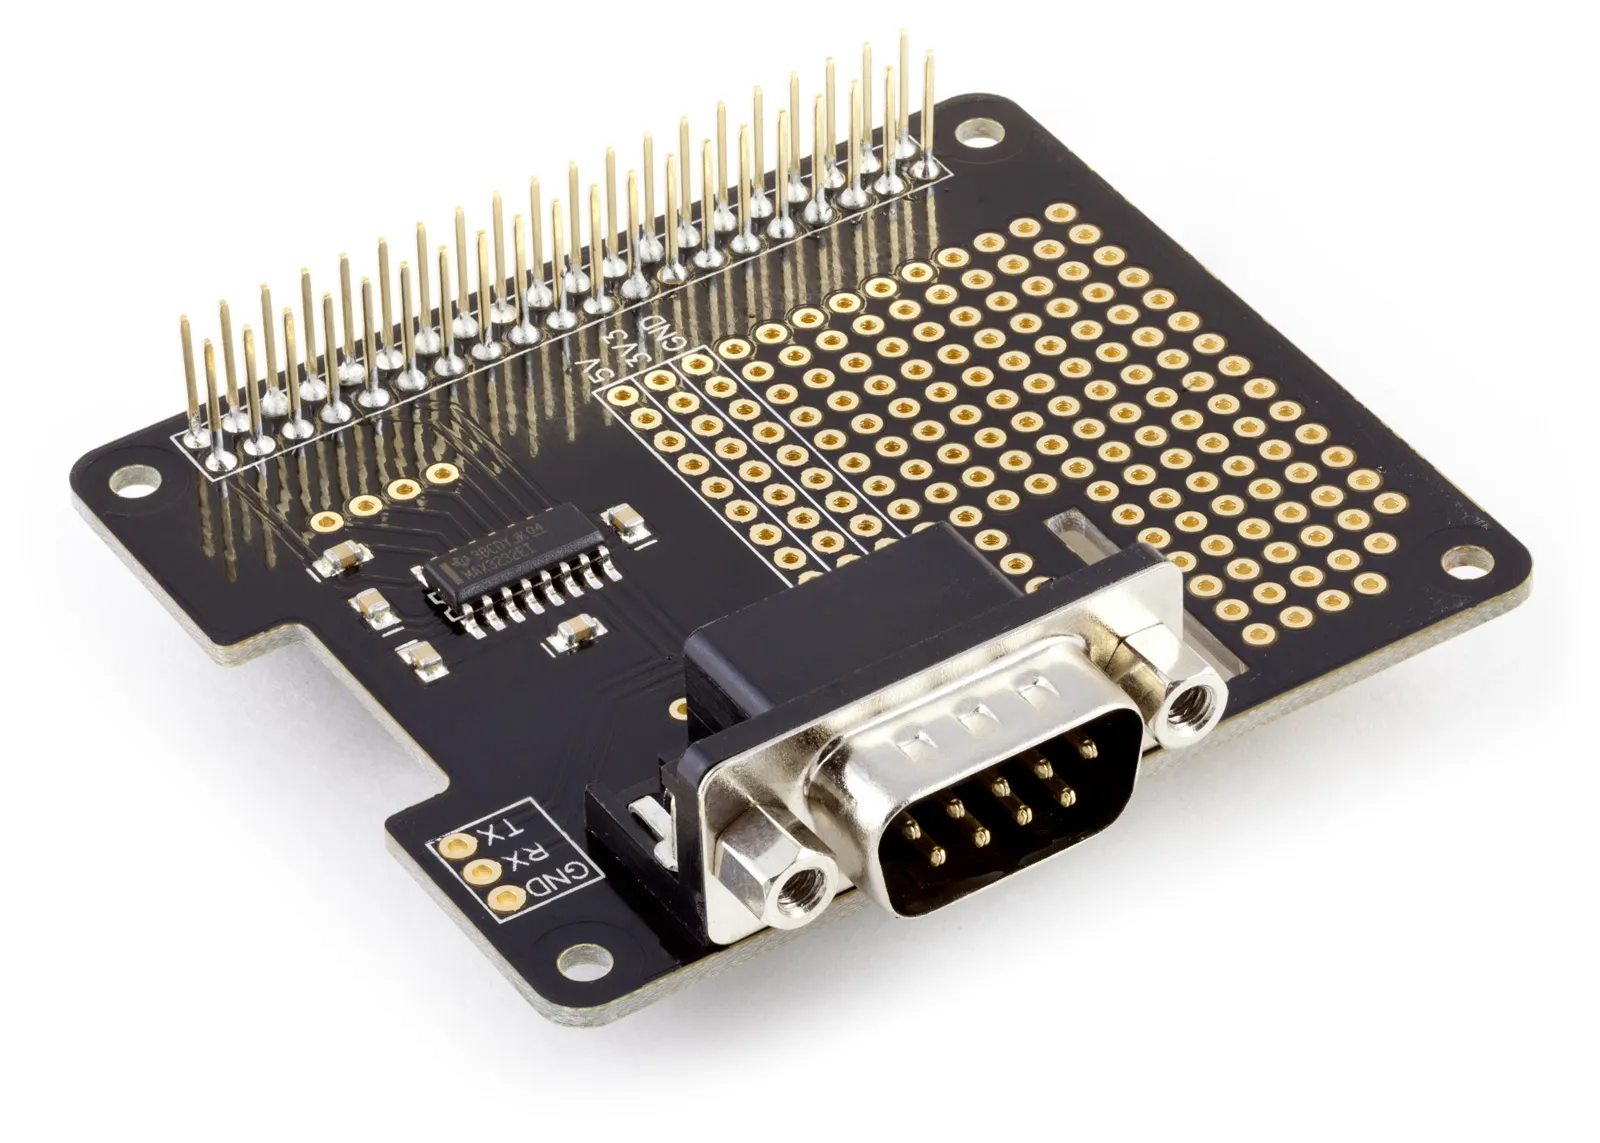
YOU WILL NEED THIS BOARD
In this tutorial we will look at how you install and use the PySerial library to send and receive data on a Raspberry Pi using the UART or RS232 port.
PySerial is a Python library used for working with serial ports. The Raspberry Pi has a UART port on its GPIO header that can be used to send and receive serial data at 3.3V. Many devices that contain serial ports use RS232. RS232 is a standard for serial data transmission between computers and other devices.
Connecting an RS232 device directly to the UART port on the Raspberry Pi would damage the Raspberry Pi as RS232 uses higher voltages that are not compatible with the 3.3V UART pins. You can add RS232 to the Raspberry Pi using the Serial Pi Plus or Serial Pi Zero development boards which translate the RS232 voltages to lower 3.3V voltages compatible with the Raspberry Pi's UART pins.
Real-world Applications:
There are many real-world applications for RS232 communication on a Raspberry Pi. Here are a few examples:
- GPS Tracking: A GPS module can be connected to the Raspberry Pi via RS232 serial communication. The location data can be received and processed using the Raspberry Pi.
- Modem Communication: A modem can be connected to the Raspberry Pi and used to send and receive data over the internet.
- Industrial Automation: You can control and monitor industrial equipment, such as PLCs, sensors, etc., using RS232 serial communication.
- Communicating with Old Computers: Many old computers from the 1980s, 90s and early 2000s included a serial port that was used for sending and receiving data to other computers. You can use RS232 to connect a Raspberry Pi to these old computers, acting as a bridge between the old and the new.
Before you can begin using PySerial you will need to enable the UART port on your Raspberry Pi. For information on enabling the UART port on your Raspberry Pi, view our tutorial Serial Port setup in Raspberry Pi OS.
Installing PySerial:
To use PySerial, we need to install it first. To do that, open the terminal on your Raspberry Pi and type the following command:
pip3 install pyserial
If you don't have pip3 installed, use the following command to install it:
sudo apt-get install python3-pip
Sending Data:
Here's an example of how to send data:
import serial

ser = serial.Serial('/dev/ttyAMA0', baudrate=9600)
ser.write(b'Hello, World!\n')
ser.close()
In this example, the first line imports the PySerial library. The following line creates an instance of the Serial class and opens the serial port "/dev/ttyAMA0" with a baud rate 9600. The write method sends the data "Hello, World!\n" over the serial port. Finally, the close method is used to close the serial port.
Receiving Data:
Here's an example of how to receive data:
import serial

ser = serial.Serial('/dev/ttyAMA0', baudrate=9600)
while True:
    data = ser.readline()
    if len(data) > 0:
        print(data.decode('utf-8'))
ser.close()
In this example, the first line imports the PySerial library. The following line creates an instance of the Serial class and opens the serial port "/dev/ttyAMA0" with a baud rate of 9600. The while loop continuously reads data from the serial port using the readline method until a newline character "\n" is received.
The if statement checks if there is any data received. If there is data, it is decoded using the decode method and printed to the console. Finally, the close method is used to close the serial port.
For a more in-depth look at the pySerial library, visit PySerial.
Also useful for your Raspberry Pi project
Temperature & Sensing
1 Wire Pi Plus
Connect dozens of 1-Wire sensors - temperature, iButtons, EEPROMs - via a single GPIO pin. Stacks directly on the 40-pin header.
Analogue I/O
ADC Pi
Read up to 8 analogue inputs - perfect for pairing with your temperature sensors or other analogue-output devices.
All-in-one
Expander Pi
Combines ADC, DAC, 32 GPIO ports and a real-time clock on one board. The most versatile board for complex Raspberry Pi projects.
Related Articles
Order these Boards

Serial Pi Zero
RS232 serial interface for the Raspberry Pi Zero and Single-Board Computers
£9.49 ex VAT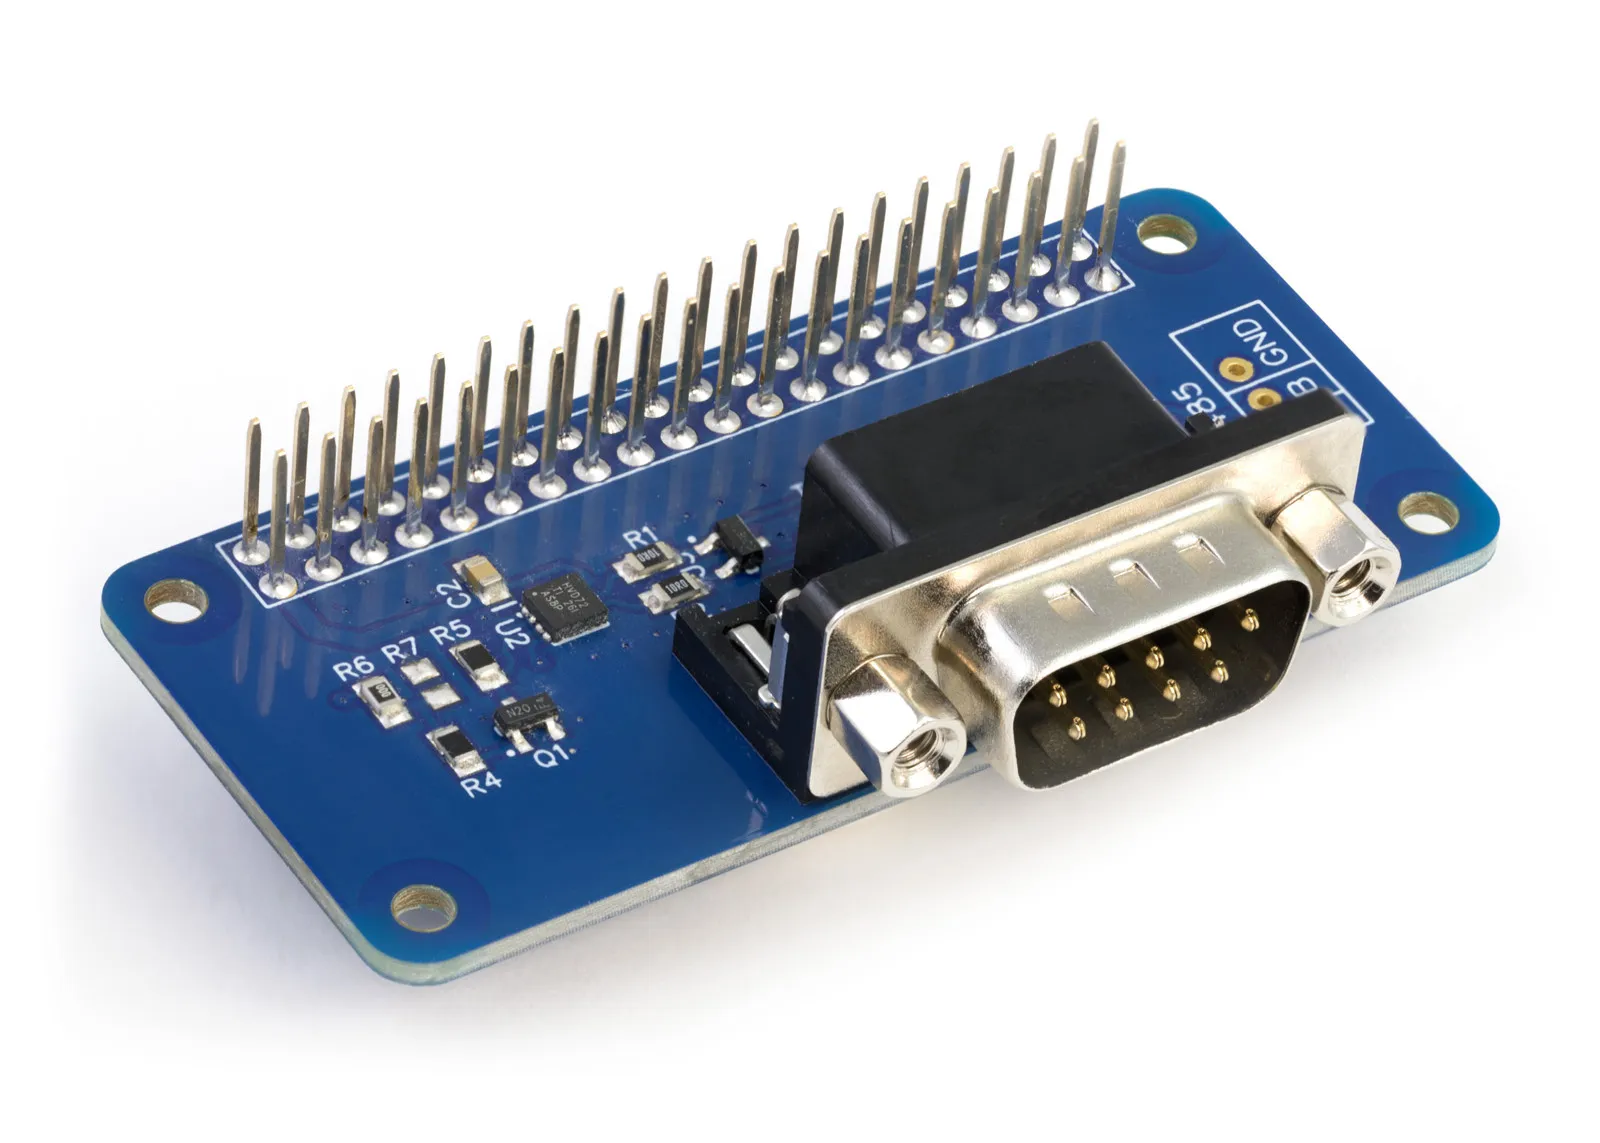
RS485 Pi
RS485 serial interface development board for the Raspberry Pi and Single-Board Computers
£11.99 ex VAT