The AB Electronics UK Knowledge Base provides support solutions, tutorials and troubleshooting guides.

YOU WILL NEED THIS BOARD
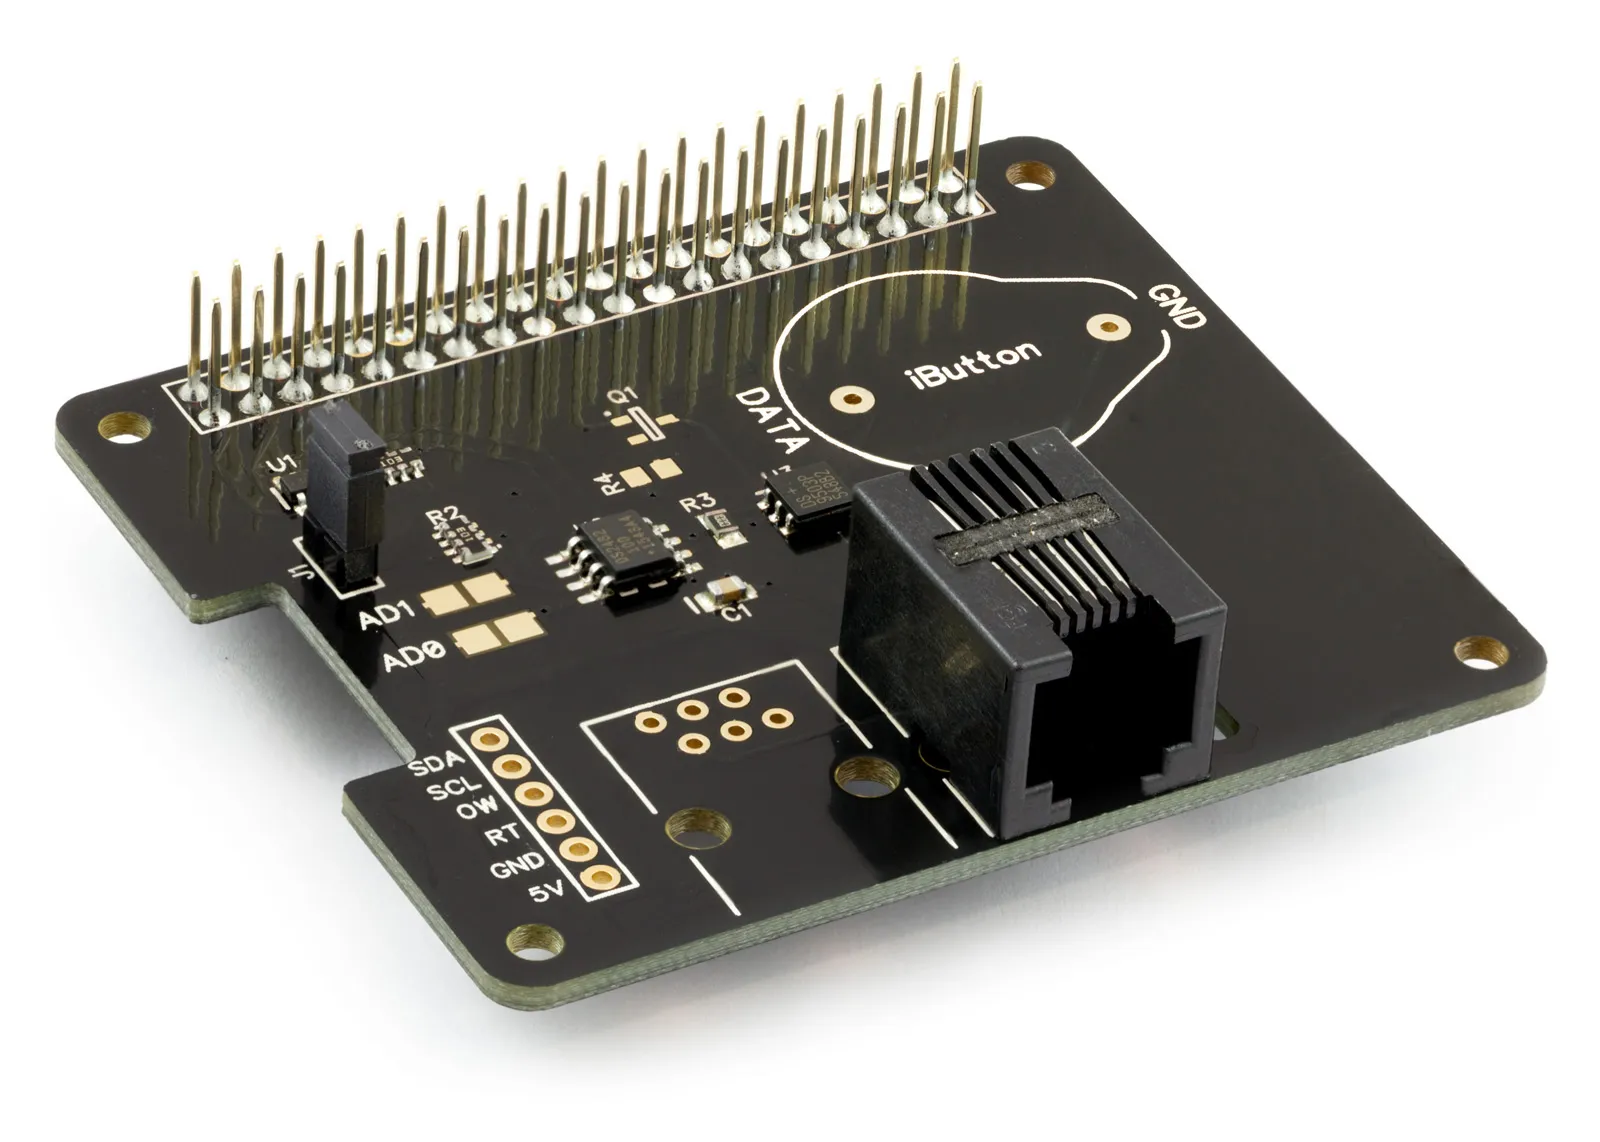
1 Wire Pi Plus
1 Wire interface development board for the Raspberry Pi and Single-Board Computers
£11.99 ex VAT
This page details how to set up the 1 Wire File System with the 1 Wire Pi Plus and 1 Wire Pi Zero on Raspberry Pi OS from Raspberry Pi.
Step 1:
Download the latest Raspbian Linux image and burn it to your SD Card following the instructions on Elinux.
Step 2:
Follow our Enabling I²C on the Raspberry Pi tutorial to set up I2C on the Raspberry Pi.
Step 3:
Install OWFS
sudo apt-get update
sudo apt-get install owfs ow-shell
Step 4:
Edit owfs.conf to enable the I2C 1 Wire interface
sudo nano /etc/owfs.conf
Comment out the following line
# server: FAKE = DS18S20,DS2405
Find the following section
# USB device: DS9490
#server: usb = all
Insert the line below to enable i2c support.
server: device = /dev/i2c-1
Find the section titled
######################### OWFS ##########################
Remove the hashes from the lines
mountpoint = /mnt/1wire
allow_other
Save your changes and exit the nano editor.
Step 5:
Create a folder where the 1 Wire devices will be mounted.
sudo mkdir /mnt/1wire
Step 6:
Reboot your Raspberry Pi
sudo reboot
Step 7:
Enable the owserver service
sudo systemctl enable owserver.service
Step 8:
Your Raspberry Pi should now work with OWFS.
Your 1 Wire devices can be found in the directory /mnt/1wire
Each 1 Wire device directory will contain several files representing the values available from that device. For example, with the DS18B20 temperature sensors, there will be a directory in /mnt/1wire with the serial number for the sensor, normally starting with "28.". Inside the directory for the sensor, you may find the following files.
address errata id power r_locator temperature10 temperature9 tempres

alias family latesttemp r_address scratchpad temperature11 temphigh type

crc8 fasttemp locator r_id temperature temperature12 templow
The temperature for the sensor is stored in the "temperature" file, so we can use the "cat" command to display the file's contents. For example, with a sensor called "28.0844C4030000", you would use the following command.
cat /mnt/1wire/28.0844C4030000/temperature
Note:
On specific versions of owfs available on Raspberry Pi OS and Raspbian Linux, a bug causes devices in the /mnt/1wire directory to be duplicated, showing two folders for each device.
If you encounter this problem, it can be resolved by editing the configuration file for the owfs service.
Step 1: Open /lib/systemd/system/owfs.service in an editor.
sudo nano /lib/systemd/system/owfs.service
Step 2: Find the following line.
ExecStart=/usr/bin/owfs -c /etc/owfs.conf --allow_other %t/owfs
Remove "-c /etc/owfs.conf", so the line looks like this.
ExecStart=/usr/bin/owfs --allow_other %t/owfs
Step 3: Save the file and reboot your Raspberry Pi.
You should only see one device instance in the /mnt/1wire directory.
Also useful for your Raspberry Pi project
Temperature & Sensing
1 Wire Pi Plus
Connect dozens of 1-Wire sensors - temperature, iButtons, EEPROMs - via a single GPIO pin. Stacks directly on the 40-pin header.
Analogue I/O
ADC Pi
Read up to 8 analogue inputs - perfect for pairing with your temperature sensors or other analogue-output devices.
All-in-one
Expander Pi
Combines ADC, DAC, 32 GPIO ports and a real-time clock on one board. The most versatile board for complex Raspberry Pi projects.
Related Articles
Order these Boards
1 Wire Pi Plus
1 Wire interface development board for the Raspberry Pi and Single-Board Computers
£11.99 ex VAT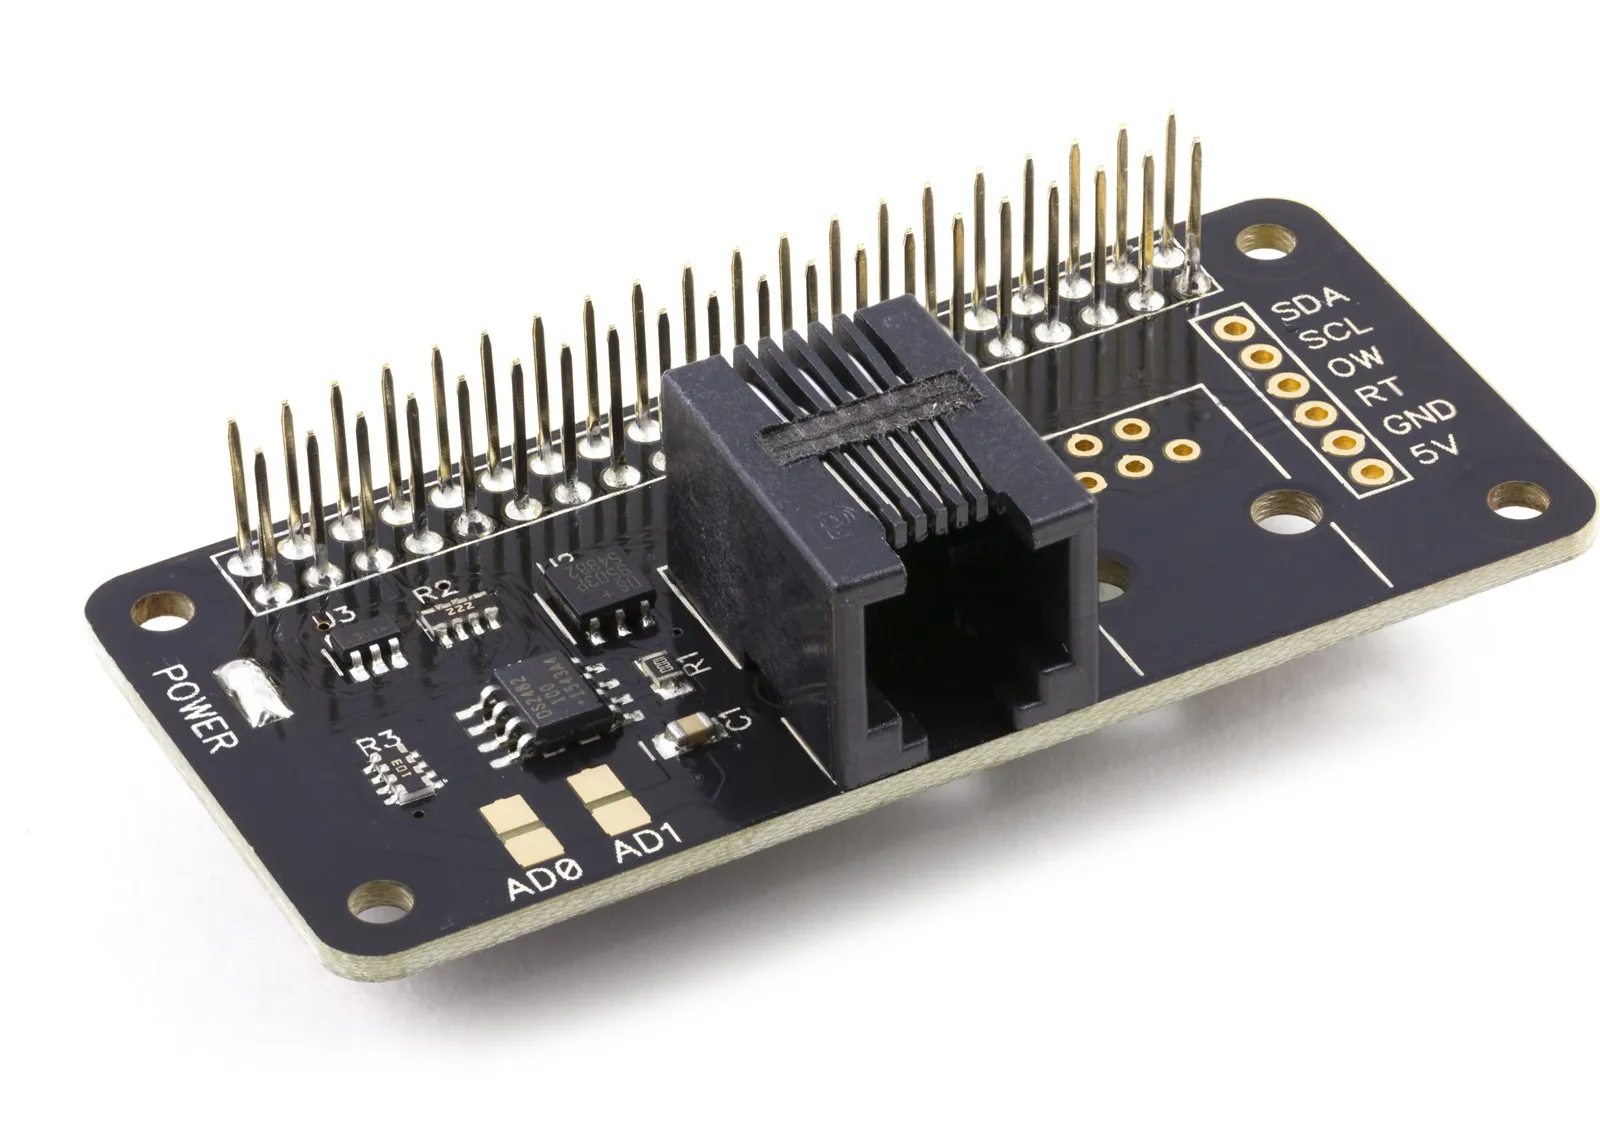
1 Wire Pi Zero
1 Wire interface development board for the Raspberry Pi Zero and Single-Board Computers
£11.49 ex VAT