The AB Electronics UK Knowledge Base provides support solutions, tutorials and troubleshooting guides.

-
Raspberry Pi Tutorials
- PCB Header Assembly Jig
- Raspberry Pi GPIO Pins
- Samba Setup on Raspberry Pi
- Set a static IP Address on Raspberry Pi OS Trixie
- Set a static IP Address on Raspberry Pi OS Buster
- Set a static IP Address on Raspberry Pi OS Wheezy
- I2C Part 1 - Introducing I2C
- I2C Part 2 - How to Enable I2C on the Raspberry Pi
- I2C Part 3 - I2C tools in Linux
- I2C Part 4 - Programming I2C with Python
- SPI and Python on Raspberry Pi OS
- Using Pythonpath with our Python Libraries
- Connecting Development Boards to the Raspberry Pi 400
- General
- Code & Languages
- Raspberry Pi Pico Tutorials
- 1 Wire Pi Tutorials
- ADC Pi Tutorials
- ADC DAC Pi Zero Tutorials
- ADC Differential Pi Tutorials
- Expander Pi Tutorials
-
IO Pi Plus Tutorials
- IO Pi Plus FAQ
- IO Pi Plus Tutorial 1 - The Blinking LED
- IO Pi Plus Tutorial 2 - Push the Button
- IO Pi Plus Tutorial 3 - Introducing Interrupts
- IO Pi Plus Tutorial 4 - More Interrupts
- IO Pi Plus Tutorial - MQTT Reading the Ports
- IO Pi Plus with Raspberry Pi Pico
- IO Pi Plus Tutorial - MQTT Control
- Driving Relays or Higher Loads with the IO Pi Plus
- 16 Channel Opto-Isolated Input Board
- Relay Board for the IO Pi Plus 2.1
- IO Zero 32 Tutorials
- RTC Pi Tutorials
- Serial Pi
- Servo PWM Pi Tutorials
-
Home Assistant
- Using 1 Wire with Home Assistant and the Raspberry Pi OS
- Using I2C Devices on the Raspberry Pi with Home Assistant
- Using the ADC Differential Pi with Home Assistant on the Raspberry Pi
- Using the ADC Pi with Home Assistant on the Raspberry Pi
- Using the IO Pi Plus with Home Assistant on the Raspberry Pi
-
Legacy Products
- ADC DAC Pi (Discontinued)
- ADC Pi (Discontinued)
- Buffer Pi - Legacy Product
- Com Pi (Discontinued)
- Delta-Sigma Pi (Discontinued)
- Expander Pi (Discontinued)
- IO Pi (Discontinued)
- IO Pi Plus 1.0 (Discontinued)
- IO Pi Zero (Discontinued)
- Logic Level Converter (Discontinued)
- RTC Alarm Pi (Discontinued)
- RTC Pi (Discontinued)
- Serial Pi (Discontinued)
- 1 Wire Pi (Discontinued)
- 1 Wire Pi Plus 1.0 (Discontinued)
- Other Supported Platforms
Asus Tinker Board Introduction
Getting started with the Tinker Board
The Tinker Board is a small ARM-based computer from Asus. The board contains a 40-pin GPIO connector, which can be used with a selection of our development boards.
Asus provides a Debian-based Linux distribution that can be downloaded from their support website. We are using Tinker Board S R2.0 Debian 10 V3.0.11 for this tutorial.
The default username and password are:
username: linaro
password: linaro
We have tested our Python libraries on the Tinker Board. To download our libraries from our GitHub account, you first need to open a terminal and install git with the following command:
sudo apt-get install git
Next, you need to navigate to the directory you want to download the libraries into and use the following command to clone the files to your local directory:
git clone https://github.com/abelectronicsuk/ABElectronics_Python_Libraries.git
Compatible development boards
We have a range of development boards compatible with the Asus Tinker Board when using TinkerOS Debian. Visit our shop to find a list of compatible boards.
Before using our Asus Tinker Board development boards, you must enable the I2C and SPI buses. We have the following tutorials to guide you through this process.
I2C and SMBus on the Tinker Board
Note 1: When using the Tinker Board with the supplied heatsink, you may need to use an extended header between the Tinker Board and the development board to allow enough airflow to keep the CPU cool.
Note 2: The Asus Tinker Board uses a different SPI port from the Raspberry Pi, SPI2 instead of SPI0. To use our development boards that use the SPI bus, you will need to change the address of the SPI bus in the software libraries so that they work correctly.
Table of Contents
Related Products
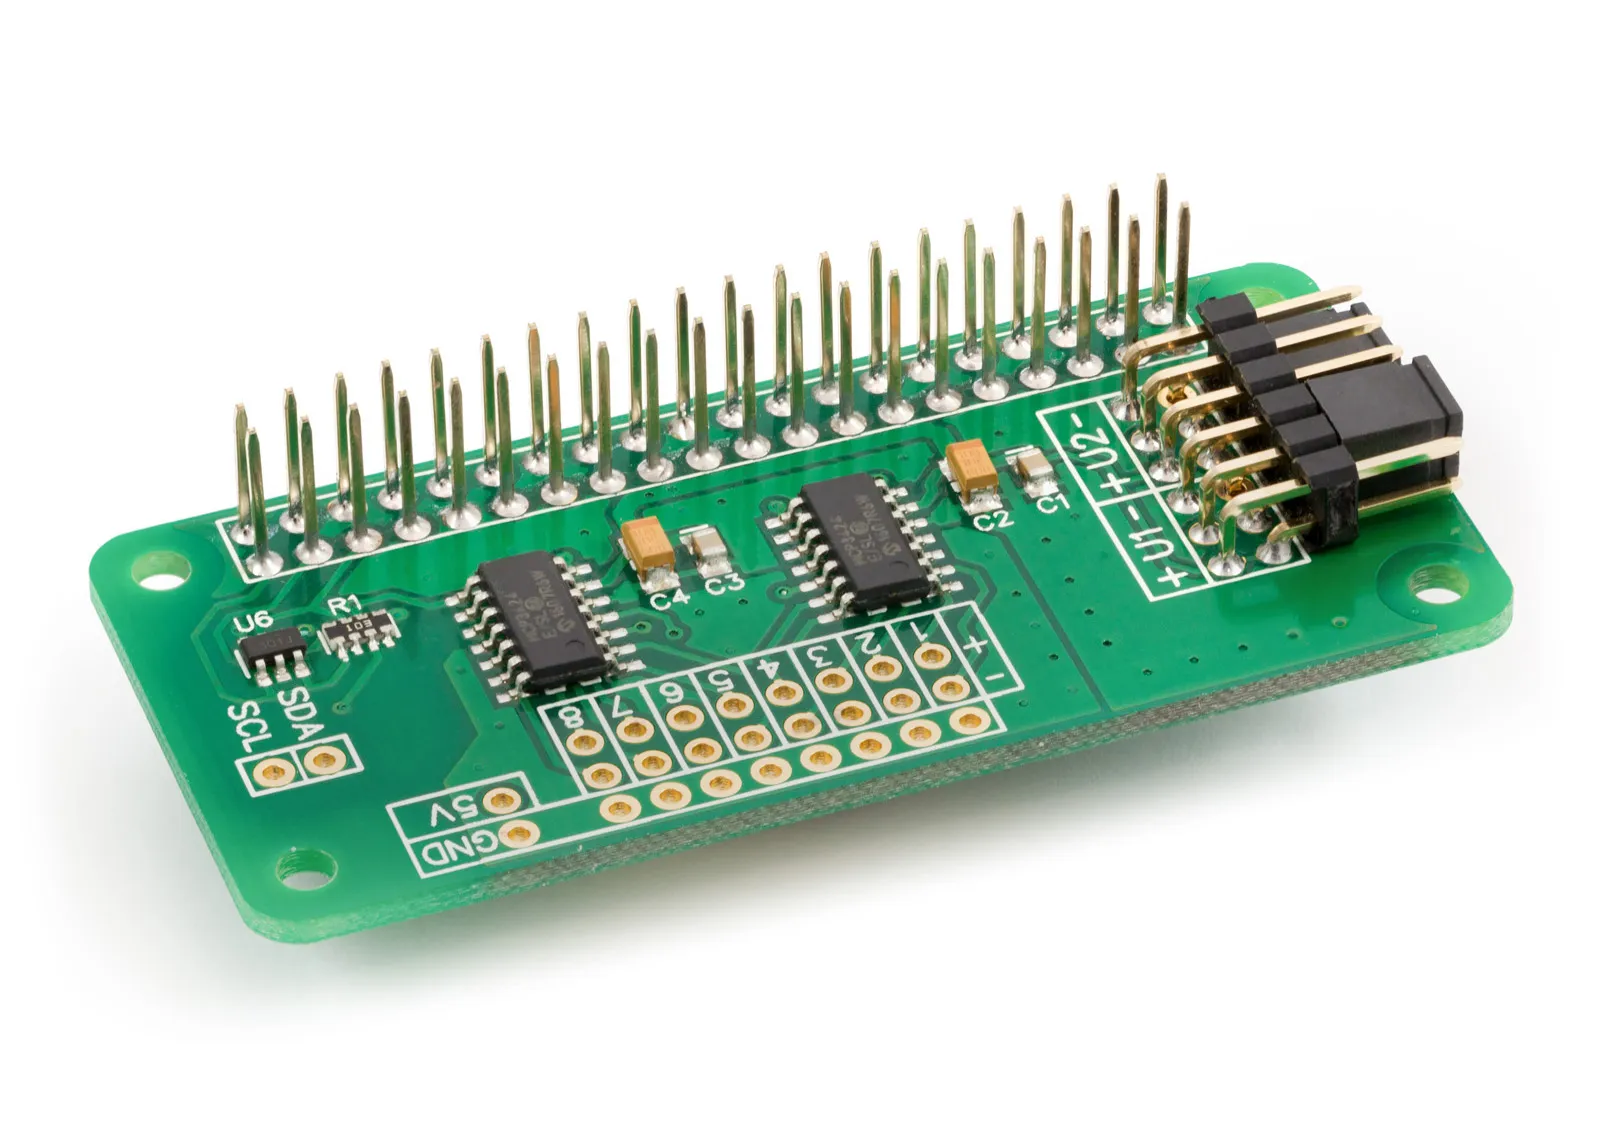
ADC Differential Pi
8 Channel 18-bit Differential Analogue to Digital converter development board for the Raspberry Pi
£16.99 ex VAT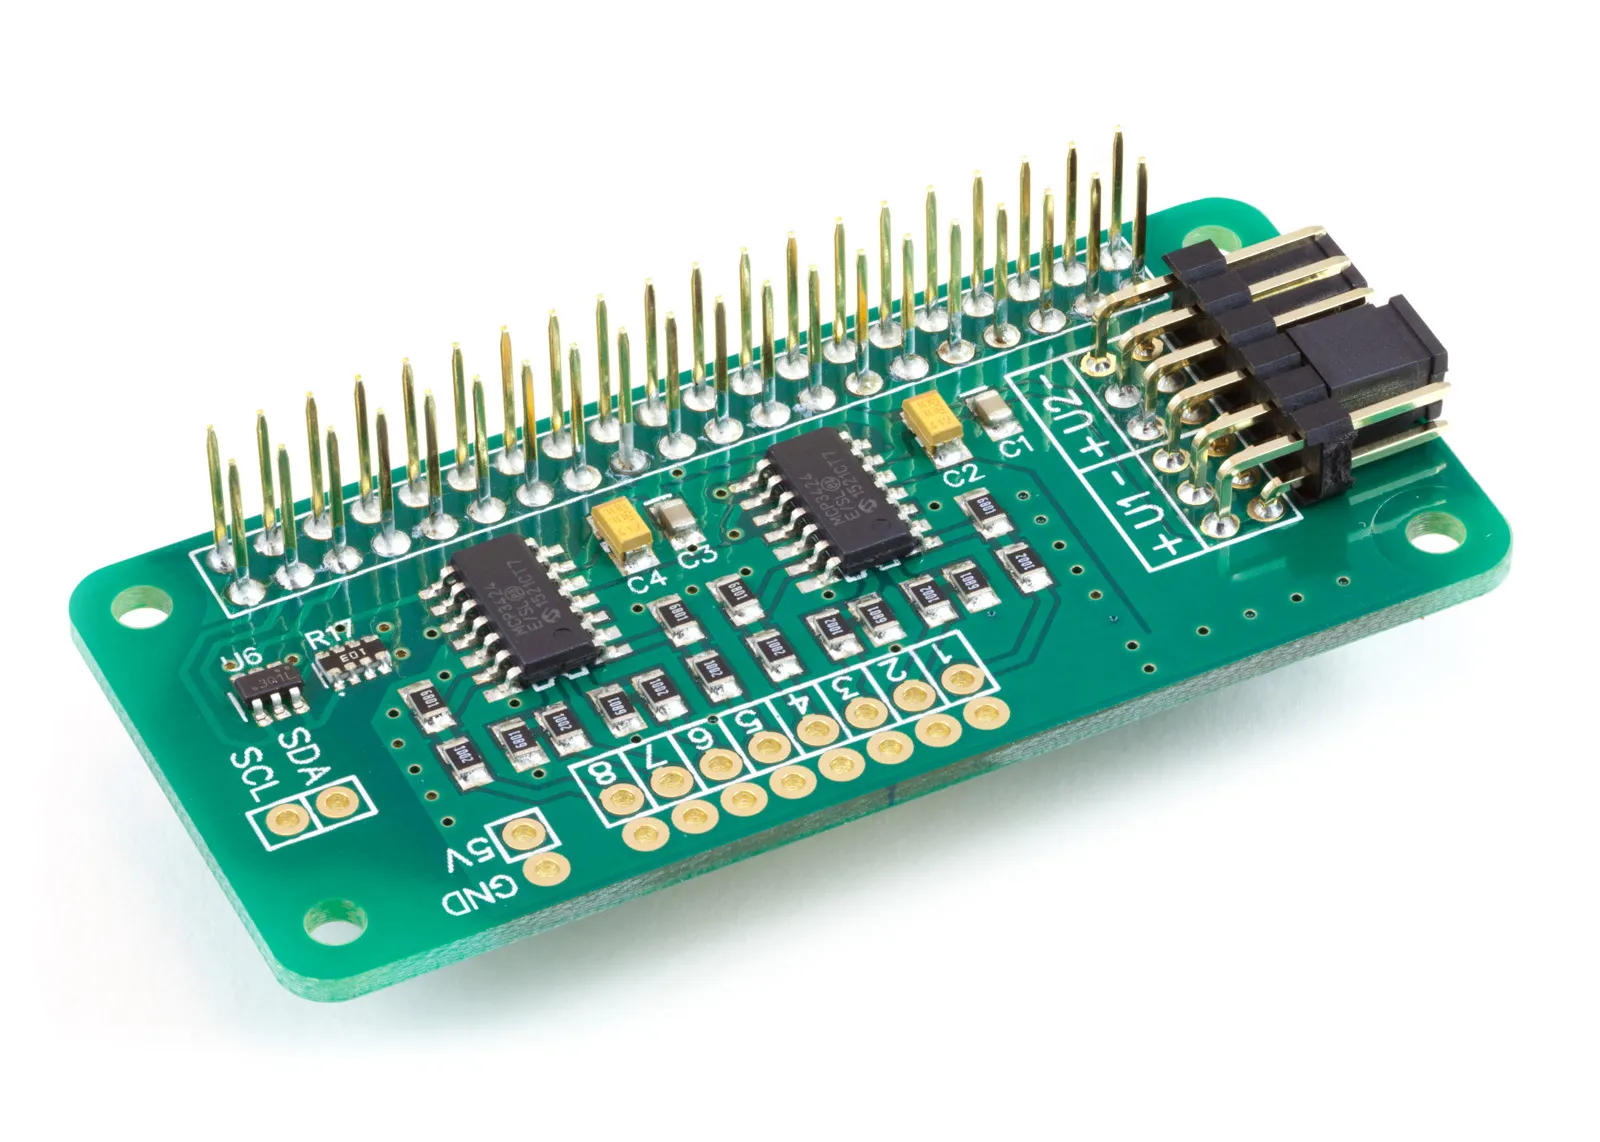
ADC Pi
8 Channel 17-bit Single-Ended Analogue to Digital Converter for the Raspberry Pi
£17.99 ex VAT