The AB Electronics UK Knowledge Base provides support solutions, tutorials and troubleshooting guides.

In this tutorial we will show you how to set up a static network IP address on the Ethernet or WiFi connection on the Raspberry Pi OS Trixie and Bookworm. Raspberry Pi OS Trixie was released in October 2025, Bookworm was released in October 2023 and can be downloaded from Raspberry Pi.
A static IP address is a fixed address that does not change over time. Once you set a static IP address for a device, it will always have that same IP address whenever it connects to the network. This is useful for devices that need to be easily found on the network, such as printers, servers, or Raspberry Pis running certain services.
A dynamic IP address, on the other hand, is assigned by a network’s router or DHCP server and can change each time the device connects to the network. The router has a pool of IP addresses and hands them out to devices as needed. Most home networks use dynamic IP addresses because it simplifies network management; devices are automatically given an IP address without any manual setup.
Recommended Approach: Using the Router for Static IP Assignment
While setting a static IP address directly on the Raspberry Pi is straightforward, it is generally recommended to use your router to assign a static IP address instead. Most modern routers have a feature called DHCP reservation or static lease, which allows you to assign a specific IP address to a device based on its MAC address. This method is advantageous because it centralises the management of IP addresses, reduces the risk of IP conflicts, and makes it easier to manage your network as your devices and network infrastructure change. To do this, you would typically log in to your router’s web interface, find the DHCP reservation section, and assign the desired IP address to your Raspberry Pi’s MAC address.
You can find the MAC address for your Raspberry Pi by running the following command:
nmcli -o device show
A list of all available network devices will be displayed. The MAC address is listed as "GENERAL.HWADDR" on each device and consists of six pairs of hexadecimal numbers separated by a colon. For example, the Ethernet port on the Raspberry Pi is normally called eth0. It may have a MAC address similar to DC:A6:32:CD:F4:A3.
Setting the Static IP Address on the Raspberry Pi
With the release of Raspberry Pi OS Bookworm, networking on the Raspberry Pi was changed to use NetworkManager as the standard method for managing the network configuration. Previous Raspberry Pi OS versions used dhcpcd for network management.
NetworkManager includes a command line tool called "nmcli," which can be used to control NetworkManager and report on the current network status.
This tutorial will use "nmcli" to configure the network to use a static IP4 address.
We will give the Raspberry Pi a static IP address of 10.0.0.220. The gateway address will be set at 10.0.0.1, and the DNS server will also be set to 10.0.0.1. You may need to change these addresses to match your existing network setup.
Step 1:
Before we can begin you will need to find the name of the network interface you want to set as static. You can do this by running the following command in a terminal to display a list of available network interfaces.
sudo nmcli -p connection show
You should see a listing like the one below.
======================================
NetworkManager connection profiles
======================================
NAME                UUID                                    TYPE        DEVICE
------------------------------------------------------------------------------
Wired connection 1  bd220d18-7d6a-36a5-9820-4f67de2c01fc    ethernet    eth0
mywifi              2359440b-8991-4c86-a905-b011dced4587    wifi        wlan0
lo                  c29ba7c5-98ff-4fa0-8d8e-06b30b8ec384    loopback    lo
The default name for the wired Ethernet connection for English locales is "Wired connection 1". This name may be different if you use another language. For example, the German name will be "Kabelgebundene Verbindung 1". To find the correct connection name, look for the row with a Type of "ethernet".
The WiFi connection will typically have the name of your WiFis SSID. If your Raspberry Pi uses different names for the network connections, or you would like to change your WiFi IP address, replace "Wired connection 1" with the correct name in the following commands.
Step 2:
To update the network connection we can send three commands to set the new IP address, Gateway and DNS (domain name server) server.
sudo nmcli c mod "Wired connection 1" ipv4.addresses 10.0.0.220/24 ipv4.method manual

sudo nmcli con mod "Wired connection 1" ipv4.gateway 10.0.0.1

sudo nmcli con mod "Wired connection 1" ipv4.dns 10.0.0.1
If you want to use multiple DNS servers, you can add them separated by commas. For example, to use Google's DNS servers, use the following.
sudo nmcli con mod "Wired connection 1" ipv4.dns "8.8.8.8,8.8.4.4"
The same method can be used for adding multiple IP addresses to the same network connection. For example, the following command would assign IP addresses 10.0.0.220, 10.0.0.221 and 10.0.0.222.
sudo nmcli c mod "Wired connection 1" ipv4.addresses "10.0.0.220/24, 10.0.0.221/24, 10.0.0.222/24" ipv4.method manual
Step 3:
When you have finished updating the network settings on your Raspberry Pi, restart the network connection with the following command.
sudo nmcli c down "Wired connection 1" && sudo nmcli c up "Wired connection 1"
Note: If you are using SSH to connect to your Raspberry Pi, running the above command will cause the SSH session to end if the IP address changes.
You can find all of the configuration settings for a network connection with the following command:
nmcli -p connection show "Wired connection 1"
To change the network connection from static to automatic, run the following commands:
sudo nmcli con modify "Wired connection 1" ipv4.method auto
sudo nmcli c down "Wired connection 1" && sudo nmcli c up "Wired connection 1"
Also useful for your Raspberry Pi project
Temperature & Sensing
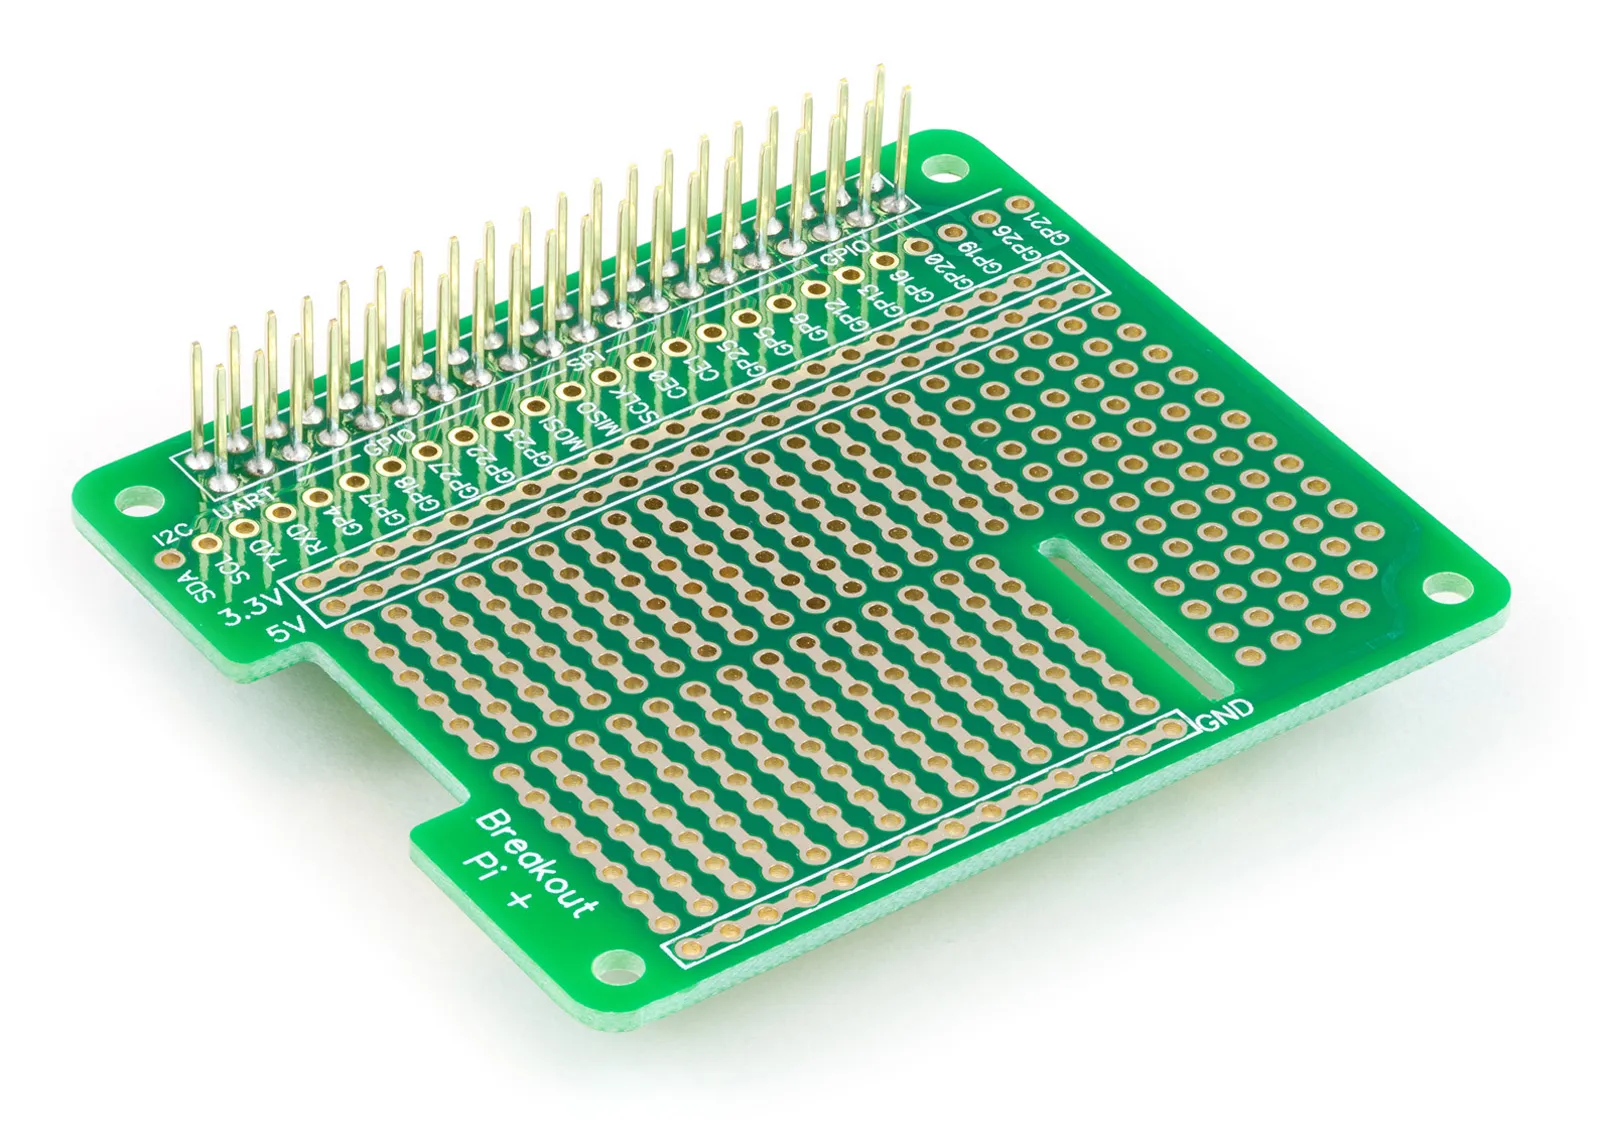
1 Wire Pi Plus
Connect dozens of 1-Wire sensors - temperature, iButtons, EEPROMs - via a single GPIO pin. Stacks directly on the 40-pin header.
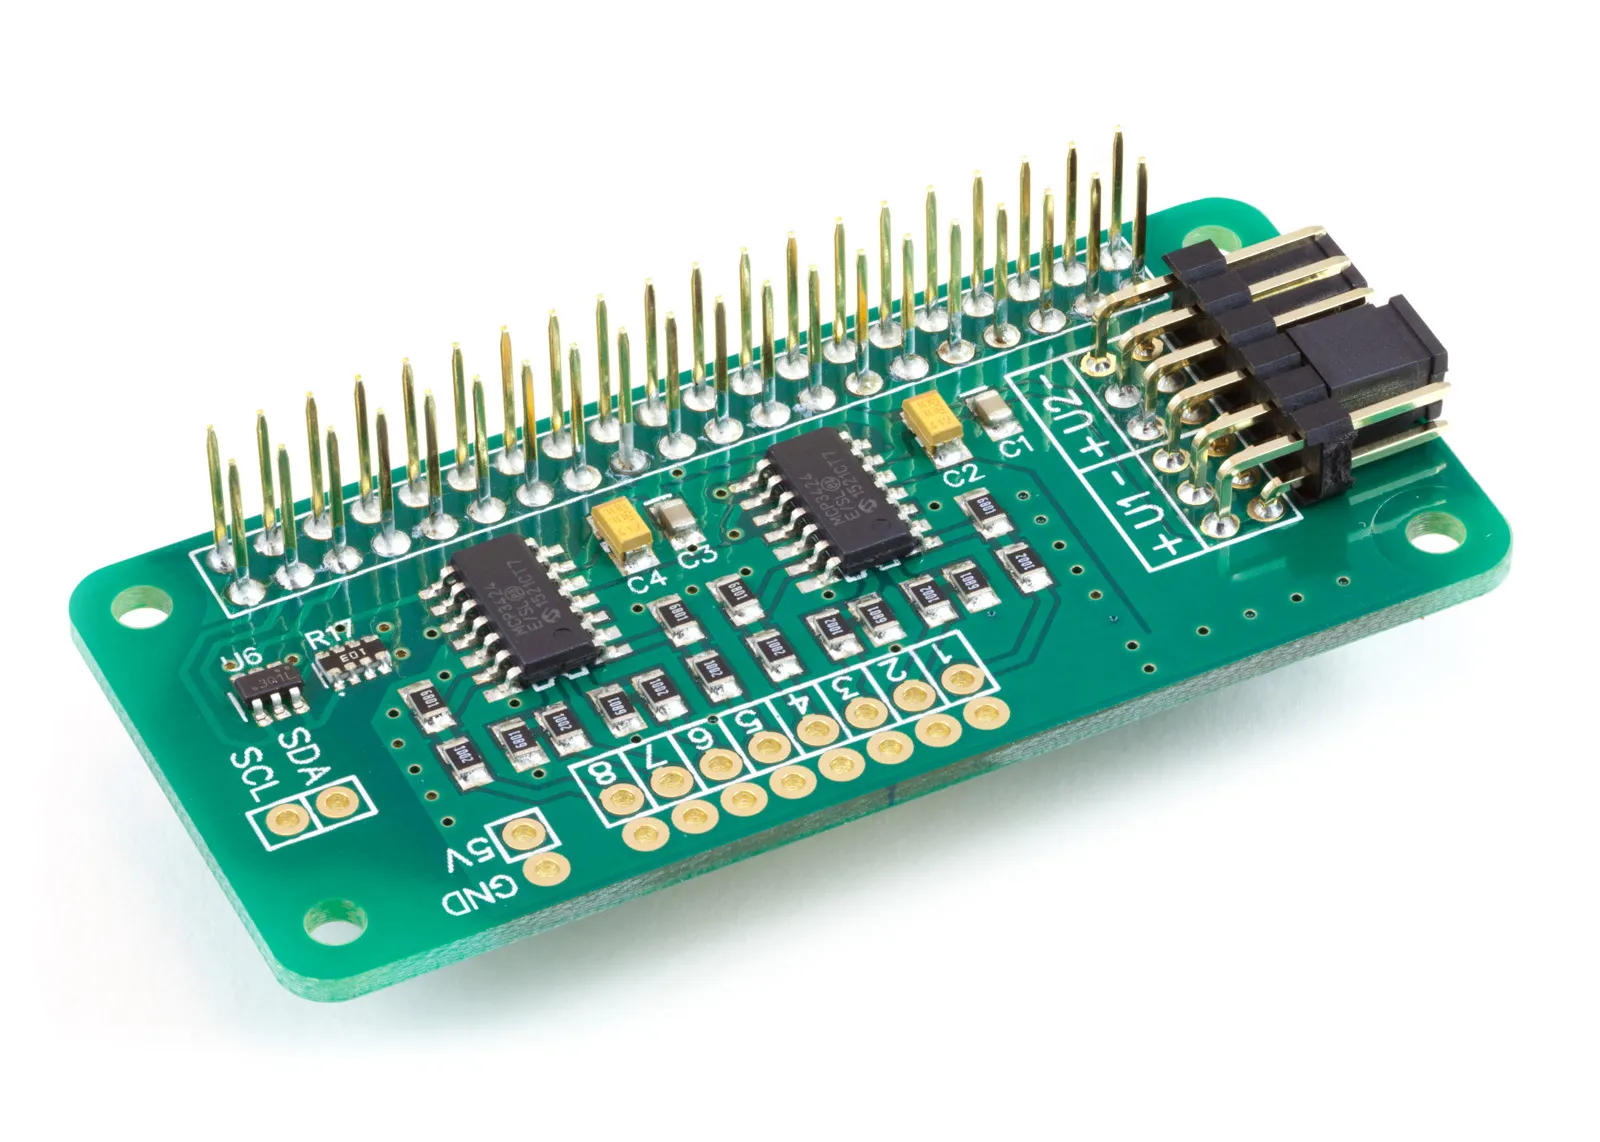
Analogue I/O
ADC Pi
Read up to 8 analogue inputs - perfect for pairing with your temperature sensors or other analogue-output devices.
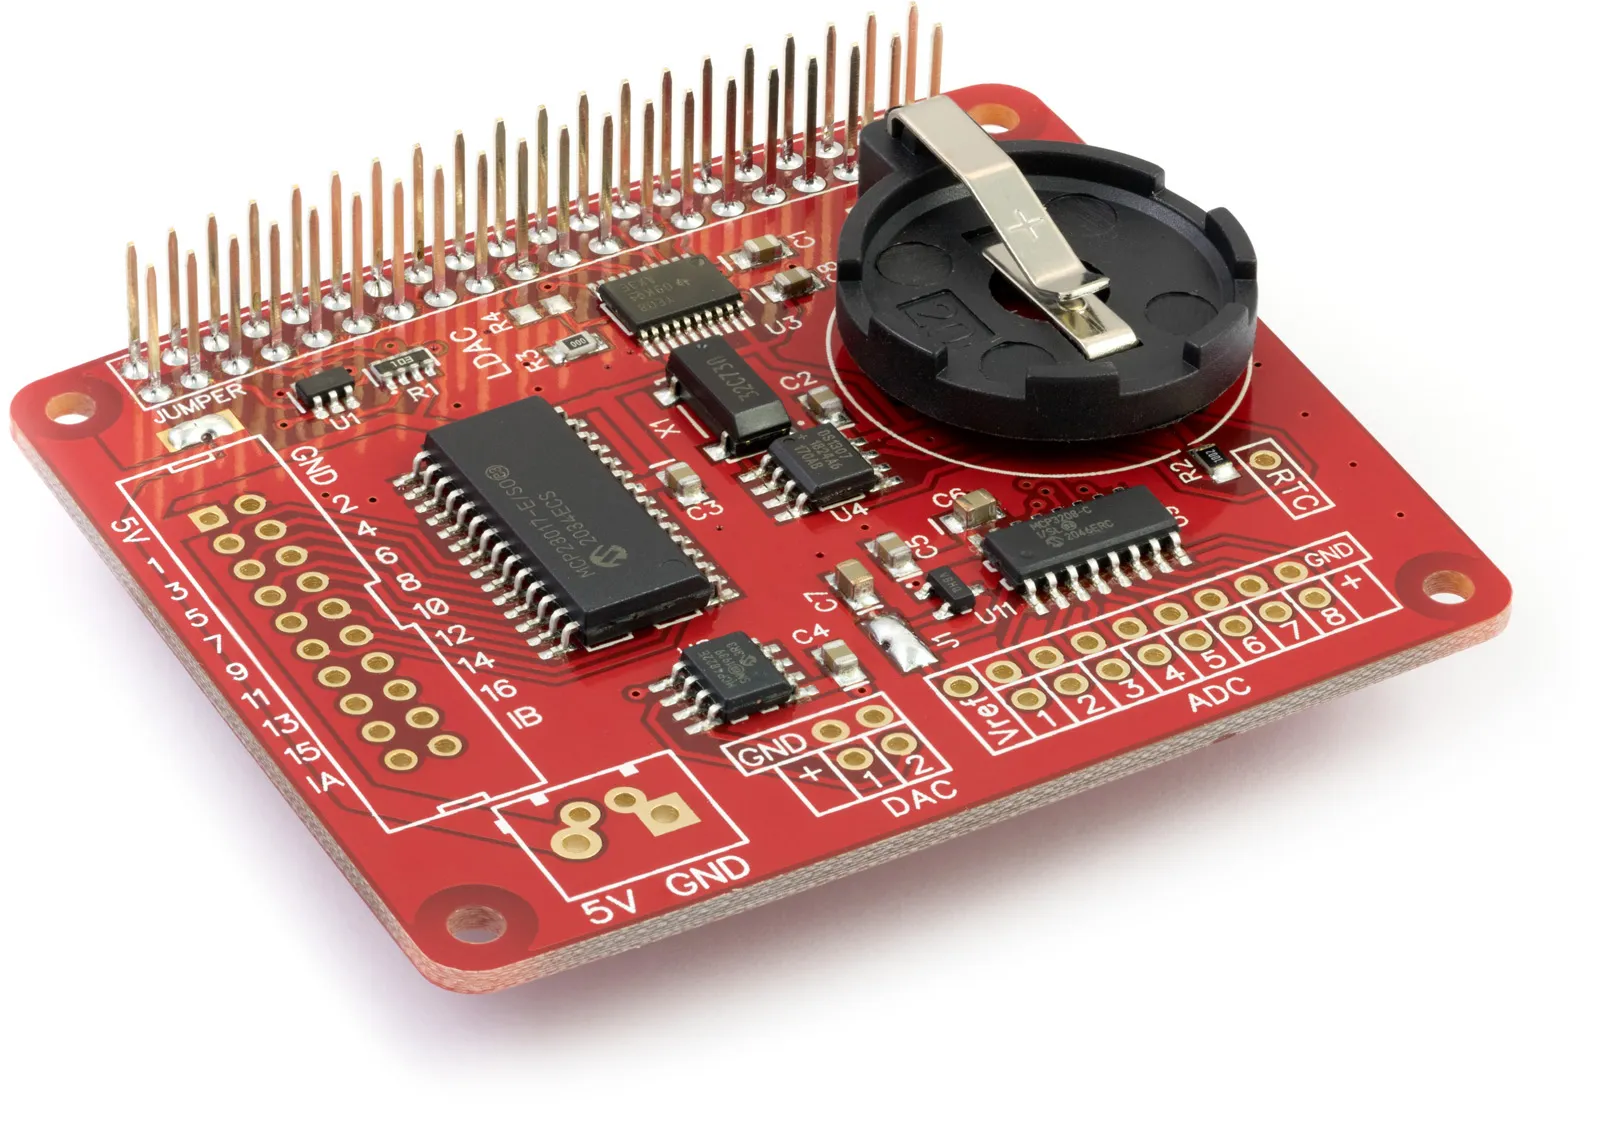
All-in-one
Expander Pi
Combines ADC, DAC, 32 GPIO ports and a real-time clock on one board. The most versatile board for complex Raspberry Pi projects.
Chapters
Related Articles
- Raspberry Pi GPIO Pins
- PCB Header Assembly Jig
- Samba Setup on Raspberry Pi
- Set a static IP Address on Raspberry Pi OS Trixie
- Set a static IP Address on Raspberry Pi OS Buster
- Set a static IP Address on Raspberry Pi OS Wheezy
- I2C Part 1 - Introducing I2C
- I2C Part 2 - How to Enable I2C on the Raspberry Pi
- I2C Part 3 - I2C tools in Linux
- I2C Part 4 - Programming I2C with Python
- SPI and Python on Raspberry Pi OS
- Using Pythonpath with our Python Libraries
- Connecting Development Boards to the Raspberry Pi 400
Order these Boards
ADC Pi
8 Channel 17-bit Single-Ended Analogue to Digital Converter for the Raspberry Pi and Single-Board Computers
£17.99 ex VAT