The AB Electronics UK Knowledge Base provides support solutions, tutorials and troubleshooting guides.

YOU WILL NEED THIS BOARD
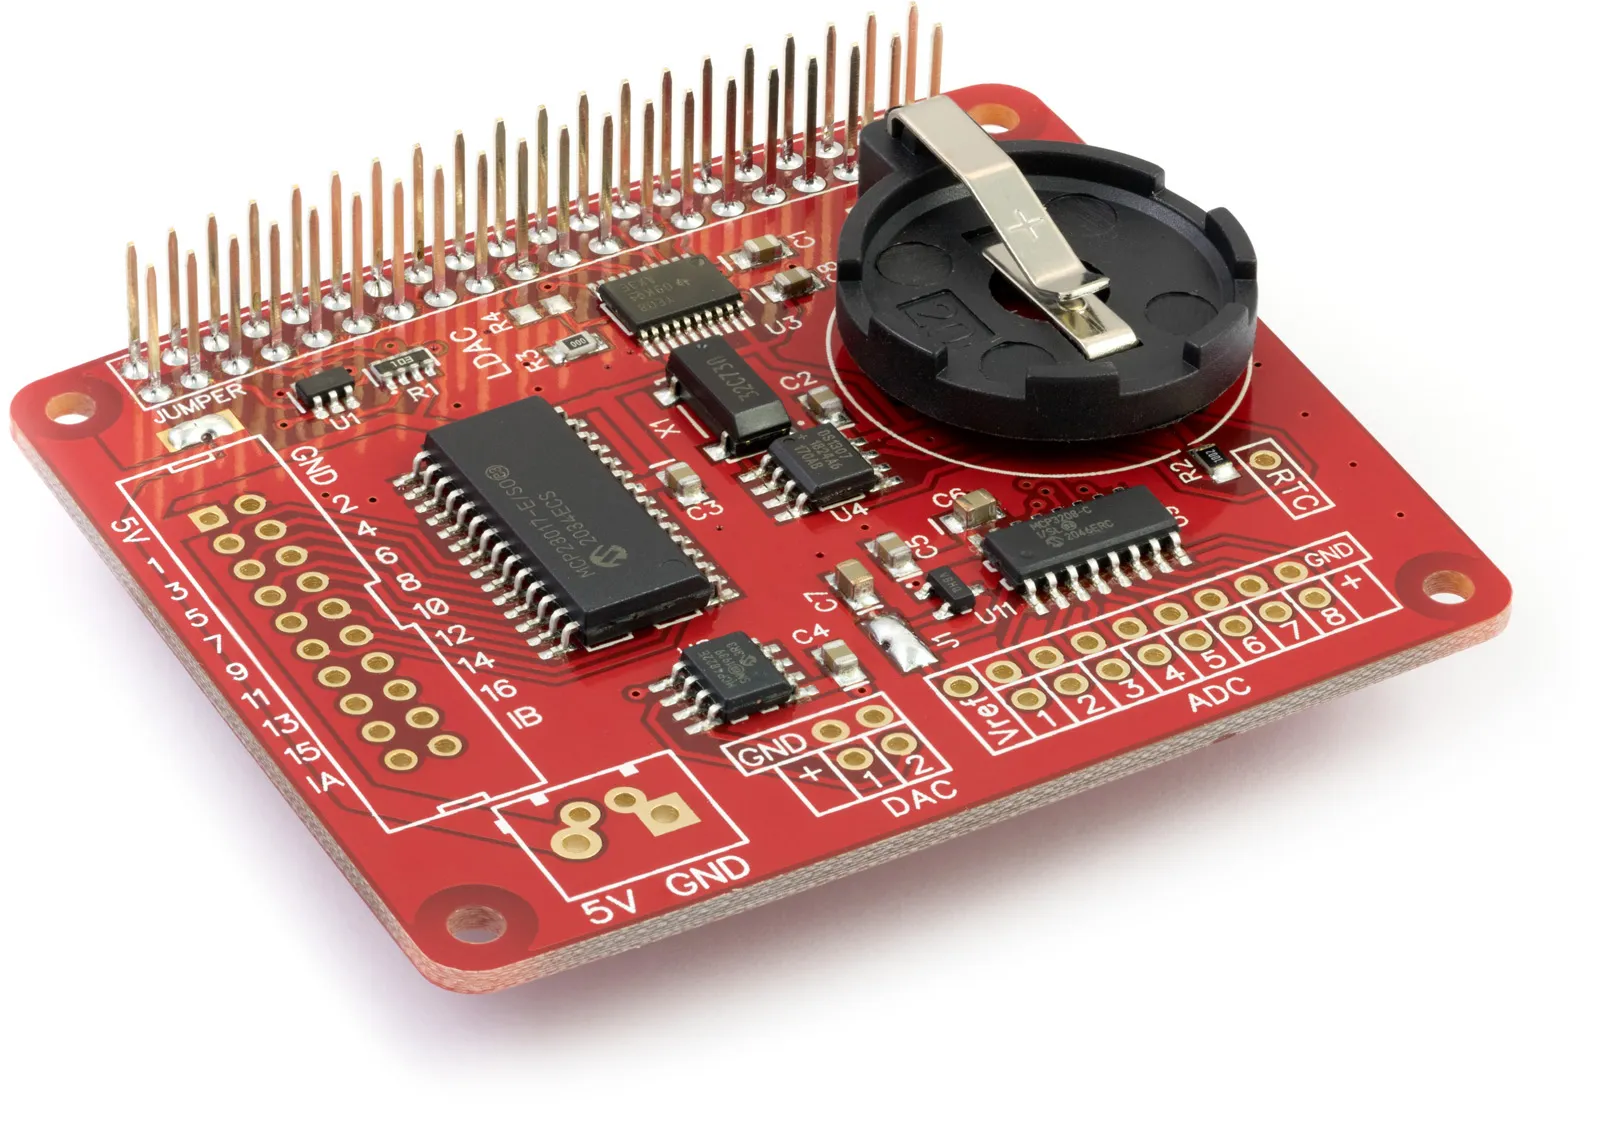
This demo shows how to write to the DAC output channels on the Expander Pi to set the output voltage levels. This demo will generate a 1.5V p-p square wave at 1Hz on Channel 1
With your Raspberry Pi switched off, install the Expander Pi on the Raspberry Pi GPIO port and insert a CR2032 coin battery into the battery holder. Using the Expander Pi without a battery installed may damage the Expander Pi and will stop it from appearing on the I2C bus.
We will use the AB Electronics Python library to talk to the Expander Pi. To download the library, visit our Python Library and Demos knowledge base article.
You must enable I2C and SPI on your Raspberry Pi; see our other tutorial on I2C: I2C, SMBus and Raspbian Linux and SPI: SPI and Python on Raspberry Pi OS.
The AB Electronics Python library uses another library called python3-smbus; you can install it using apt-get with the following commands.
sudo apt-get update
sudo apt-get install python3-smbus
With the libraries installed and the Raspberry Pi configured to use i2c, we can build our project.
We will create a new Python program file for this tutorial called demo-dacwrite.py. You can use your favourite text editor to write the program. You can find a complete example of demo_dacwrite.py in the ABElectronics_Python_Libraries/ExpanderPi/demos folder.
At the top of your program, you must import the DAC class from the ExpanderPi library and time library.
from ExpanderPi import DAC
import time
Now, we create an instance of the DAC class with the gain set to 1
dac = DAC(1)
Now we make a loop toggle the output voltage with a 1-second delay between switching from 1.5V to 0V
while True:
    dac.set_dac_voltage(1, 1.5)  # set the voltage on channel 1 to 1.5V
    time.sleep(1)  # wait 1 seconds
    dac.set_dac_voltage(1, 0)  # set the voltage on channel 1 to 0V
    time.sleep(1)  # wait 1 seconds
To run the demo in a console window, enter:
python3 demo_dacwrite.py
The complete code for this demo is as follows:
#!/usr/bin/env python

from ExpanderPi import DAC
import time

"""
================================================
ABElectronics Expander Pi | DAC Write Demo
run with: python demo_dacwrite.py
================================================
this demo will generate a 1.5V p-p square wave at 1Hz on channel 1
"""

dac = DAC(1) # create a dac instance with  the gain set to 1

while True:
    dac.set_dac_voltage(1, 1.5)  # set the voltage on channel 1 to 1.5V
    time.sleep(1)  # wait 1 seconds
    dac.set_dac_voltage(1, 0)  # set the voltage on channel 1 to 0V
    time.sleep(1)  # wait 1 seconds
Also useful for your Raspberry Pi project
Temperature & Sensing
1 Wire Pi Plus
Connect dozens of 1-Wire sensors - temperature, iButtons, EEPROMs - via a single GPIO pin. Stacks directly on the 40-pin header.
Analogue I/O
ADC Pi
Read up to 8 analogue inputs - perfect for pairing with your temperature sensors or other analogue-output devices.
All-in-one
Expander Pi
Combines ADC, DAC, 32 GPIO ports and a real-time clock on one board. The most versatile board for complex Raspberry Pi projects.