The AB Electronics UK Knowledge Base provides support solutions, tutorials and troubleshooting guides.

This tutorial show how to set up network file sharing using Samba on your Raspberry Pi to enable you to share files with Windows or OSX computers on your network using the SMB protocol.
Step 1: Open a terminal window, and at the command prompt, run this code to install Samba and Samba Common.
sudo apt-get install samba samba-common-bin
Step 2. Next, you need to edit the samba.conf file to change your Samba settings using nano.
sudo nano /etc/samba/smb.conf
You need to find the wins support line, and if there is a # at the beginning of the line, you need to remove it to uncomment the text.
workgroup = your_workgroup_name
wins support = yes
You can change the workgroup name to match your home or office network.
Add the following code to the Share Definitions section; the path line specifies the share path on your Raspberry Pi.
[pihome]
comment= Pi Home
path=/home/pi
browseable=Yes
writeable=Yes
only guest=no
create mask=0777
directory mask=0777
public=no
Save your changes to the smb.conf file.
Step 3. Now, you need to set the password for Samba using the following command:
sudo smbpasswd -a pi
Step 4: Restart Samba with the following command, and your new Raspberry Pi share should appear on your Windows or OSX network.
sudo service smbd restart
Also useful for your Raspberry Pi project
Temperature & Sensing
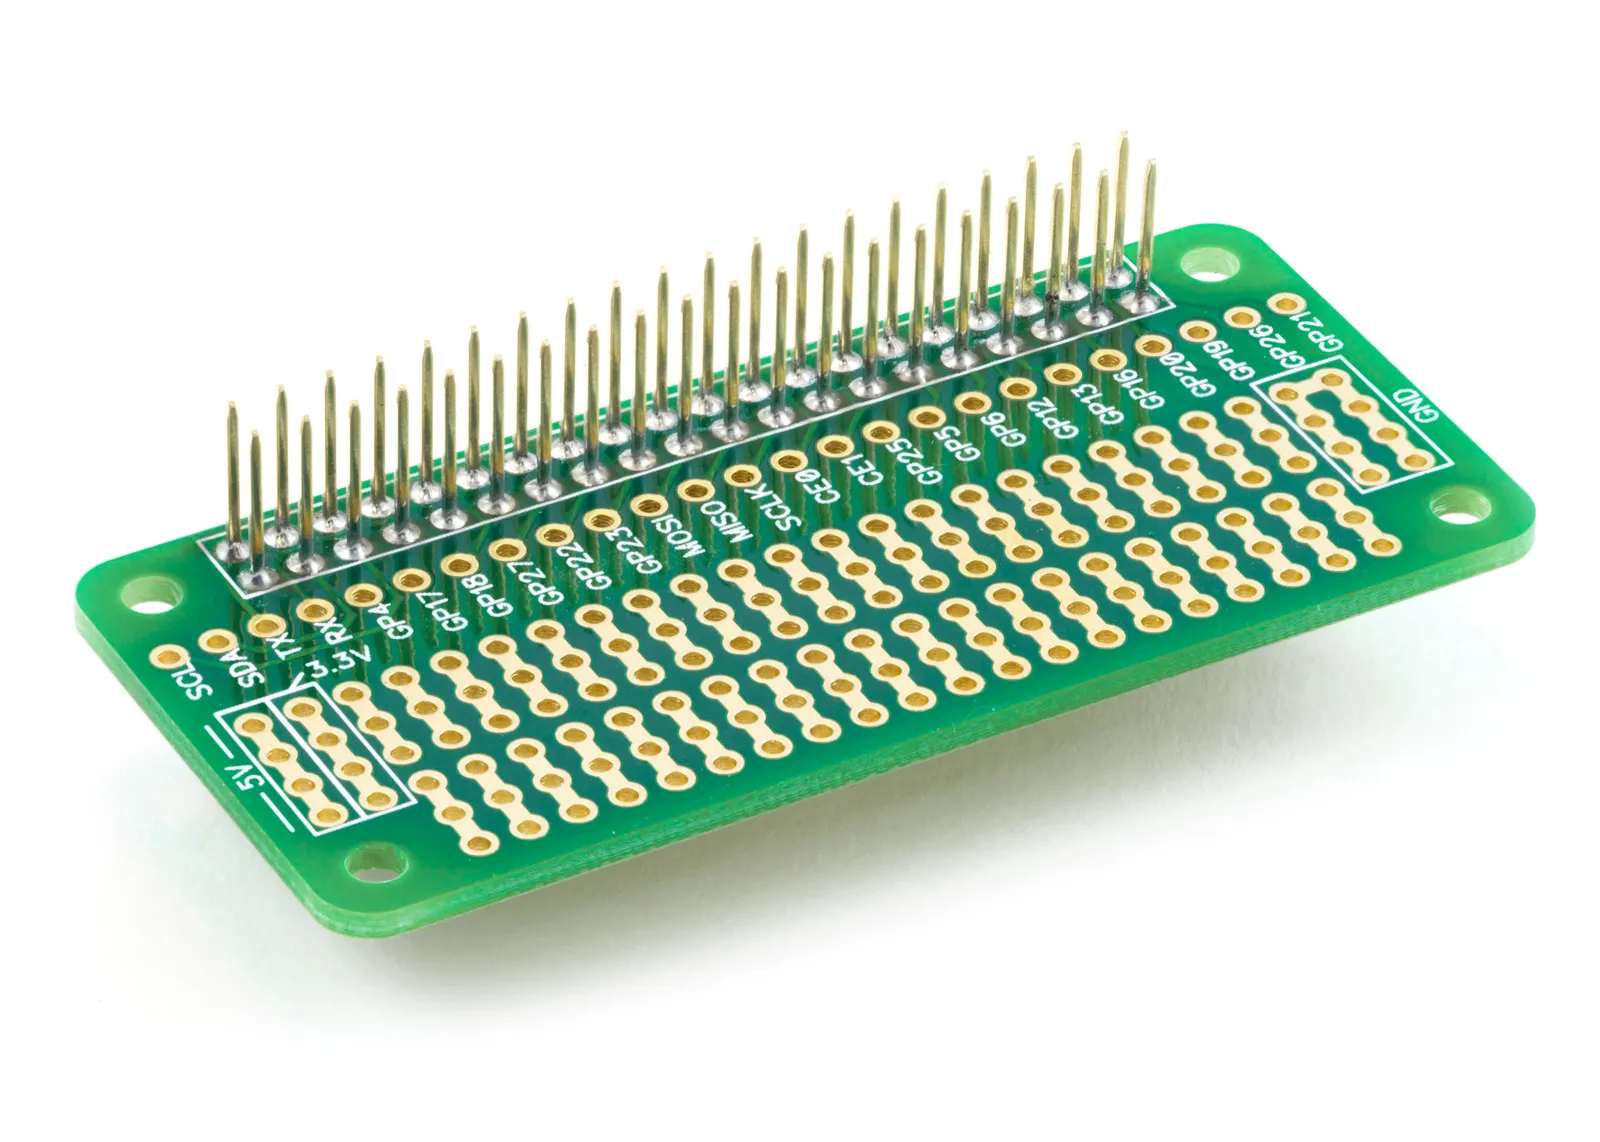
1 Wire Pi Plus
Connect dozens of 1-Wire sensors - temperature, iButtons, EEPROMs - via a single GPIO pin. Stacks directly on the 40-pin header.
Analogue I/O
ADC Pi
Read up to 8 analogue inputs - perfect for pairing with your temperature sensors or other analogue-output devices.
All-in-one
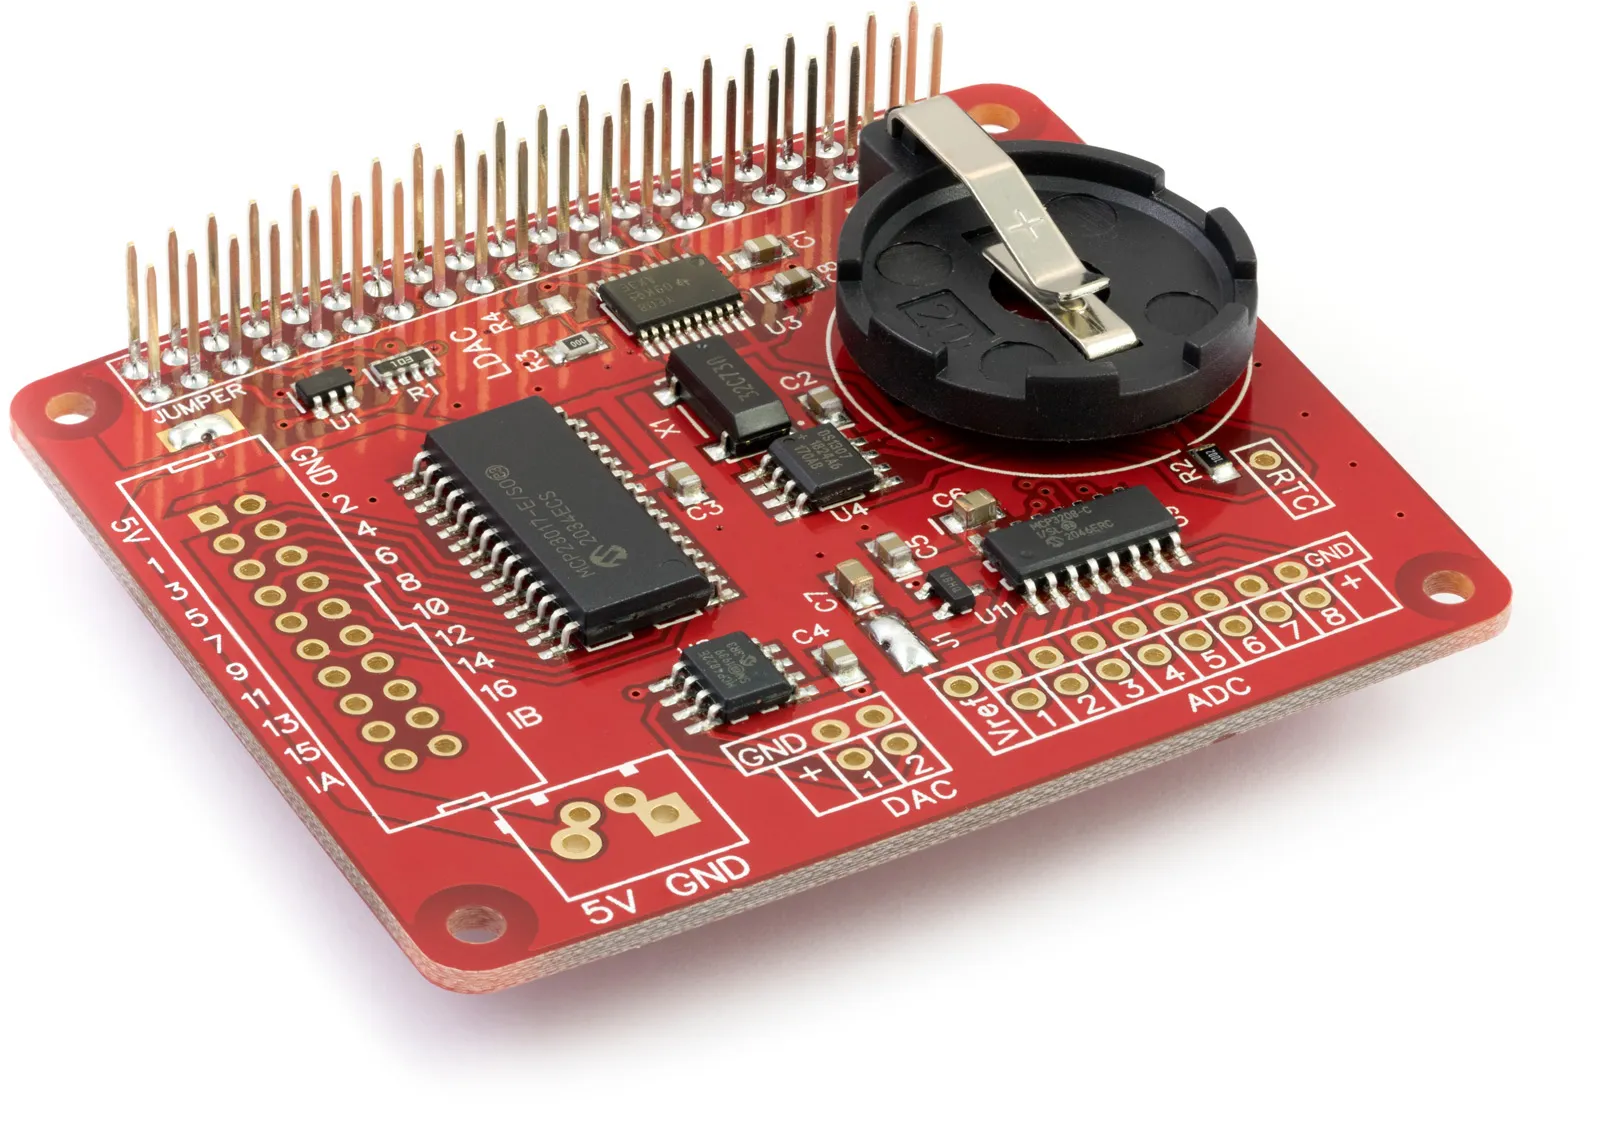
Expander Pi
Combines ADC, DAC, 32 GPIO ports and a real-time clock on one board. The most versatile board for complex Raspberry Pi projects.
Related Articles
- Raspberry Pi GPIO Pins
- PCB Header Assembly Jig
- Samba Setup on Raspberry Pi
- Set a static IP Address on Raspberry Pi OS Trixie
- Set a static IP Address on Raspberry Pi OS Buster
- Set a static IP Address on Raspberry Pi OS Wheezy
- I2C Part 1 - Introducing I2C
- I2C Part 2 - How to Enable I2C on the Raspberry Pi
- I2C Part 3 - I2C tools in Linux
- I2C Part 4 - Programming I2C with Python
- SPI and Python on Raspberry Pi OS
- Using Pythonpath with our Python Libraries
- Connecting Development Boards to the Raspberry Pi 400
Order these Boards
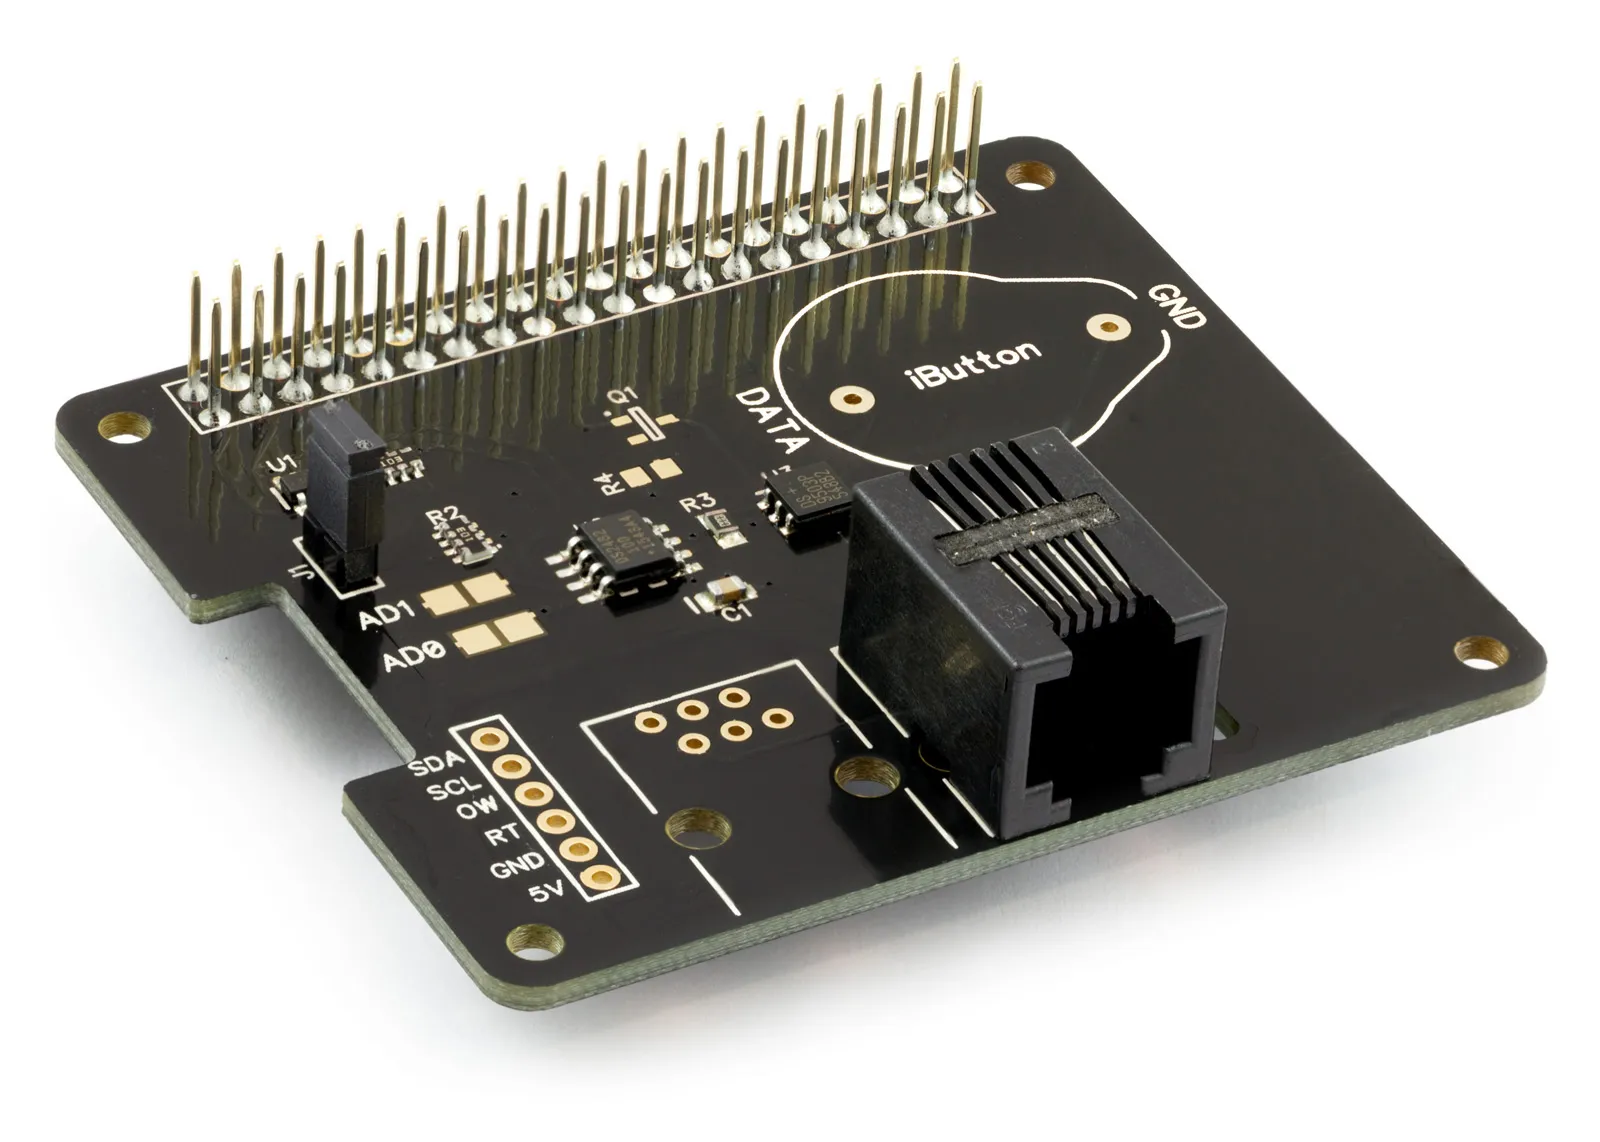
1 Wire Pi Plus
1 Wire interface development board for the Raspberry Pi and Single-Board Computers
£11.99 ex VAT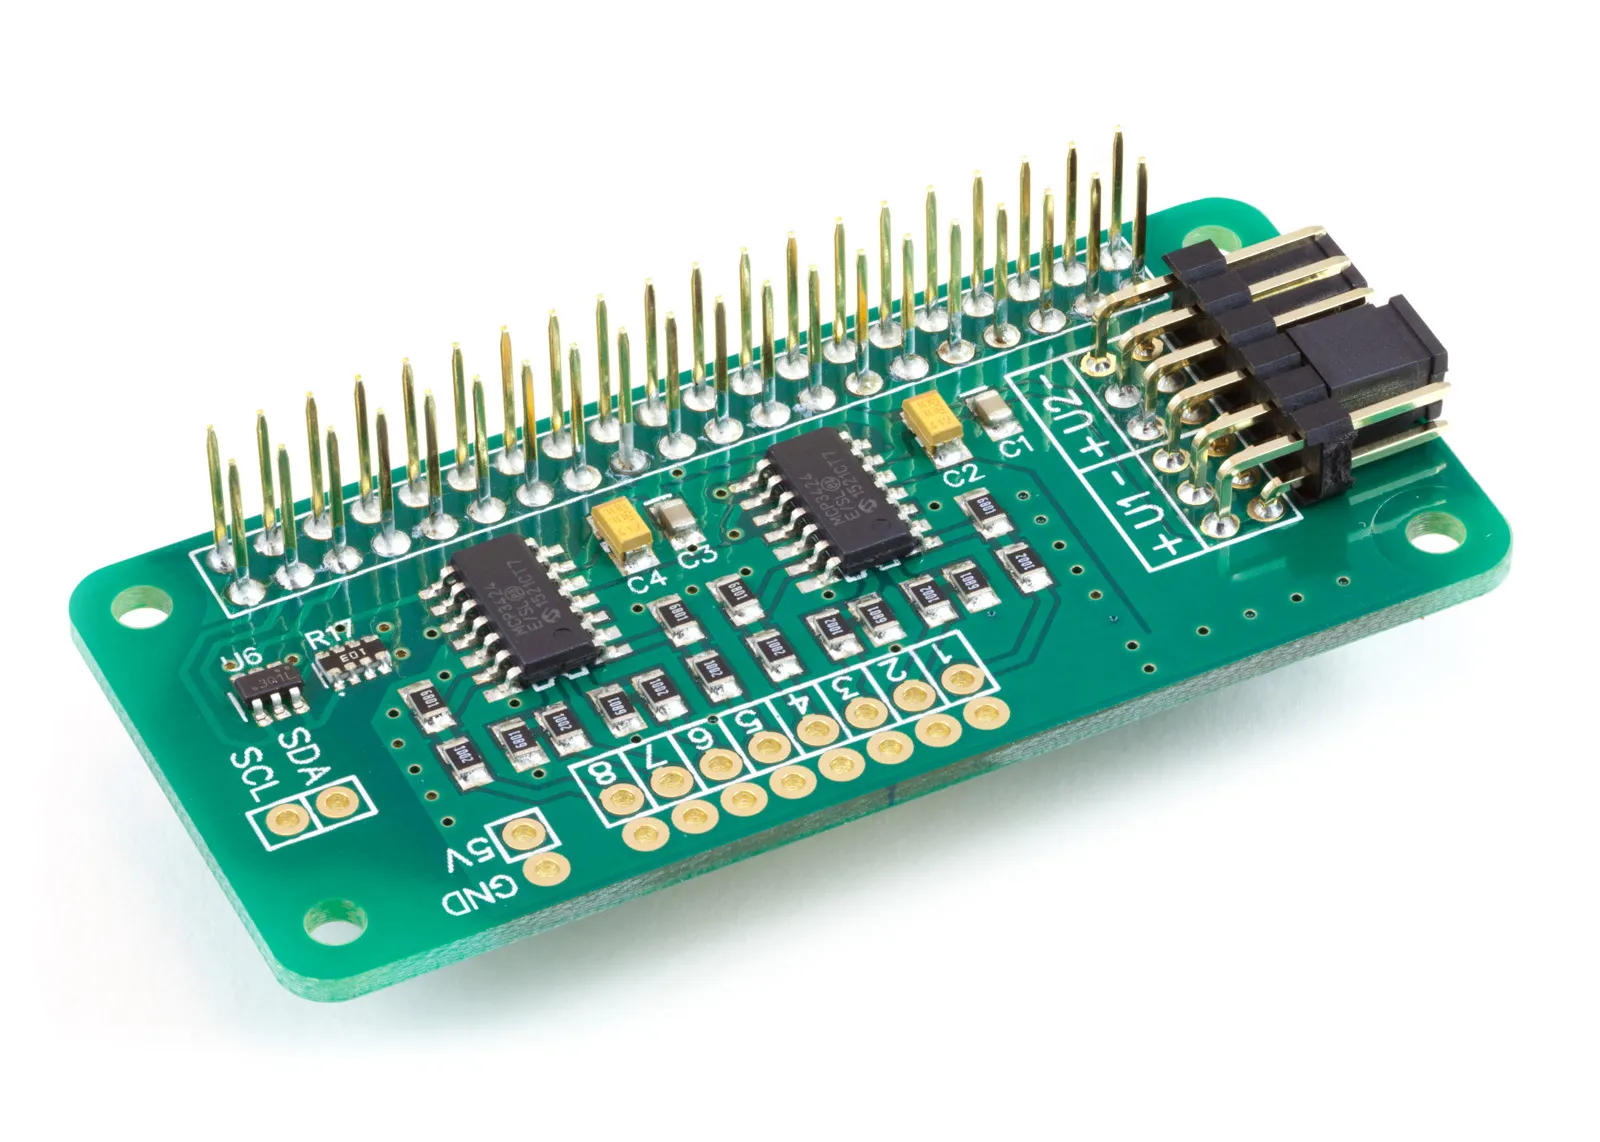
ADC Pi
8 Channel 17-bit Single-Ended Analogue to Digital Converter for the Raspberry Pi and Single-Board Computers
£17.99 ex VAT

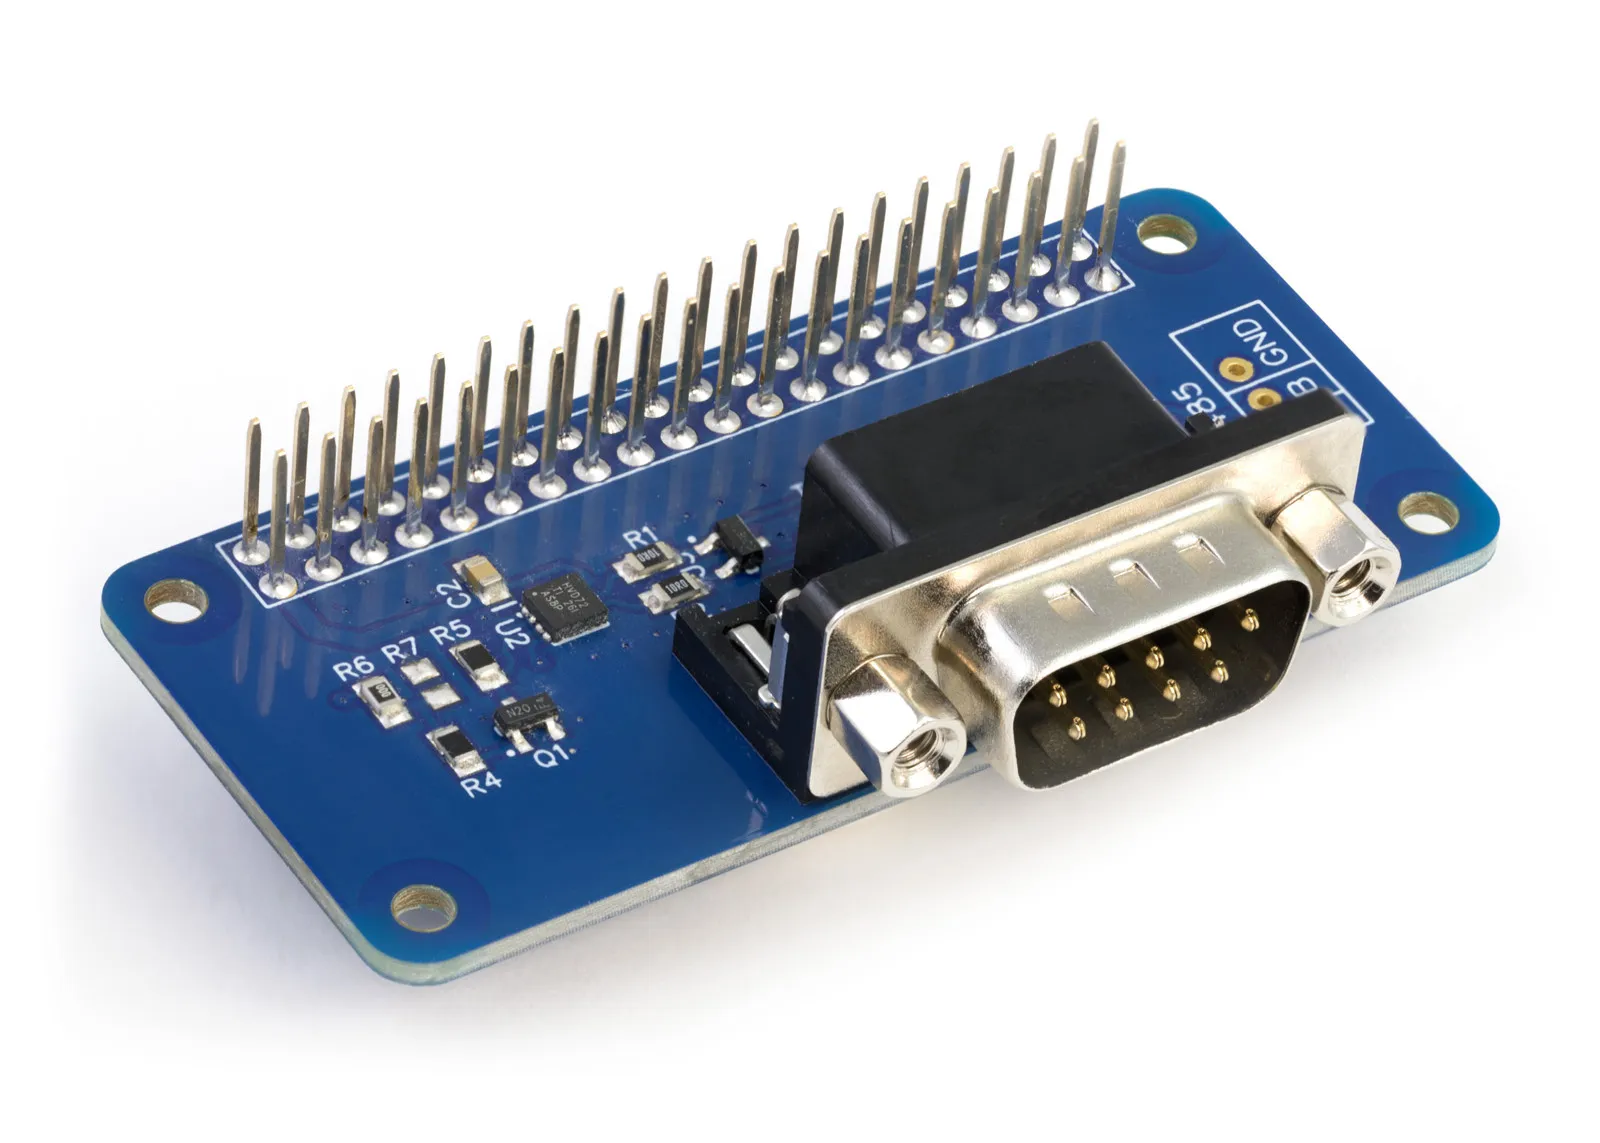
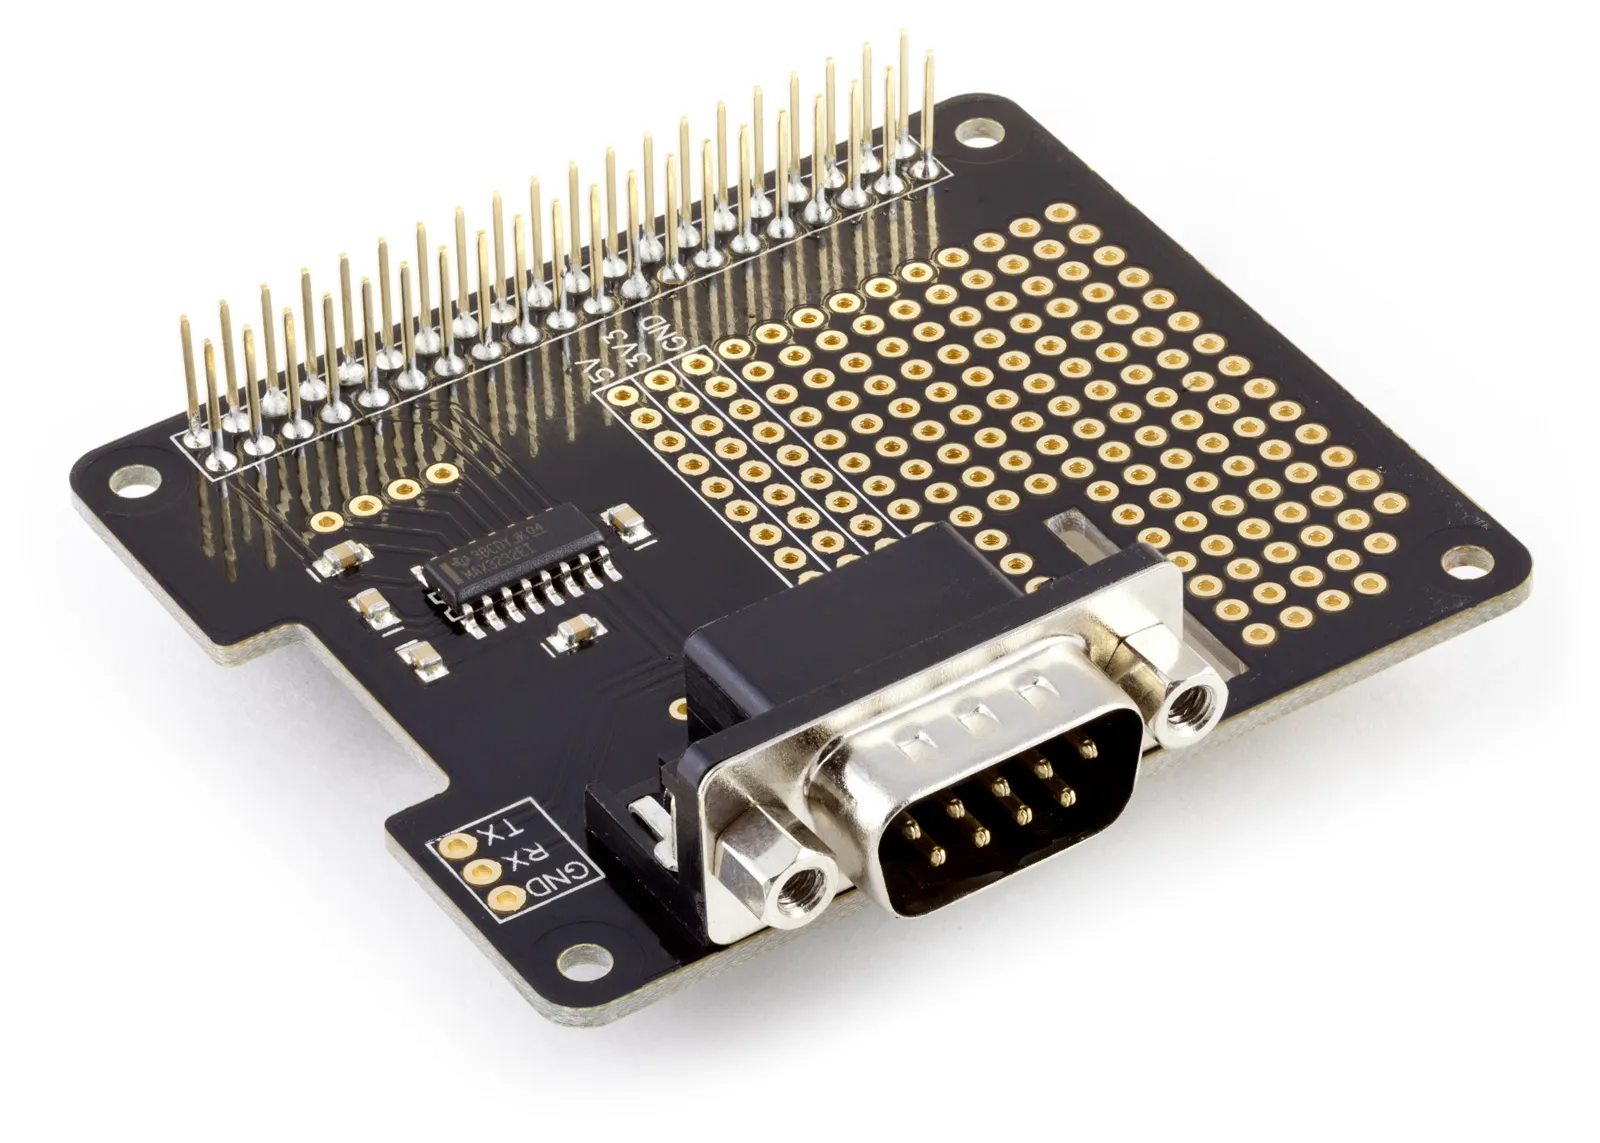
RS485 Pi
RS485 serial interface development board for the Raspberry Pi and Single-Board Computers
£11.99 ex VAT