The AB Electronics UK Knowledge Base provides support solutions, tutorials and troubleshooting guides.

How to set up I2C support on an ODROID-C2 from Hardkernel running Ubuntu 20.04. All commands are entered in a terminal window or via SSH.
Step 1: You need to update your Odroid C2 to ensure all the latest packages are installed:
sudo apt-get update
sudo apt-get upgrade
sudo apt-get dist-upgrade
Step 2: Next, reboot the Odroid C2:
sudo reboot
Step 3: Once you have logged into your Odroid C2 from the command line, run the following command to install python-smbus and i2c-tools:
sudo apt-get install python3-smbus i2c-tools
Step 4: Set the Odroid C2 to load the i2c driver:
modprobe aml_i2c
Step 5: Set the Odroid C2 to start I2C automatically at boot by editing /etc/modules :
sudo nano /etc/modules
Use your cursor keys to move to the last line and add the following:
aml_i2c
Save your changes and exit the nano editor.
Step 6: To avoid having to run the I2C tools at root, add the ‘odroid’ user to the I2C group:
sudo adduser odroid i2c
Step 7: Next, reboot the Odroid C2:
sudo reboot
When your Odroid C2 has rebooted, you will now have I2C support.
You can check for connected I2C devices with the following command:
i2cdetect -y -r 1
Also useful for your Raspberry Pi project
Temperature & Sensing
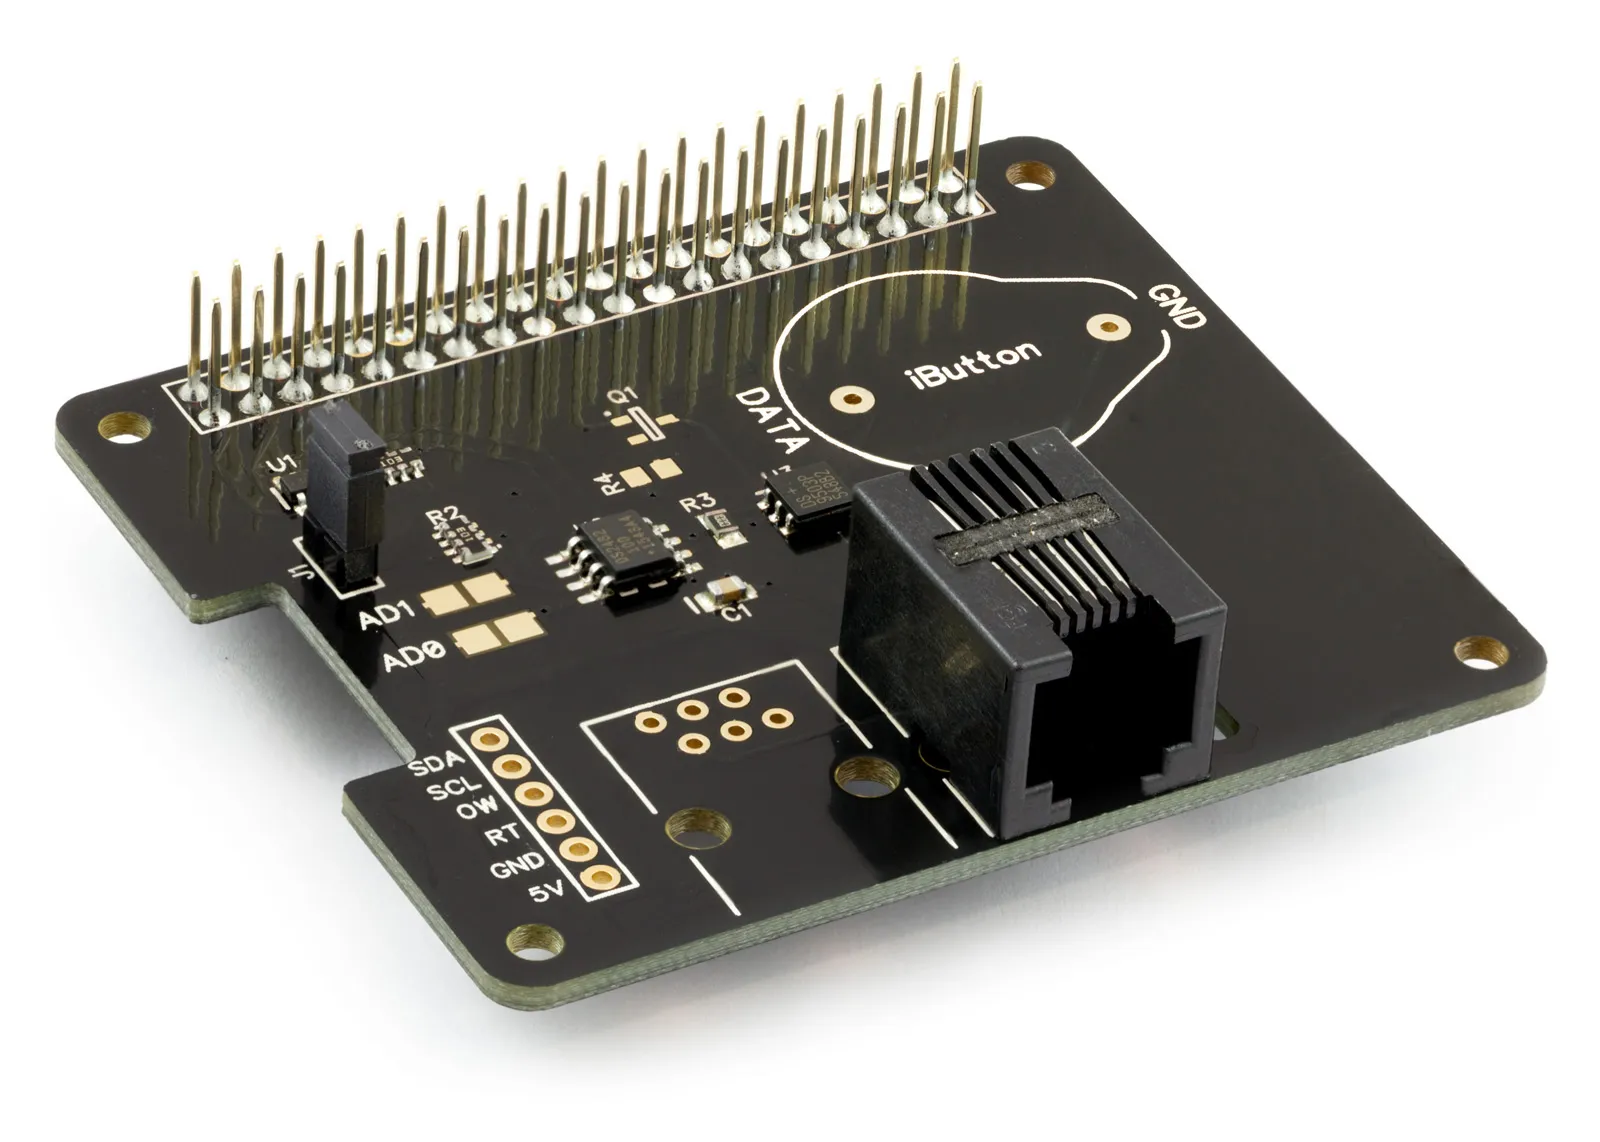
1 Wire Pi Plus
Connect dozens of 1-Wire sensors - temperature, iButtons, EEPROMs - via a single GPIO pin. Stacks directly on the 40-pin header.
Analogue I/O
ADC Pi
Read up to 8 analogue inputs - perfect for pairing with your temperature sensors or other analogue-output devices.
All-in-one
Expander Pi
Combines ADC, DAC, 32 GPIO ports and a real-time clock on one board. The most versatile board for complex Raspberry Pi projects.
Order these Boards
1 Wire Pi Plus
1 Wire interface development board for the Raspberry Pi and Single-Board Computers
£11.99 ex VAT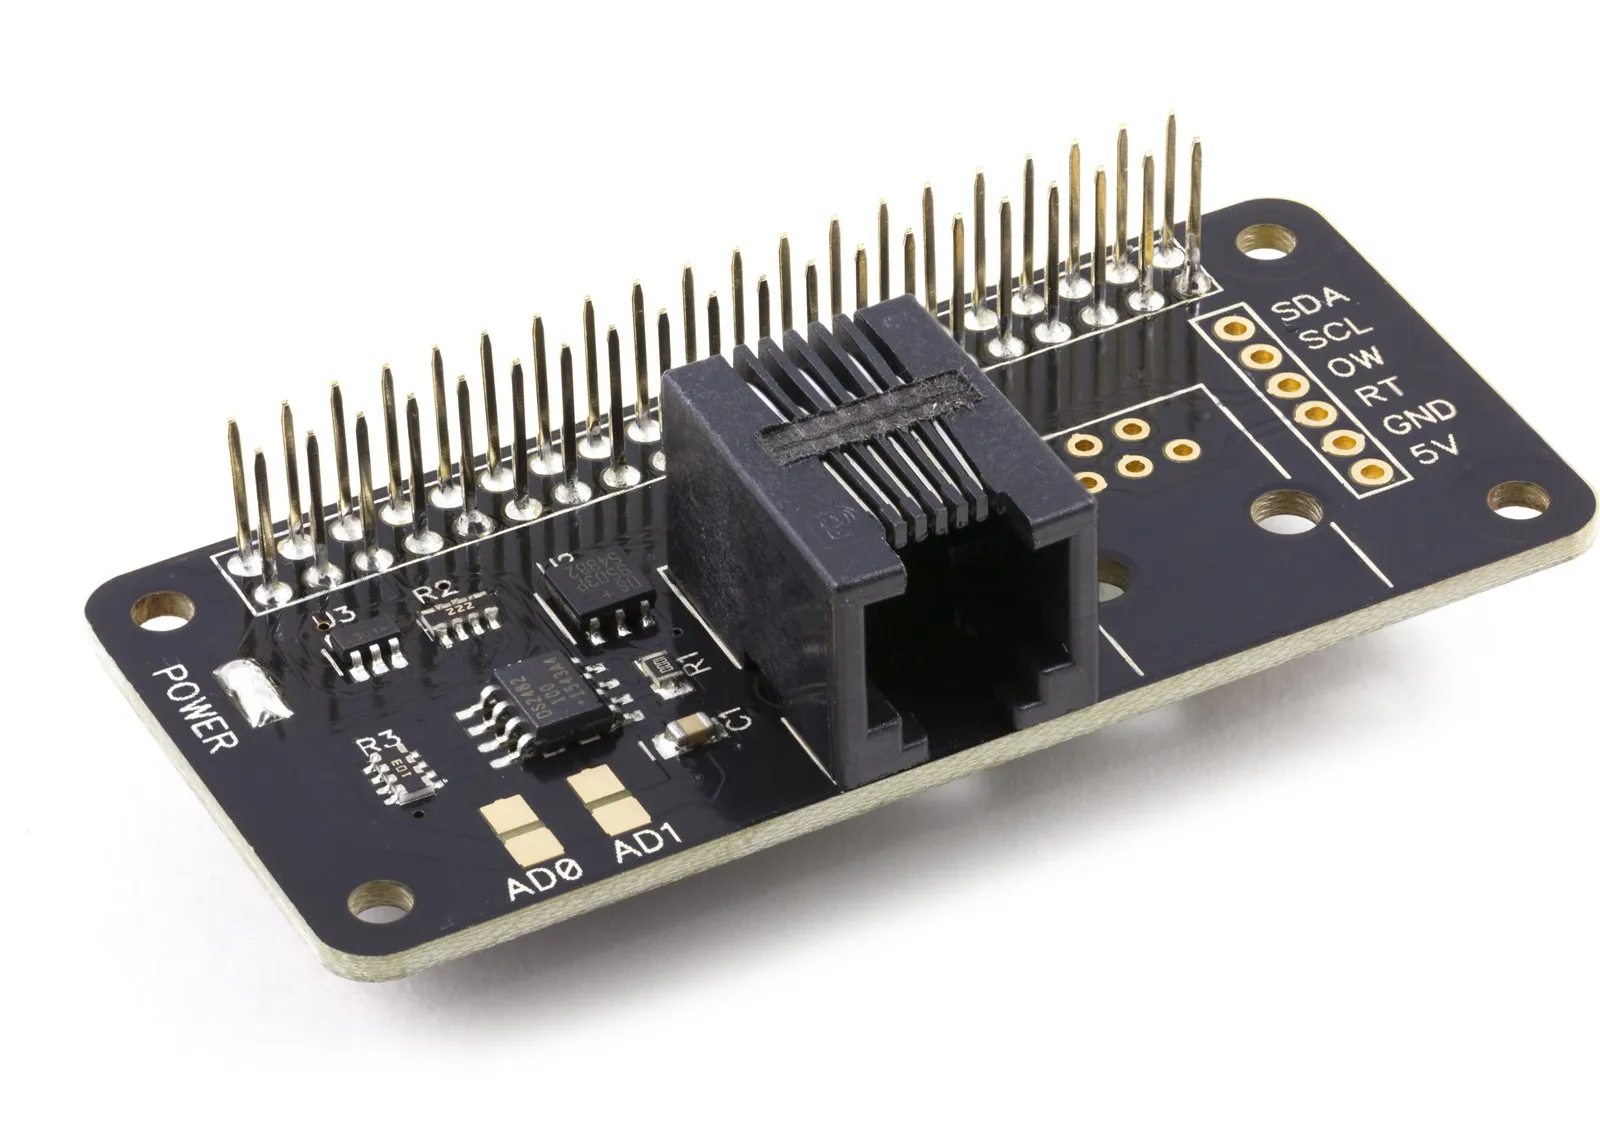
1 Wire Pi Zero
1 Wire interface development board for the Raspberry Pi Zero and Single-Board Computers
£11.49 ex VAT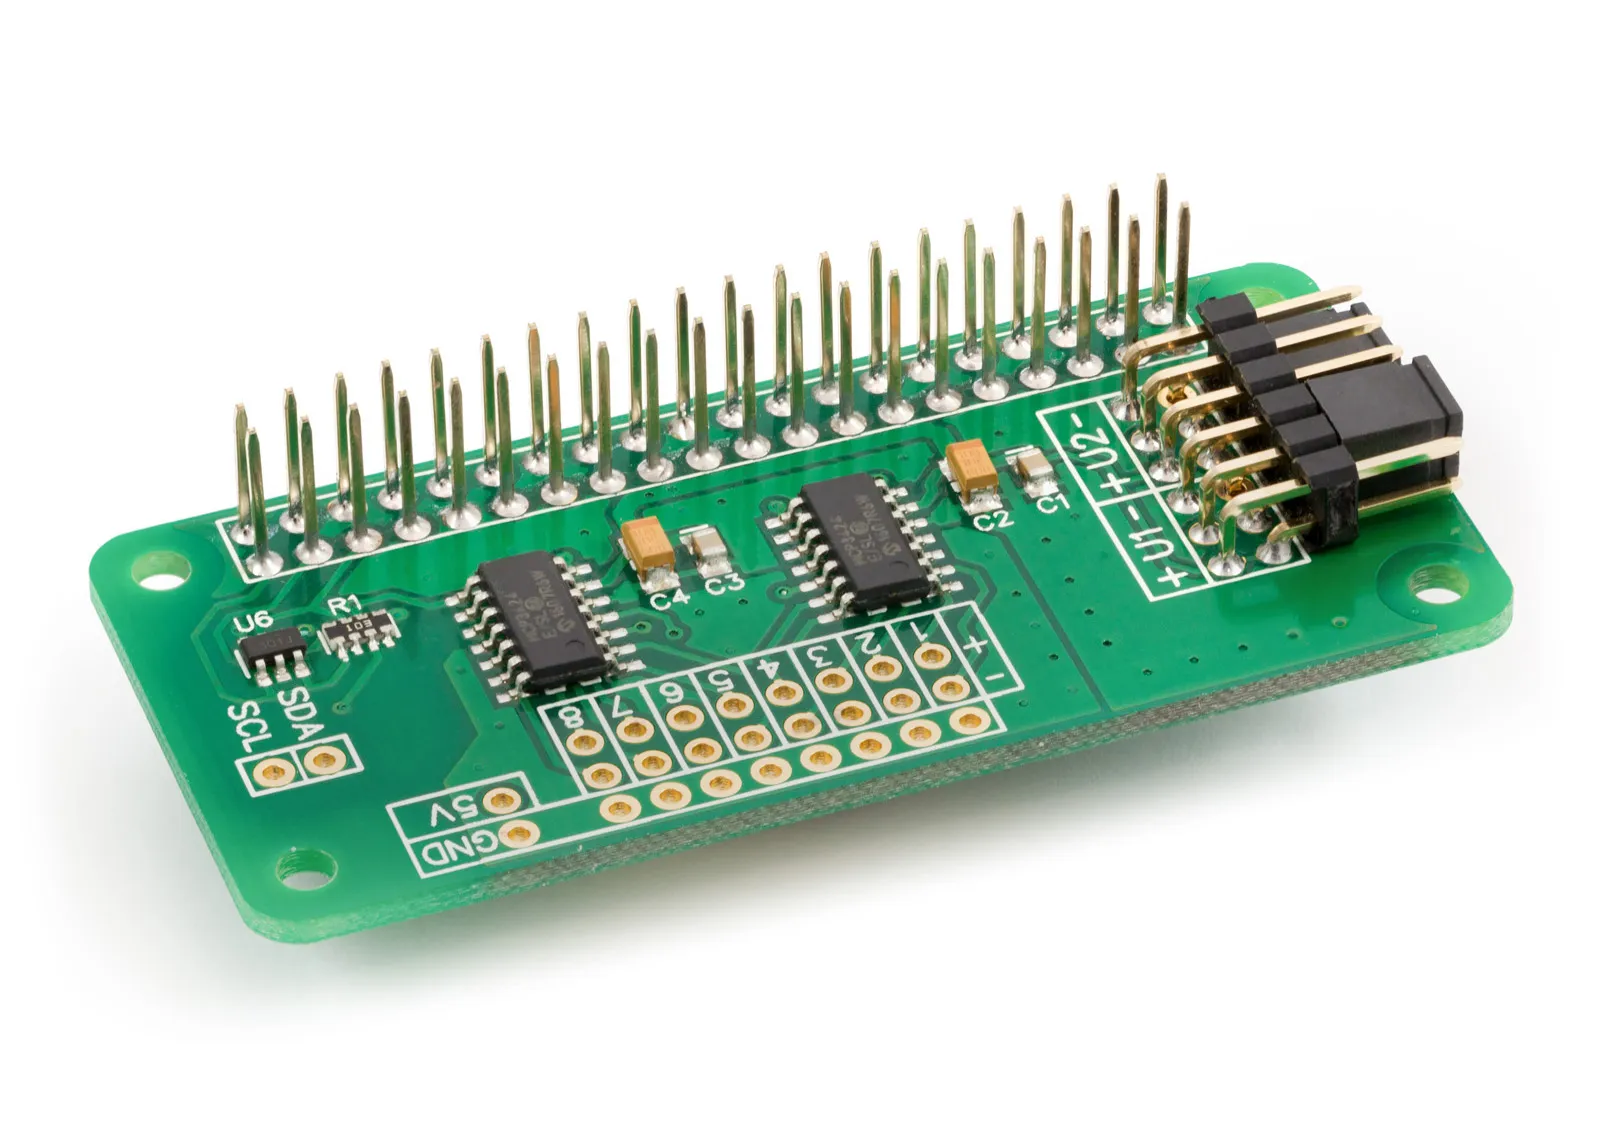
ADC Differential Pi
8 Channel 18-bit Differential Analogue to Digital converter development board for the Raspberry Pi
£16.99 ex VAT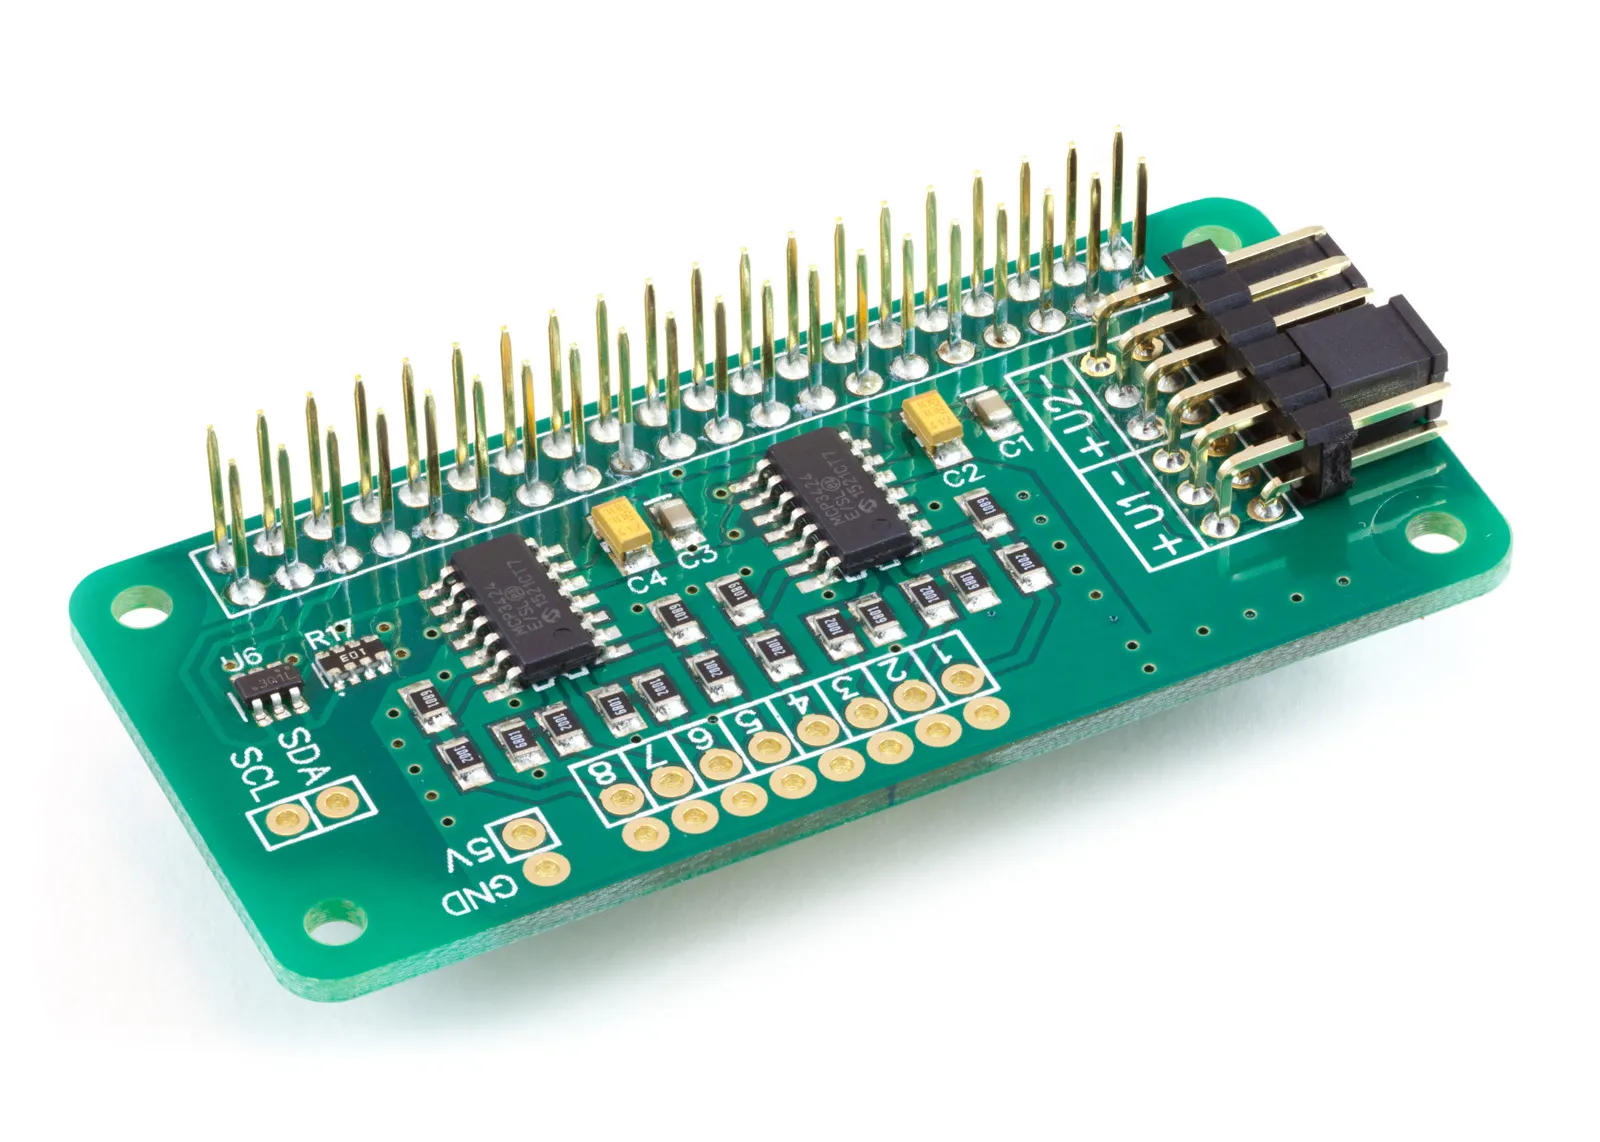
ADC Pi
8 Channel 17-bit Single-Ended Analogue to Digital Converter for the Raspberry Pi and Single-Board Computers
£17.99 ex VAT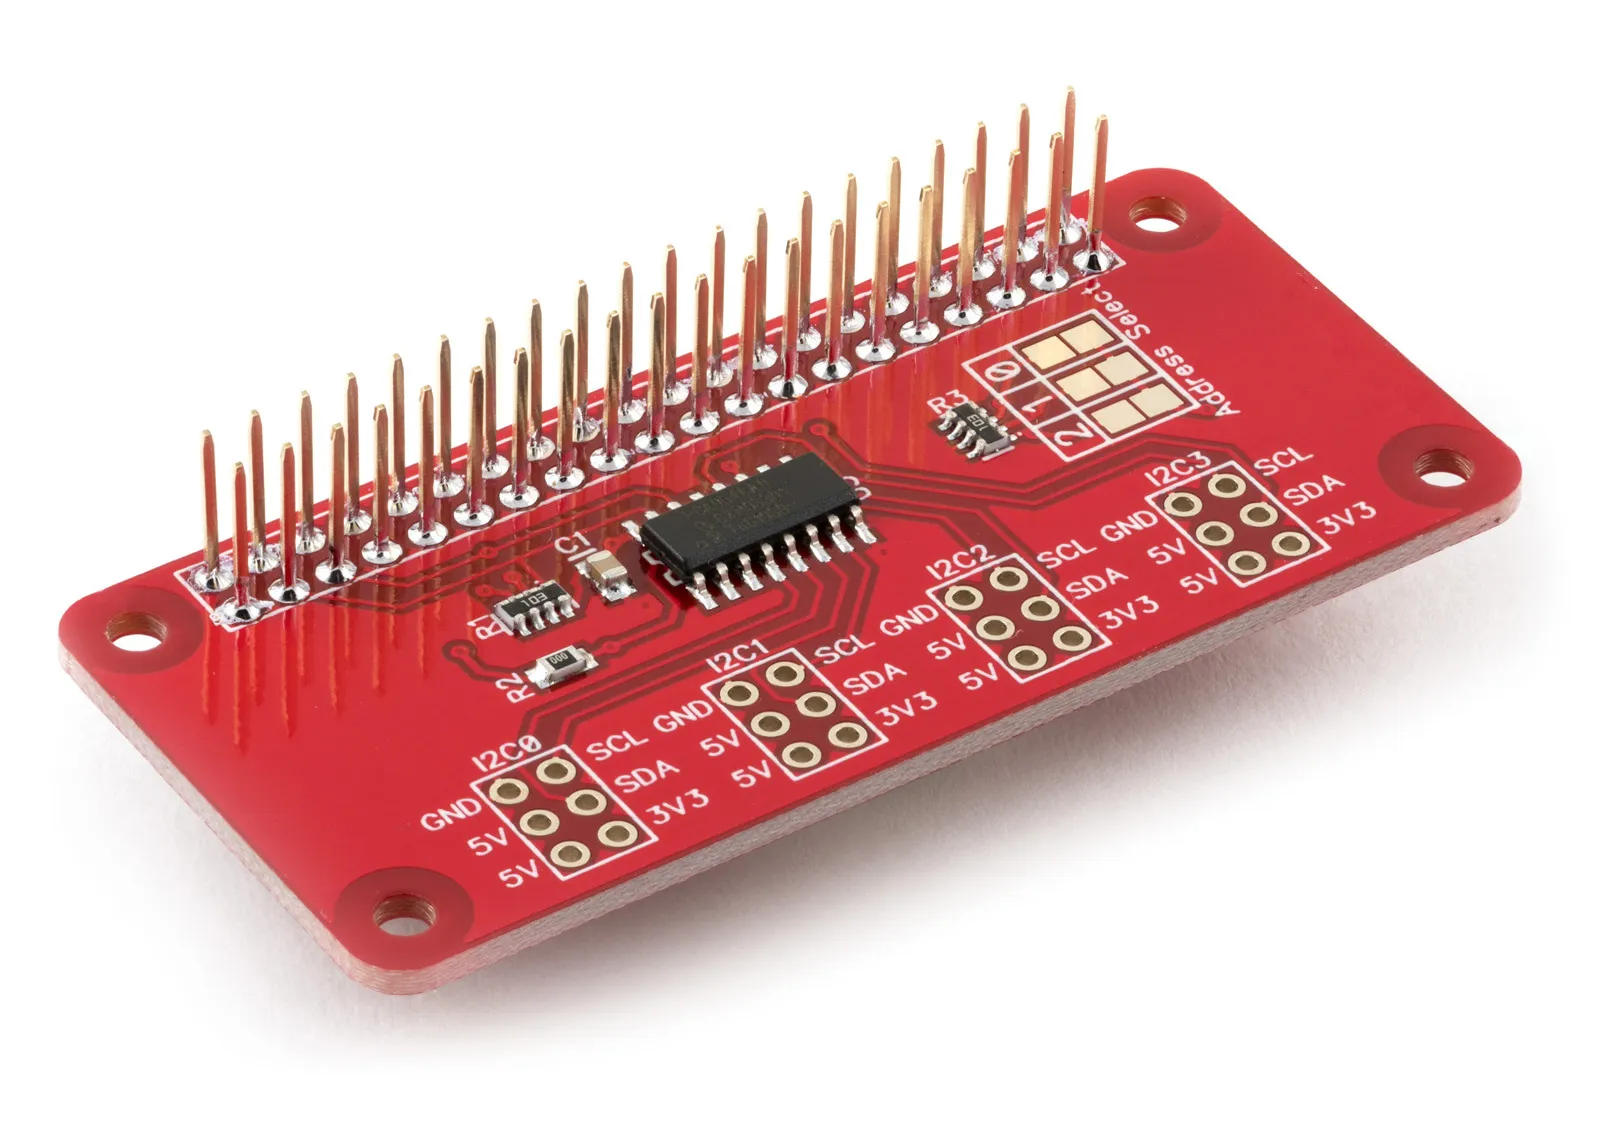
I2C Switch
4 Channel PCA9546 I2C Multiplexer for the Raspberry Pi and Single-Board Computers
£6.99 ex VAT
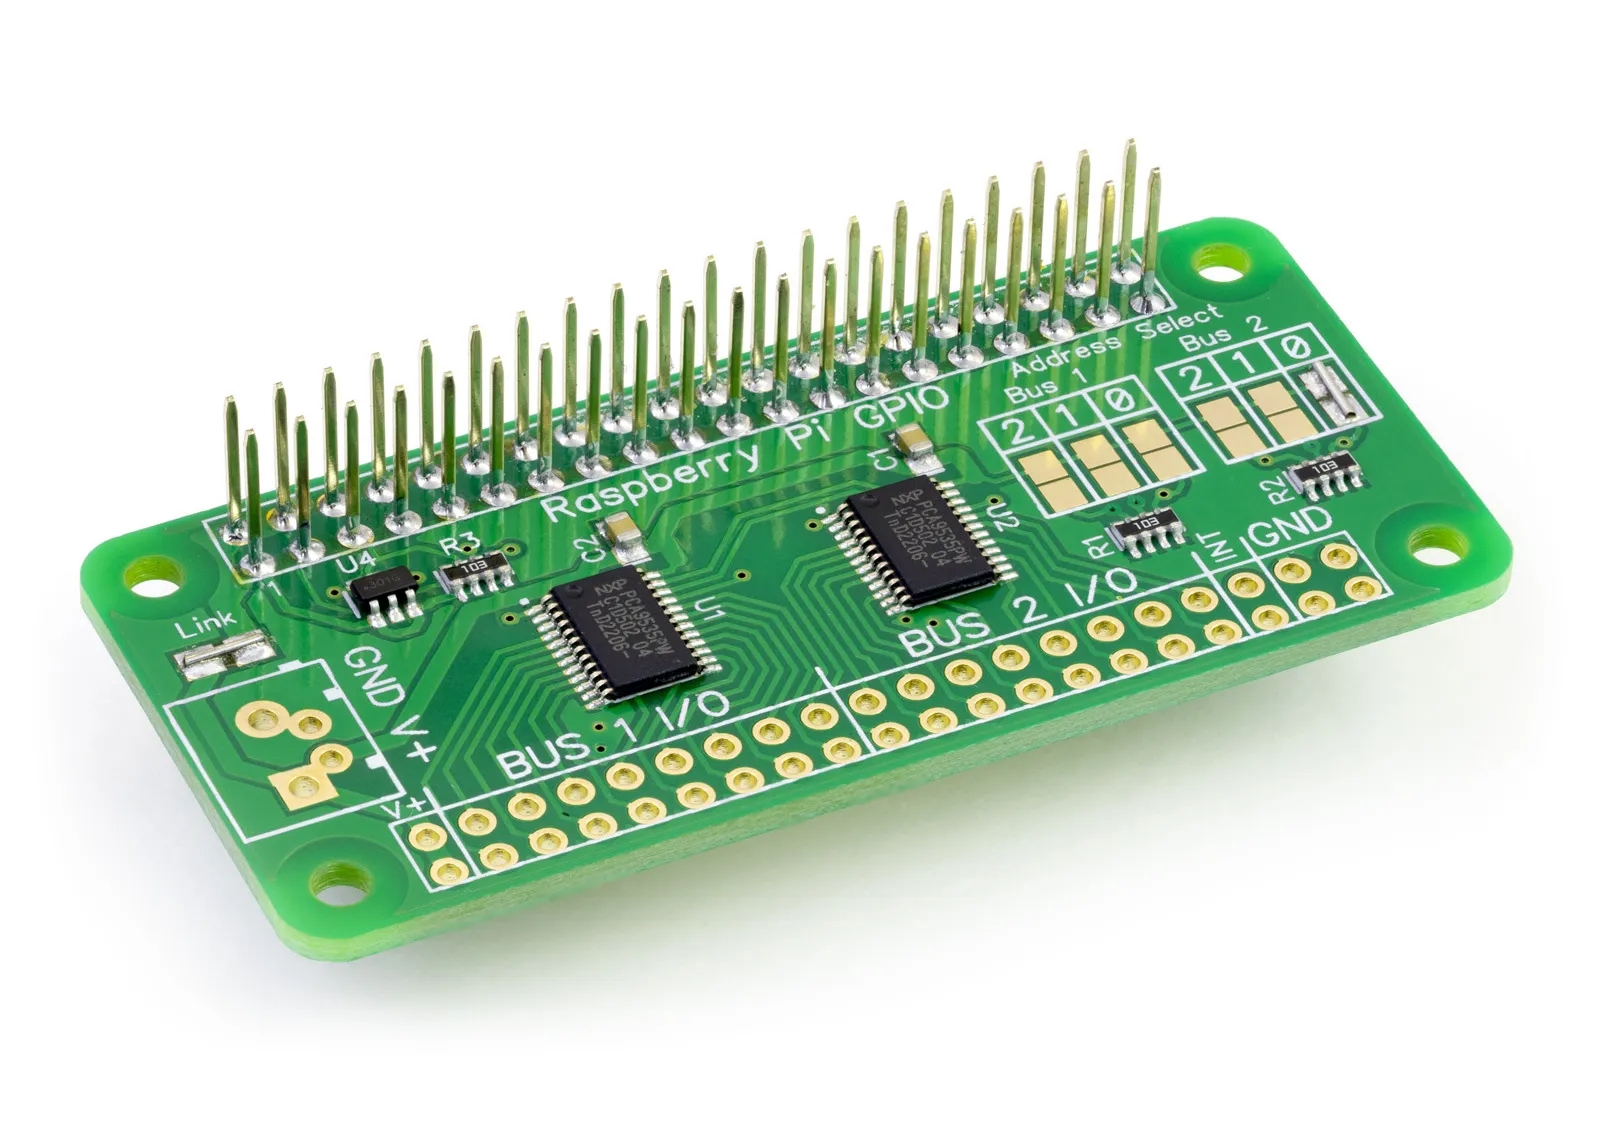
IO Zero 32
32 channel digital I/O development board for the Raspberry Pi and Single-Board Computers
£10.99 ex VAT
Servo PWM Pi
16 Channel 12-bit PWM and Servo Driver with I2C interface using PCA9685 for driving LEDs and RC servos
£9.49 ex VAT