The AB Electronics UK Knowledge Base provides support solutions, tutorials and troubleshooting guides.

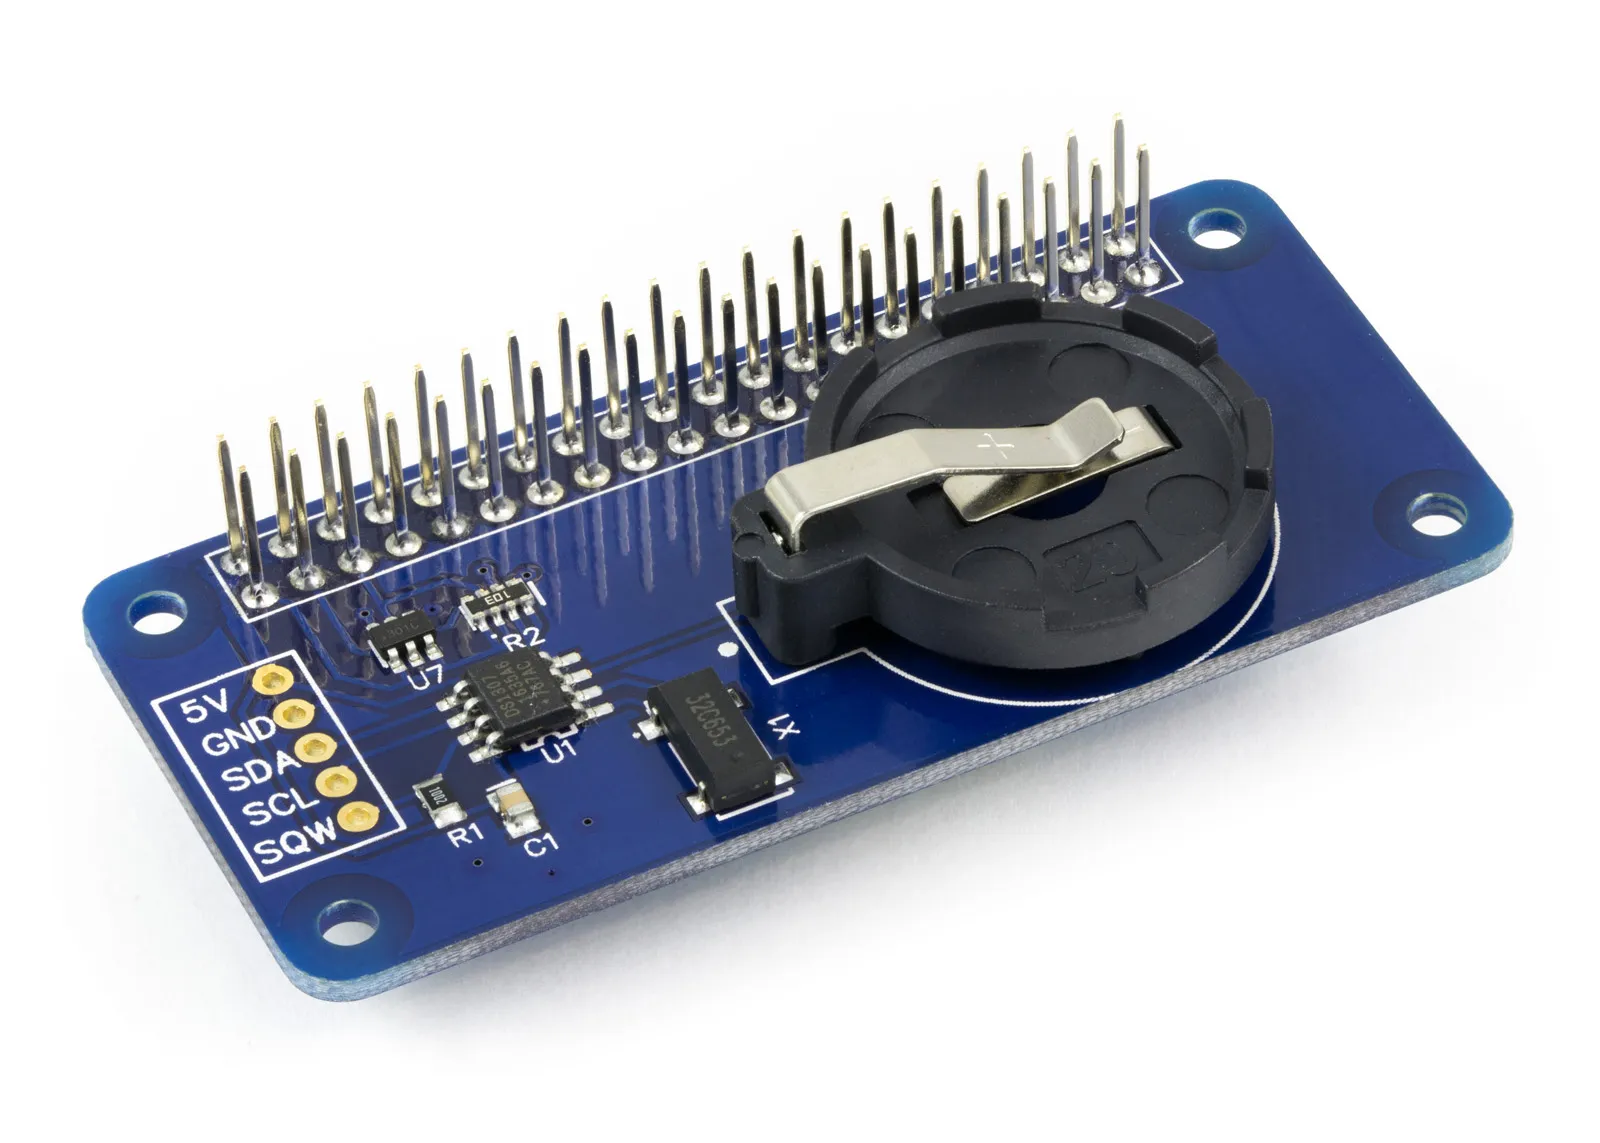
YOU WILL NEED THIS BOARD
This page details how to set up the DS1307 real-time clock on the RTC Pi using the Raspberry Pi OS image from Raspberry Pi.
Step 1: With your Raspberry Pi switched off, install the RTC Pi on the Raspberry Pi GPIO port and insert a CR2032 coin battery into the battery holder. Using the RTC Pi without a battery installed may damage the RTC Pi and will stop it from appearing on the I2C bus.
Step 2: Follow the instructions on I2C Part 2 - Enabling I²C on the Raspberry Pi.
Step 3: Check i2c-tools is installed using:
sudo apt-get install i2c-tools
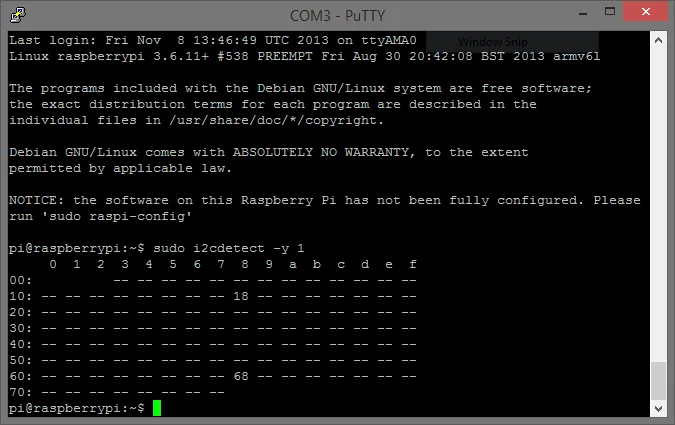
Step 4: Once you have installed I2C, check that the RTC Pi has been detected using the following:
sudo i2cdetect -y 0 # (if using Raspberry Pi 1A or 1B or)
sudo i2cdetect -y 1 # (if using Raspberry Pi 2 or later)
The RTC Pi should appear on channel 68, as shown in the screenshot below. If the RTC Pi does not appear, check that the battery is installed correctly and is fully charged:
Step 5: Edit config.txt to add the following: dtoverlay=i2c-rtc,ds1307
sudo nano /boot/firmware/config.txt
At the end of the file, add
dtoverlay=i2c-rtc,ds1307
Step 6: Add the module to /etc/modules:
sudo nano /etc/modules
Add at the end of the file
rtc-ds1307
Save your changes
Step 7: Next edit/lib/udev/hwclock-set
sudo nano /lib/udev/hwclock-set
Comment out the following lines with #
#if [ -e /run/systemd/system ] ; then
#exit 0
#fi
Save your changes and reboot the Raspberry Pi.
sudo reboot
If this is the first time you have run the RTC Pi, it will display a date of January 1st 2000.
Step 8: If the Raspberry Pi is connected to the internet, the correct date and time should be set automatically; otherwise, you can set the current date and time using the following:
sudo date -s "2 OCT 2015 18:00:00"
You can check the current Linux date with the command (date). To save the date onto the RTC Pi, use the following command:
sudo hwclock -w
Verify the date has been saved onto the RTC Pi with the following:
sudo hwclock -r
If everything works correctly, the RTC Pi should be initialised on boot, and the current date and time will be loaded into Linux.
Step 9: If for some reason, the date is not loaded from the RTC Pi on boot, you can get around this problem by creating a script which runs when the Raspberry Pi boots.
Create a script called hwclock in the /home/pi folder.
sudo nano /home/pi/hwclock
Add the lines below:
#!/bin/sh
/sbin/hwclock --hctosys
Save the file and set the permissions using chmod to make the script executable.
sudo chmod 755 /home/pi/hwclock
Next, we will use crontab to run the hwclock script on boot.
sudo crontab -e
If this is your first time using crontab, it may display the following message asking you to select an editor.
Select an editor.  To change later, run 'select-editor'.
1. /bin/ed
2. /bin/nano <---- easiest
3. /usr/bin/vim.tiny
Choose 2 to open the file in nano.
At the end of the file, add the following line.
@reboot /home/pi/hwclock &
Save and reboot your Raspberry Pi.
sudo reboot
The hwclock script should run when your Raspberry Pi boots, loading the date from the RTC into Linux. You can check that the date is correct using the date command.
date
Also useful for your Raspberry Pi project
Temperature & Sensing
1 Wire Pi Plus
Connect dozens of 1-Wire sensors - temperature, iButtons, EEPROMs - via a single GPIO pin. Stacks directly on the 40-pin header.
Analogue I/O
ADC Pi
Read up to 8 analogue inputs - perfect for pairing with your temperature sensors or other analogue-output devices.
All-in-one
Expander Pi
Combines ADC, DAC, 32 GPIO ports and a real-time clock on one board. The most versatile board for complex Raspberry Pi projects.